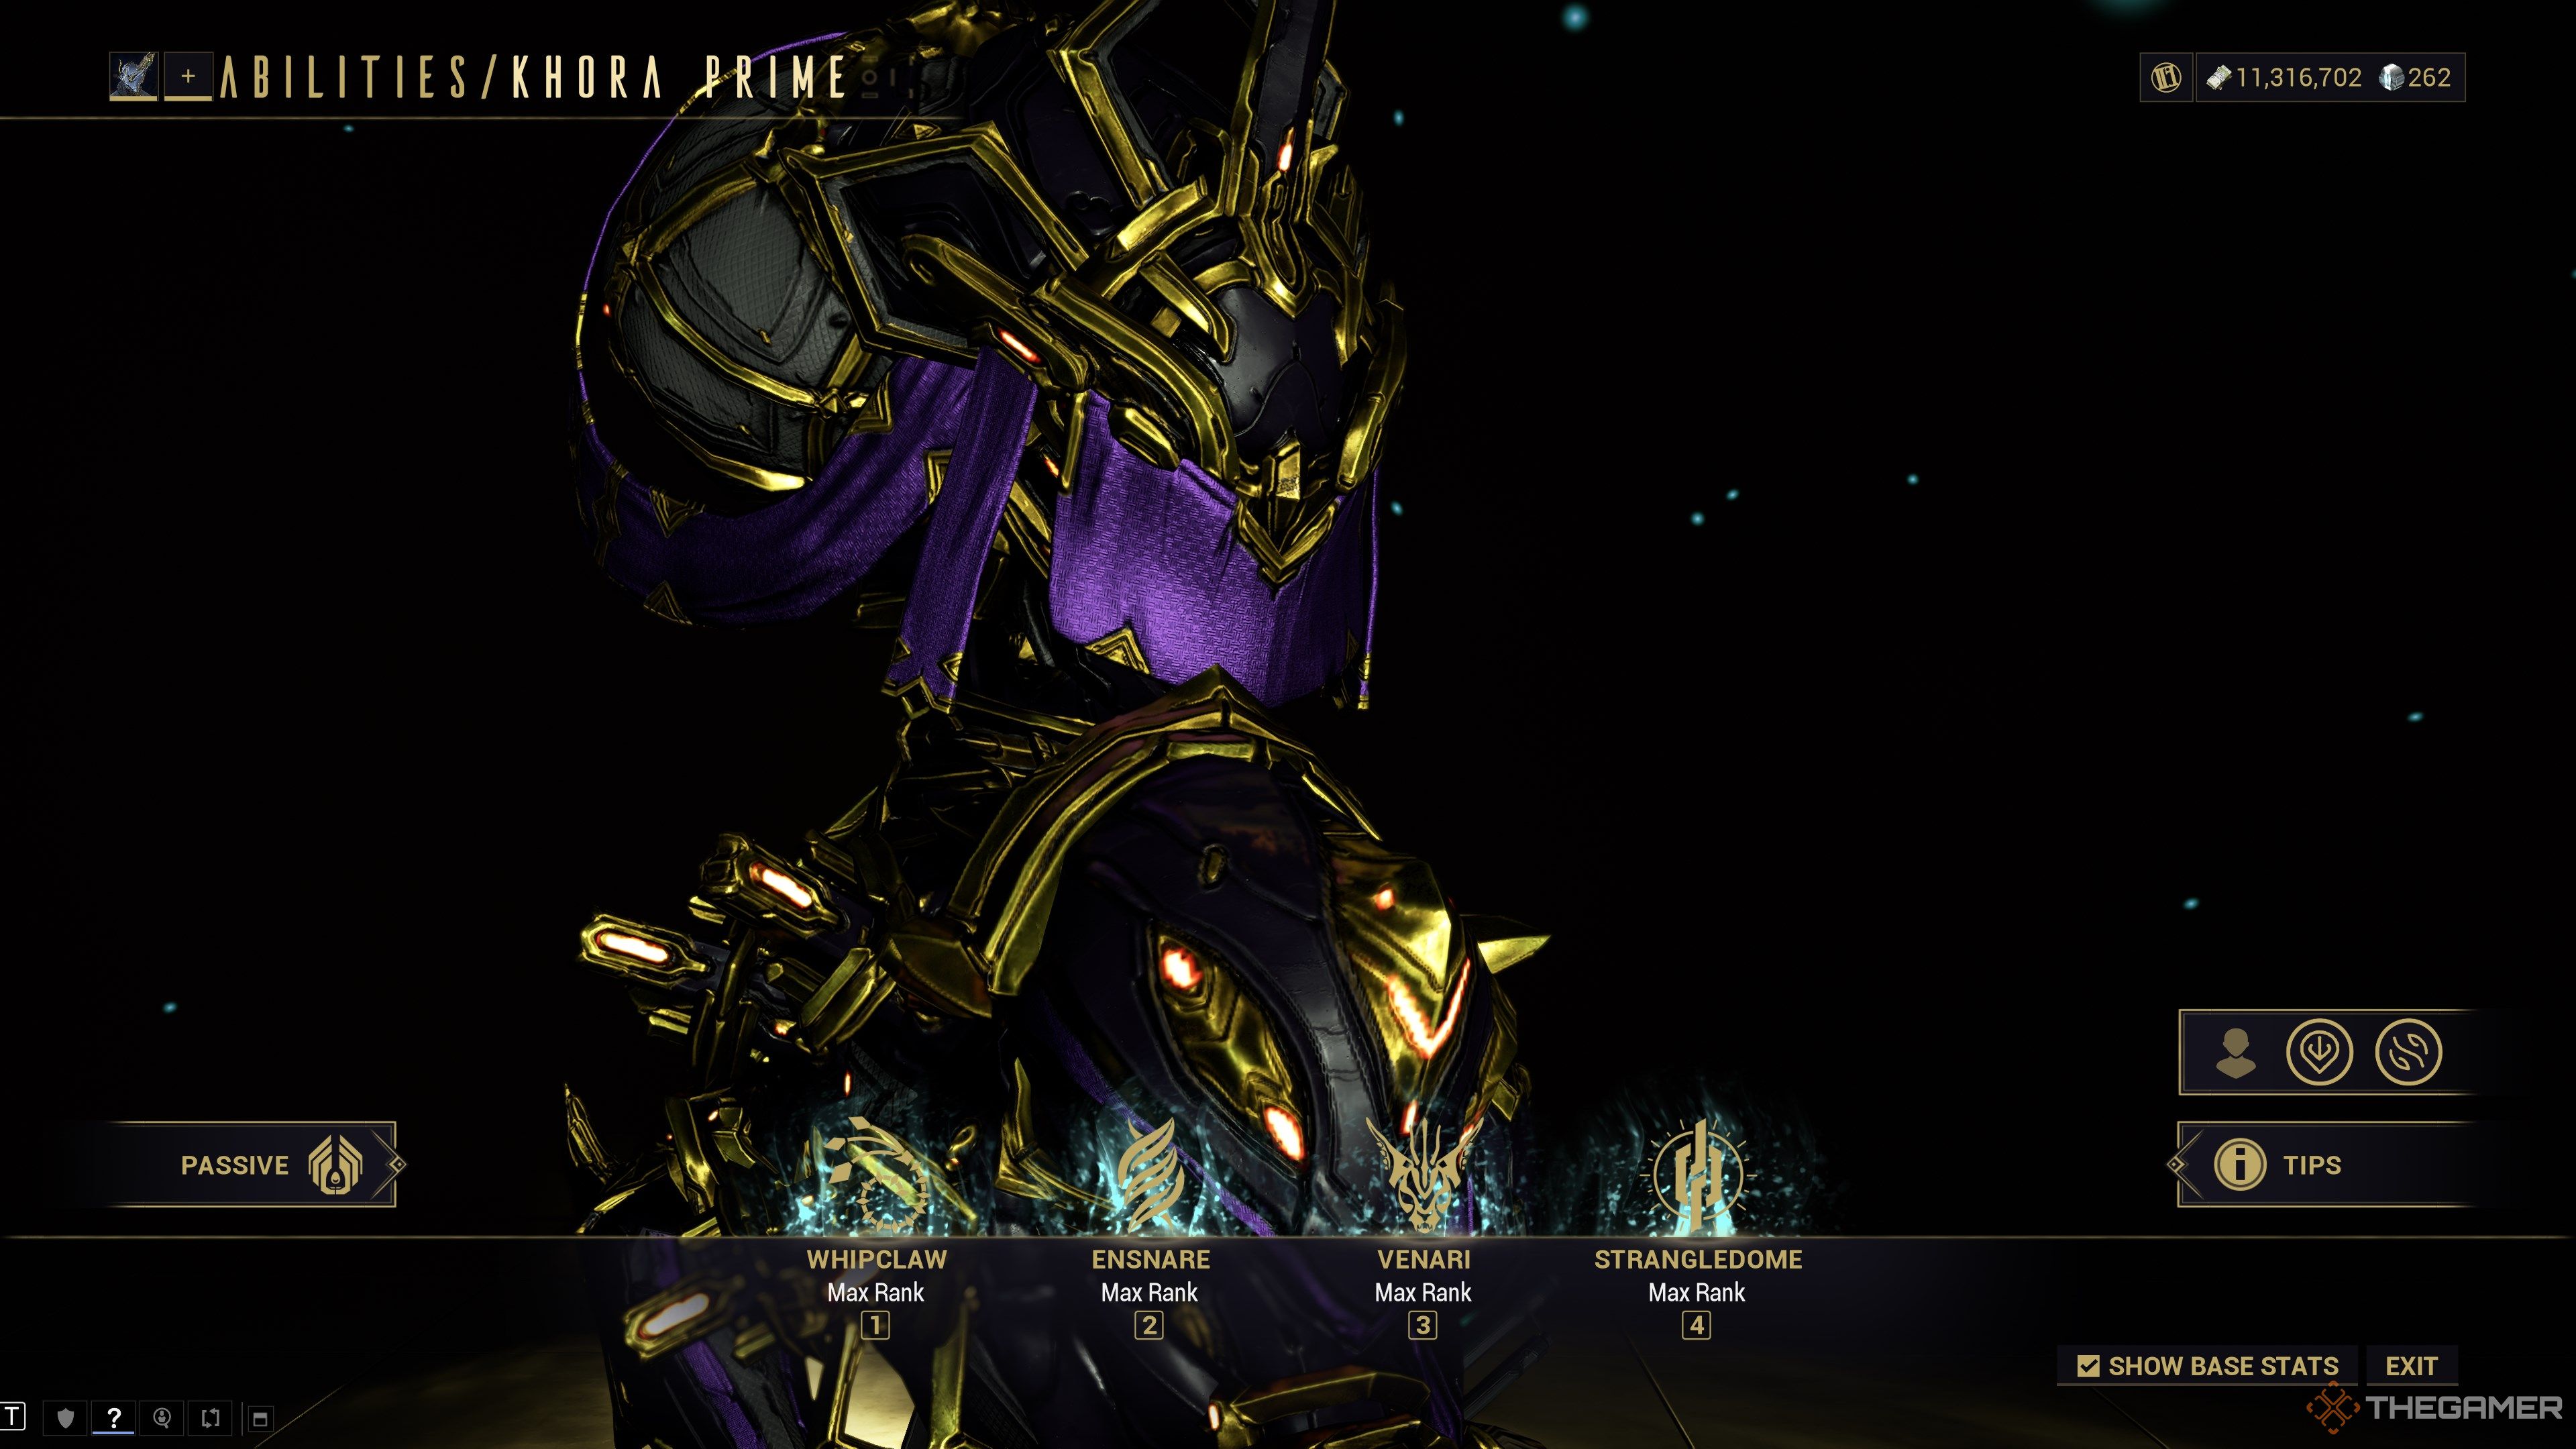
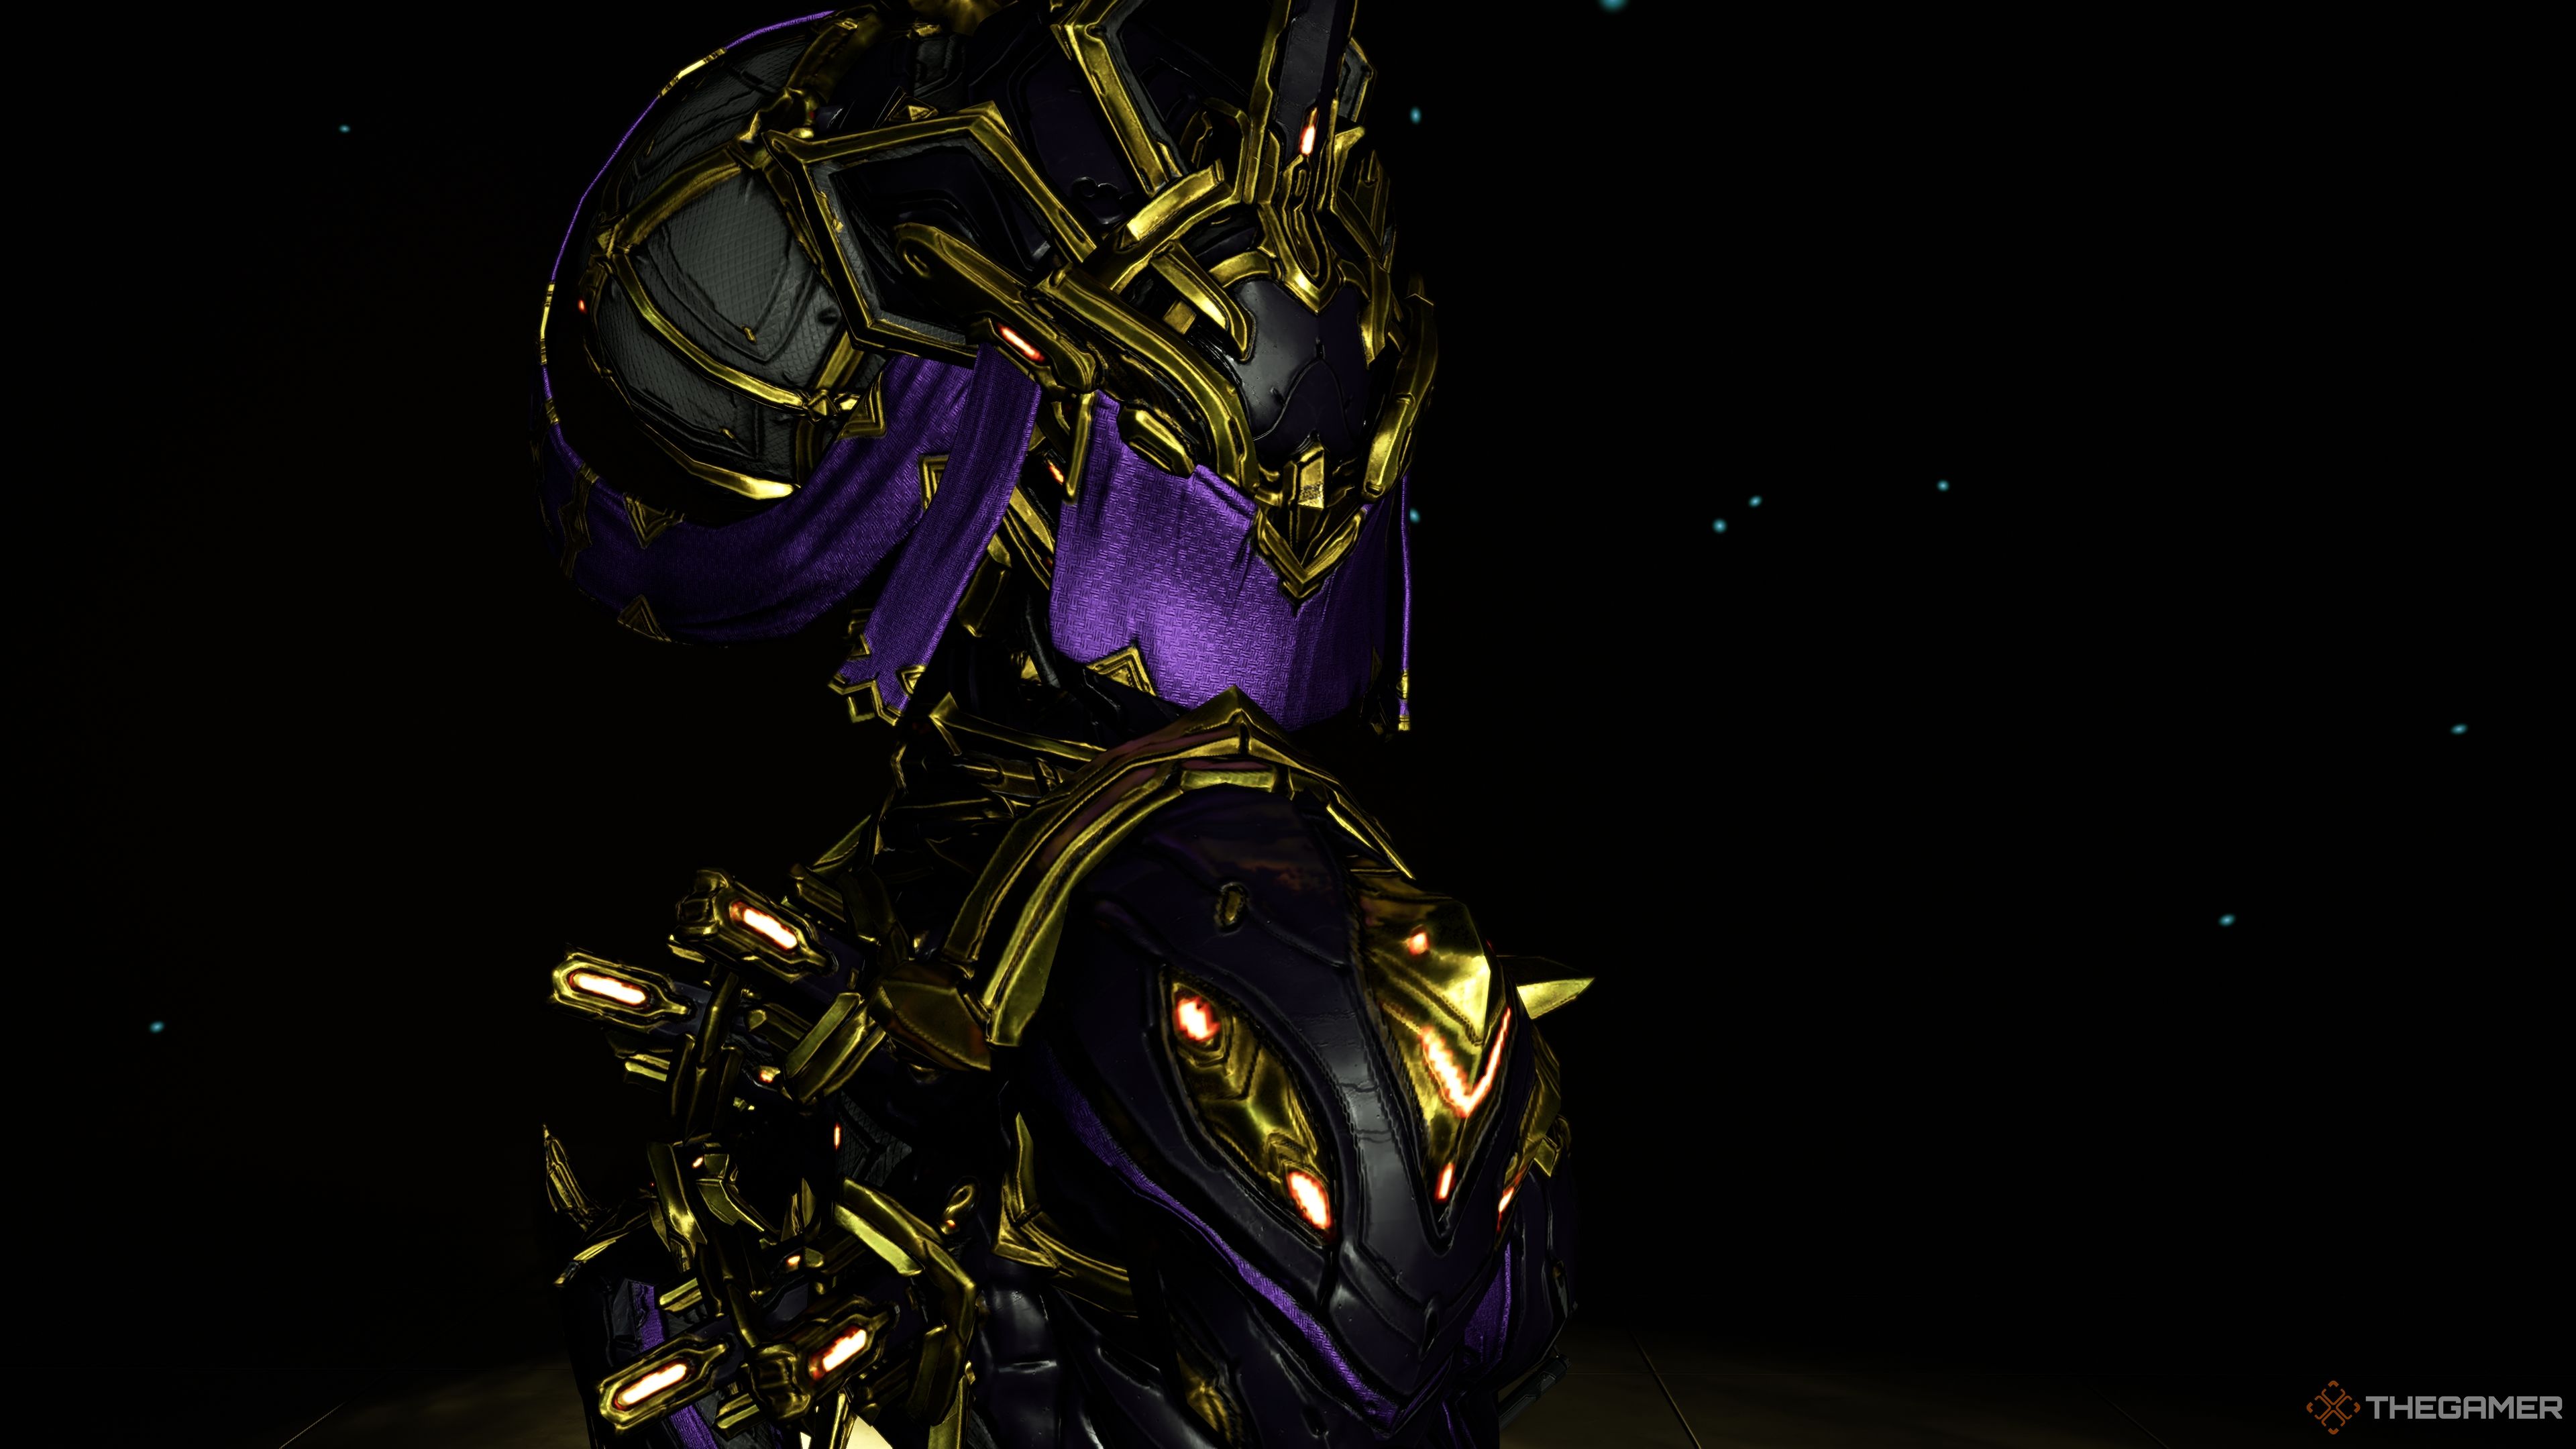
Khora is an absolute powerhouse in Warframe’s
endgame content, enveloping enemies in living metal before obliterating them with a hard-hitting whipclaw. A serrated whip makes for a devastating endgame weapon, and her Strangledome offers your an incredibly rare boon with its augment: bonus loot.
Related
Warframe: Technocyte Coda Complete Guide
Here is everything you need to know about Technocyte Coda Liches in Warframe.
Undoubtedly, most farming squads want a Khora in their team composition to maximize their drops and kills per minute, but getting Khora to a comfortable state can prove challenging if you’re new. Today, we’ll be going over how Khora works, explain how her abilities function, and showcase two builds you can use for easy endgame farming.
How To Craft Khora
Khora’s components can be obtained from Sanctuary Onslaught, an activity you unlock upon completing “The New Strange” quest for Cephalon Simaris. Every two waves you clear of Sanctuary Onslaught will award a random drop from that rotation’s loot table. The rotation goes in the following order: A ⇾ A ⇾ B ⇾ C ⇾ Resets.
Her two toughest components to get are her systems and core blueprint, both of which drop in Rotation C or every eight waves. There is no way to trade for these components, so you’ll need to get comfortable farming Sanctuary Onslaught to craft her. Alternatively, you can purchase Khora from the in-game marketplace for 325 Platinum.
Khora Blueprint
| Drop Source | Sanctuary Onslaught (Rotation C, 11.28% drop chance) |
|---|---|
| Crafting Costs |
|
| Crafting Time | 72 Hours |
Khora Neuroptics
| Drop Source | Sanctuary Onslaught (Rotation B, 8.33% drop chance) |
|---|---|
| Crafting Costs |
|
| Crafting Time | 12 Hours |
Khora Chassis
| Drop Source | Sanctuary Onslaught (Rotation A, 8.33% drop chance) |
|---|---|
| Crafting Costs |
|
| Crafting Time | 12 Hours |
Khora Systems
| Drop Source | Sanctuary Onslaught (Rotation C, 11.28% drop chance) |
|---|---|
| Crafting Costs |
|
| Crafting Time | 12 Hours |
How To Craft Khora Prime
As with nearly all Prime items, Khora Prime’s components drop from Void Relics. Nearly every activity in Warframe has a chance of dropping a Void Relic as a potential reward. These act as personalized drop tables you can open inside of a Fissure mission. Look for a Khora Prime Relic, bring it into a Fissure, collect ten Reactant, and then extract to claim your new reward.
If you’re unlucky and can’t get Khora Prime’s components to drop, you may also trade her crafting blueprint with other players through Warframe’s trading system.
Khora Prime Blueprint
| Drop Source |
|
|---|---|
| Crafting Costs |
|
| Crafting Time | 72 Hours |
Khora Prime Neuroptics
| Drop Source |
|
|---|---|
| Crafting Costs |
|
| Crafting Time | 12 Hours |
Khora Prime Chassis
| Drop Source |
|
|---|---|
| Crafting Costs |
|
| Crafting Time | 12 Hours |
Khora Prime Systems
| Drop Source |
|
|---|---|
| Crafting Costs |
|
| Crafting Time | 12 Hours |
Related
Warframe: Best Dual Viciss Builds
Spread a miasma of destruction with this Dual Viciss endgame build.
Khora Abilities
Stats
|
Khora |
Khora Prime |
|---|---|
|
|
Passive
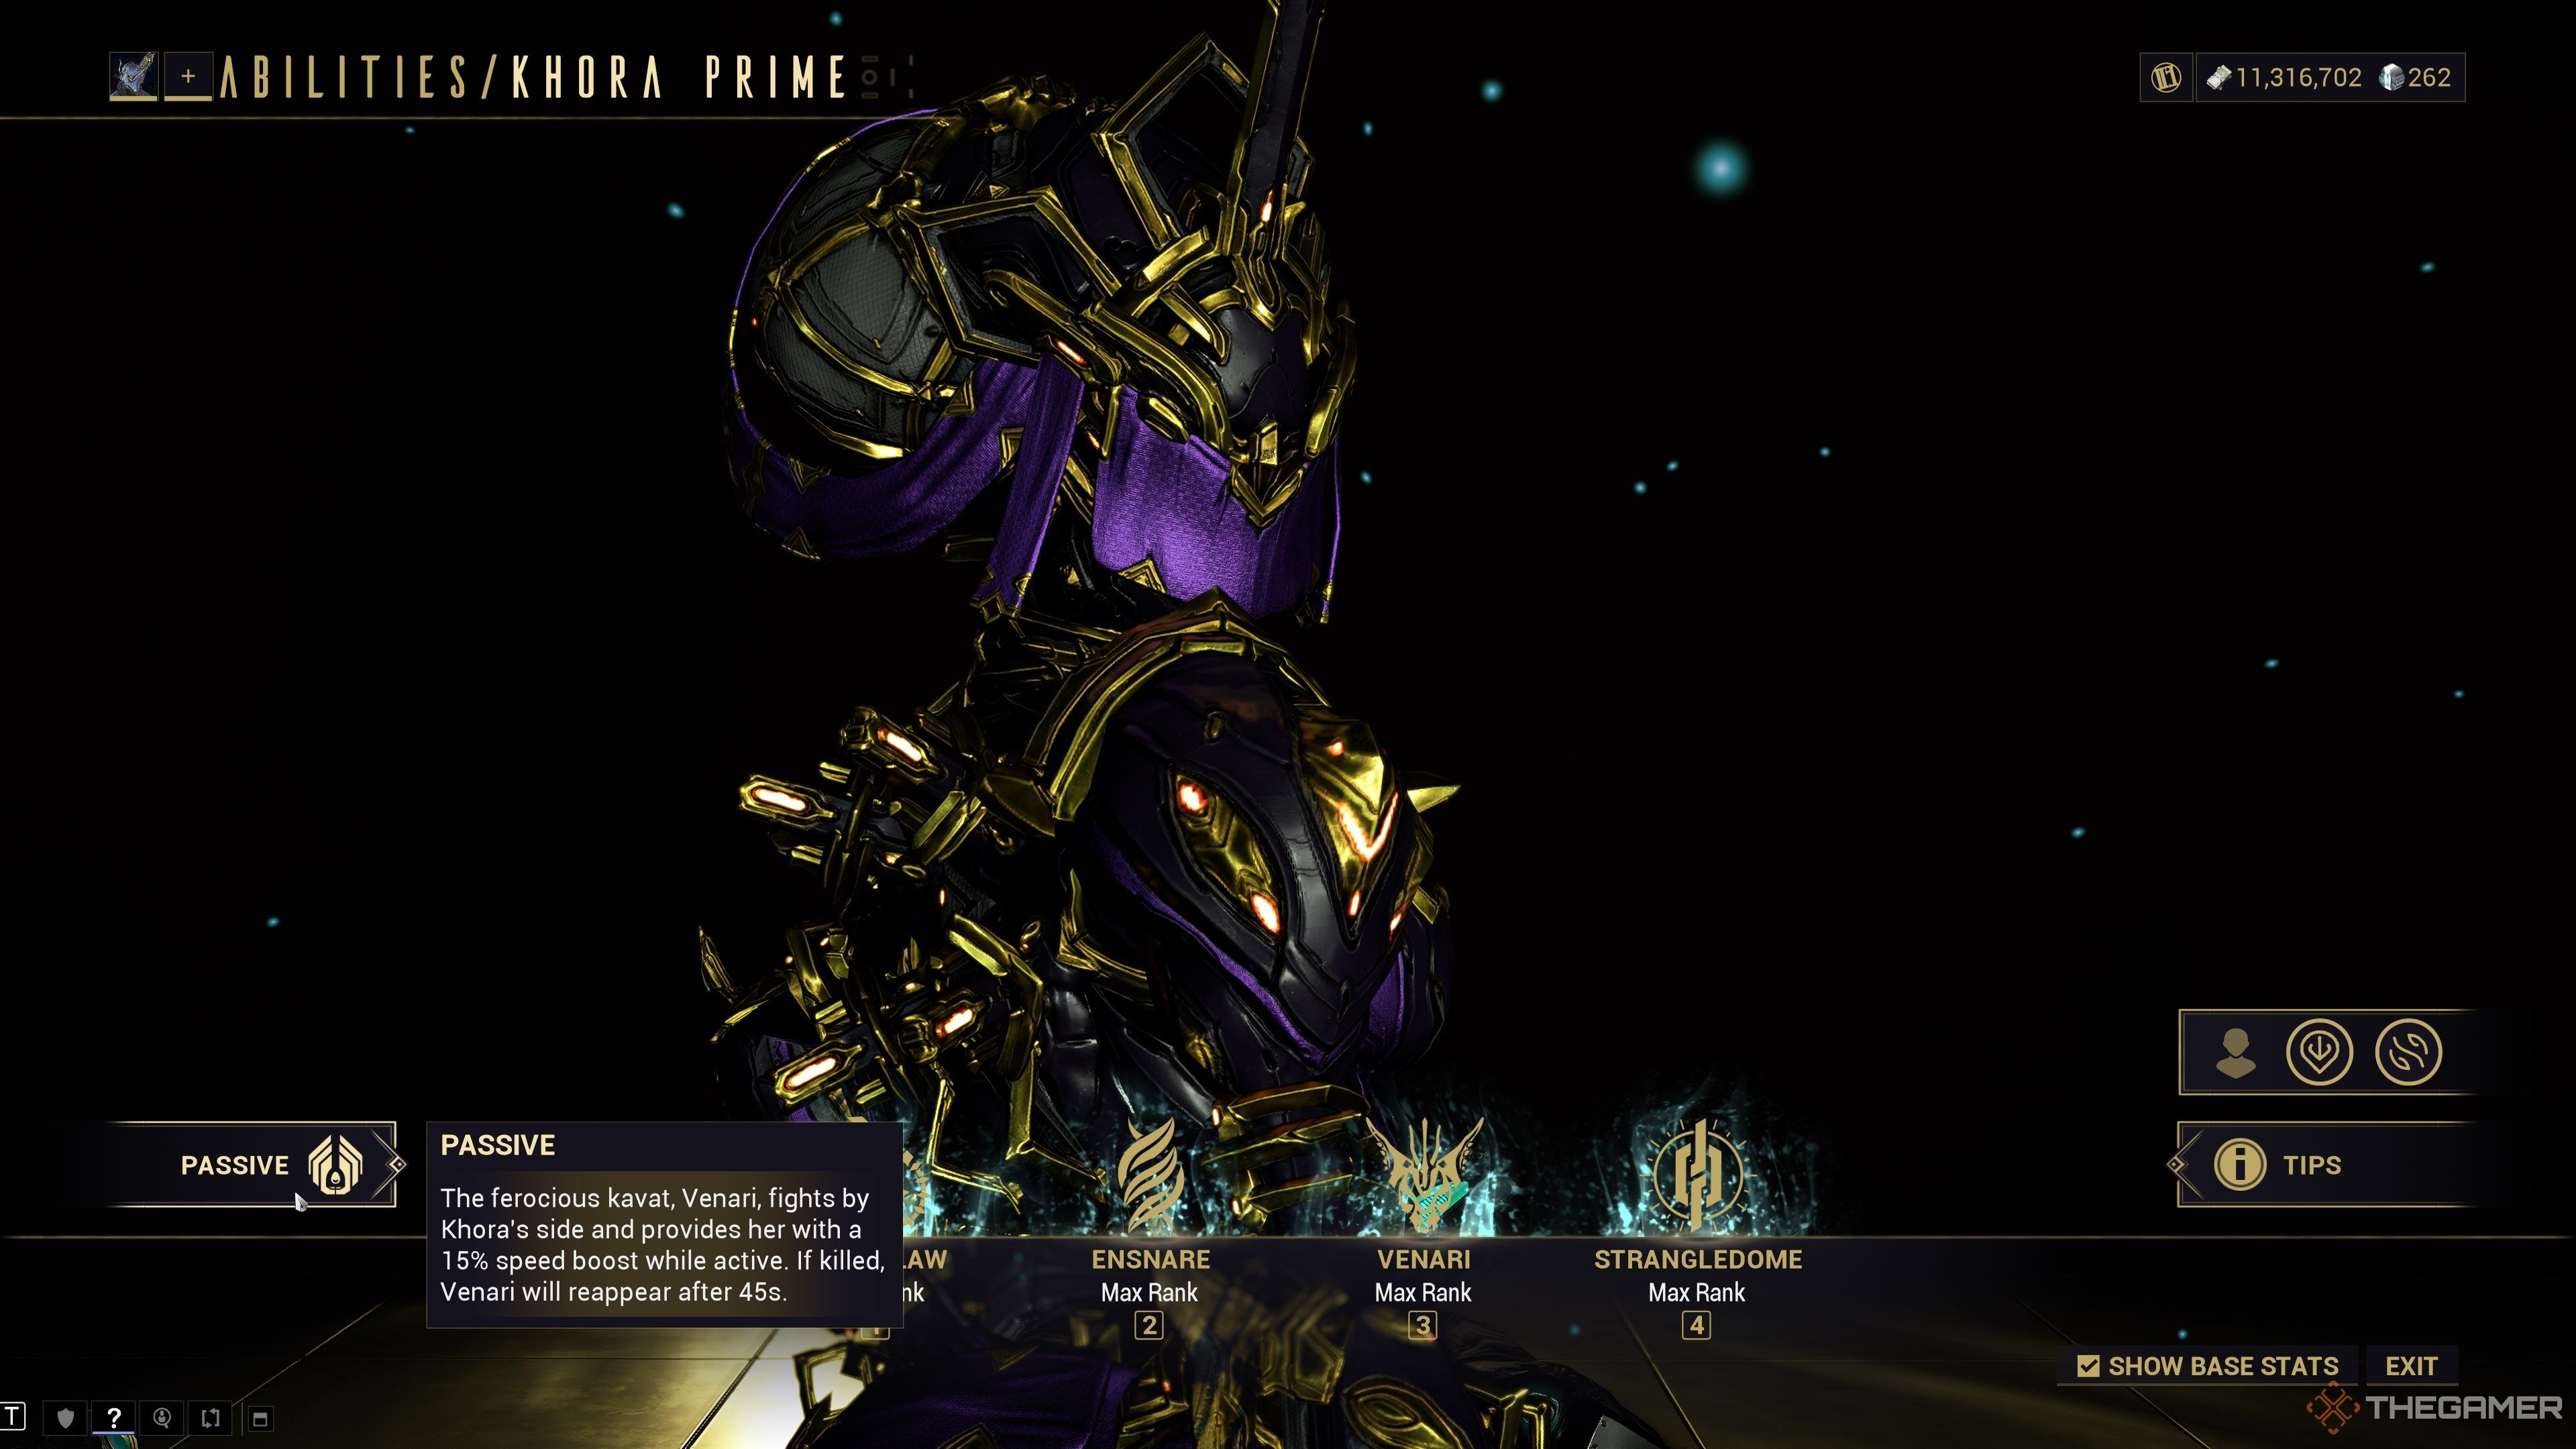
The ferocious kavat, Venari, fights by Khora’s side and provides her with a 15% speed boost while active. If killed, Venari will reappear after 45s.
Khora is always accompanied by her trusty Kavat, Venari. While playing as Khora, you will have a Kavat companion who will follow you around and attack nearby enemies. It behaves identically to a Kavat but has higher base stats and can be separately modded.
Venari doesn’t take up your companion slot, allowing you to bring another pet or sentinel. Bond mods that buff your Warframe do not stack if present on both companions.
It’s worth noting that Khora’s third ability is not required to have Venari by your side. If you subsume over her third ability, you still have access to Venari since it’s technically her passive.
Whipclaw
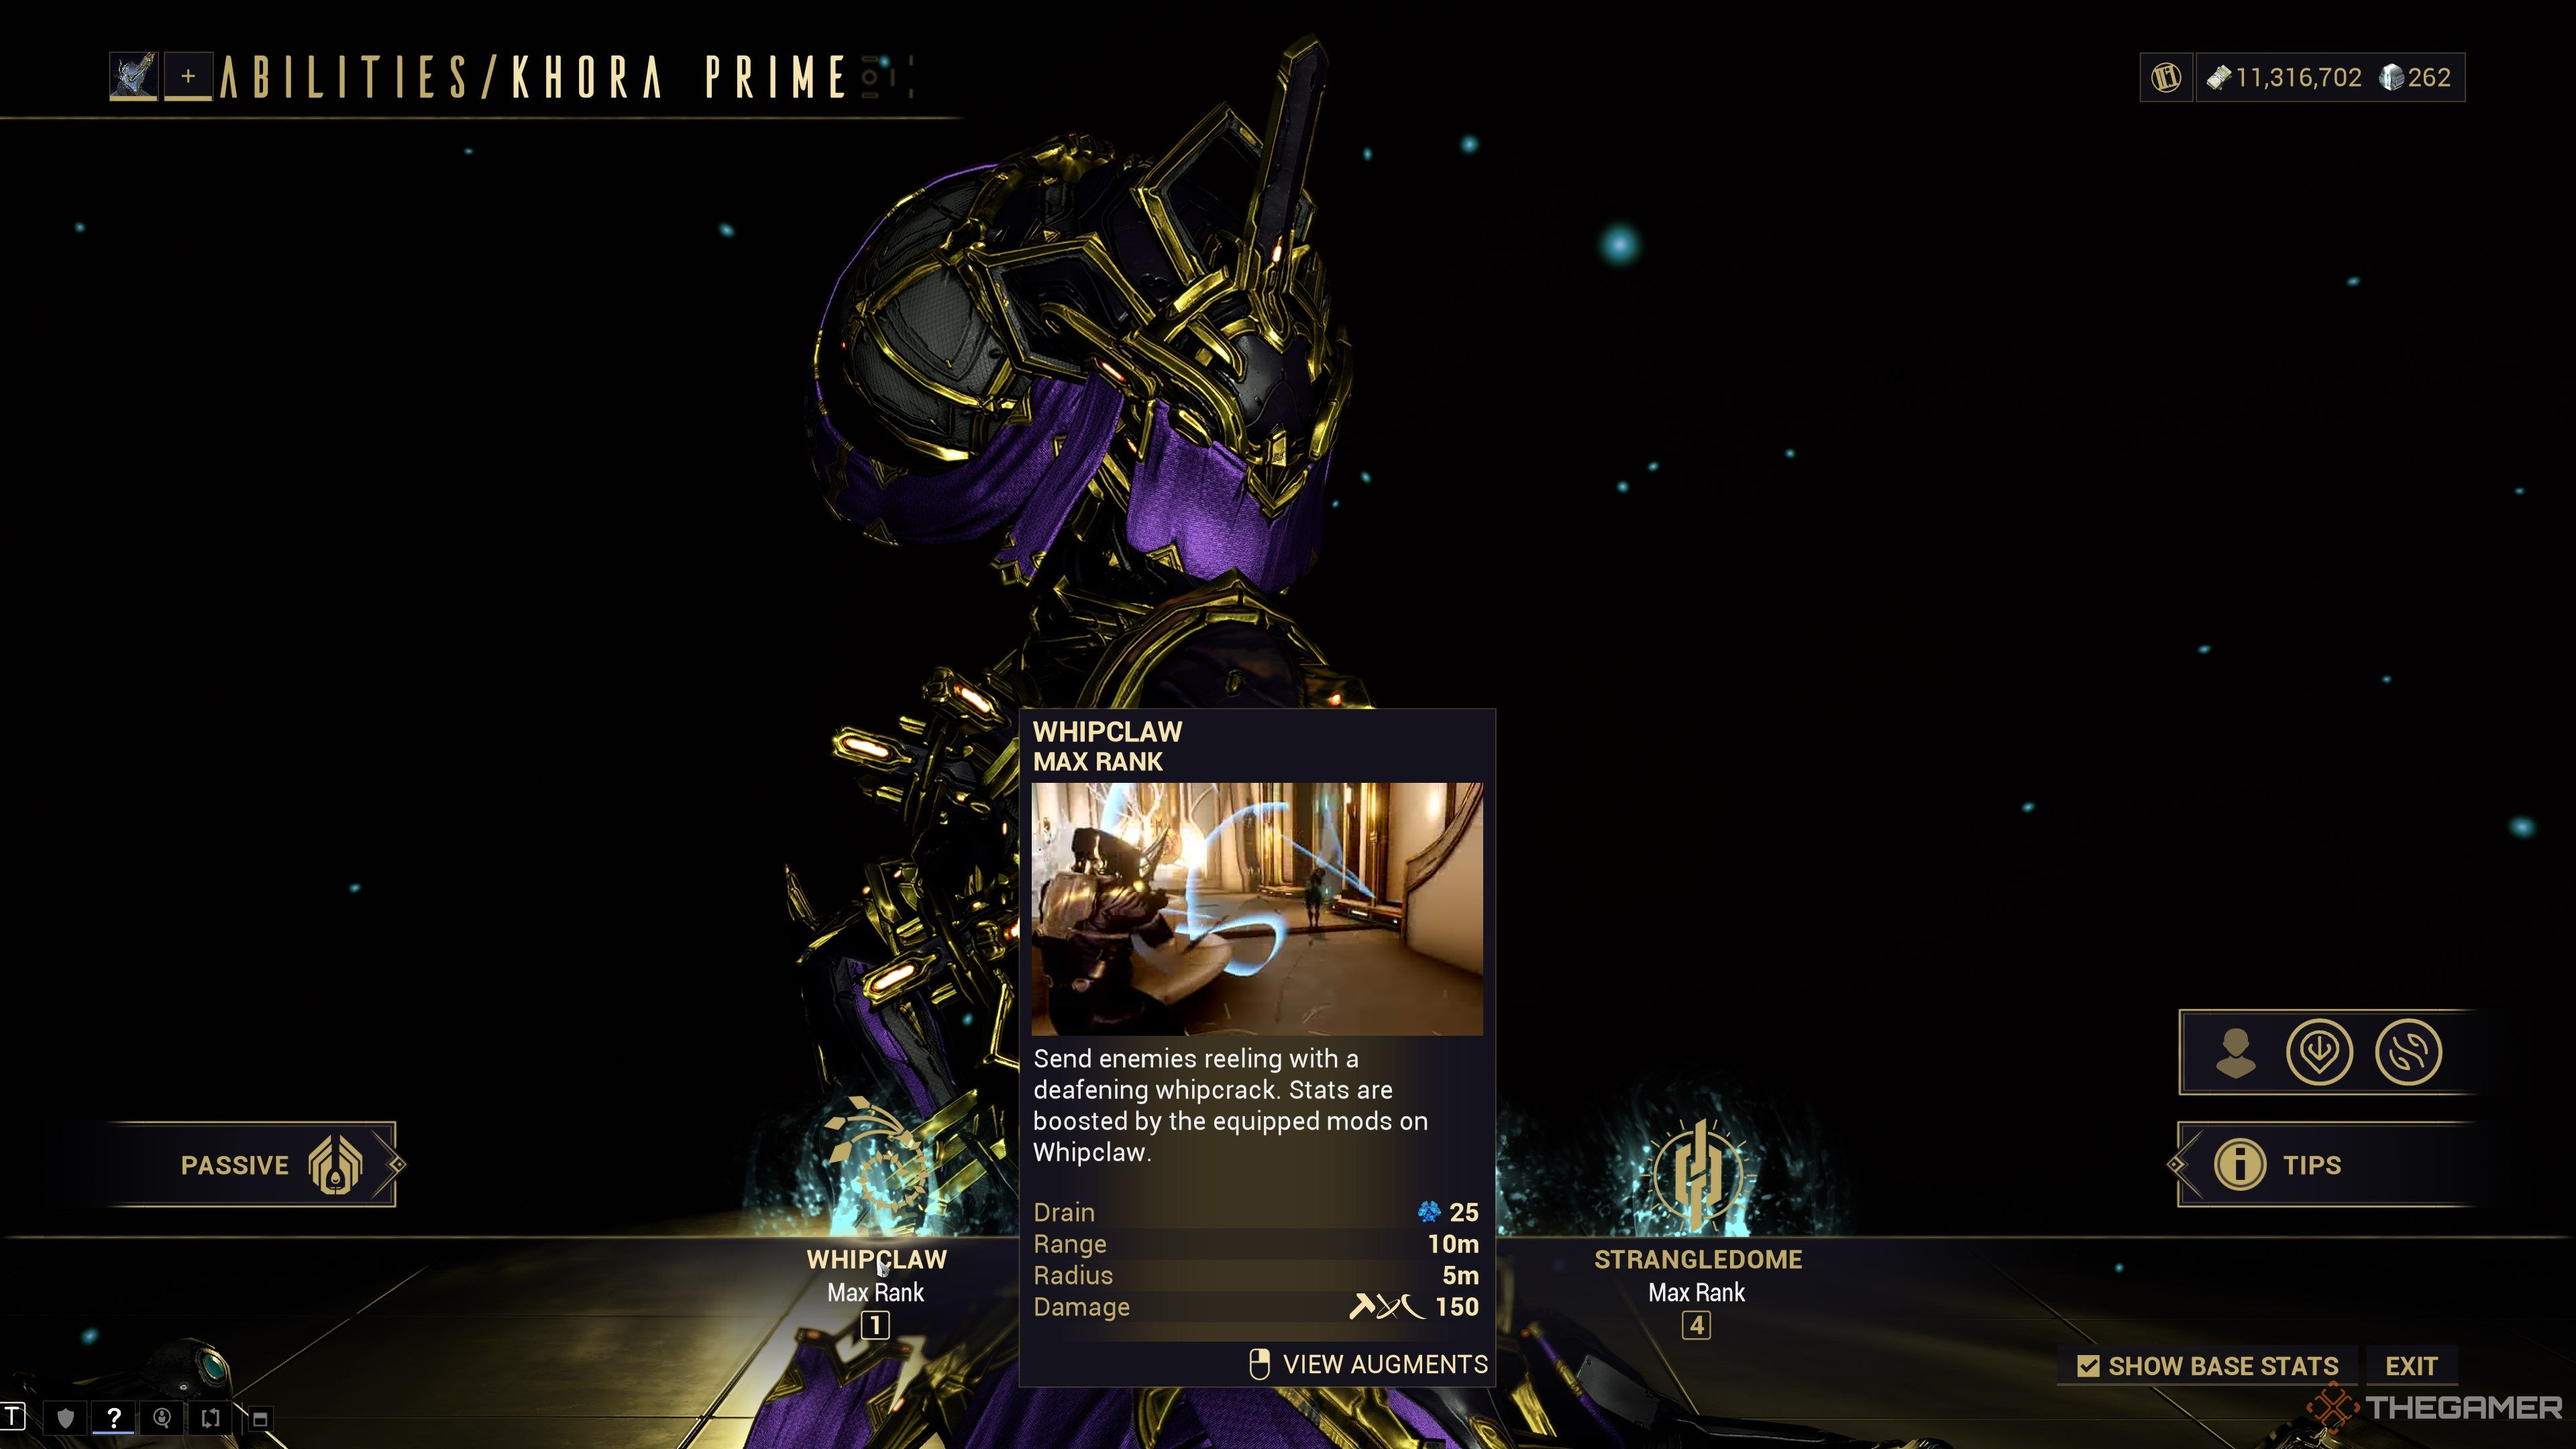
Send enemies reeling with a deafening whipcrack. Stats are boosted by the equipped mods on Whipclaw.
|
Whipclaw Stats |
|||
|---|---|---|---|
|
Drain |
25 Energy |
||
|
Radius |
5 Meters |
||
|
Targeting Range |
10 Meters |
||
|
Damage |
150 IPS |
||
|
Applicable Mods |
|||
|
Duration |
Range |
Efficiency |
Strength |
|
N/A |
Affects ability radius and targeting range |
Affects cast Energy cost |
Affects your whipclaw’s base damage |
Khora manifests her exalted Whipclaw and slams it near your cursor, damaging all nearby targets with a small AoE explosion. The reach of your Whipclaw and its AoE explosion size are both affected by Ability Range, so you’ll want to scale this stat as high as possible to make Whipclaw an effective means of slaying groups. Ability Strength scales the Whipclaw’s base damage, which you can scale further with melee mods equipped to your Whipclaw exalted.
Enemies caught in your Strangledome ultimate will share all damage received from Whipclaw. For example, if you have ten enemies in your Strangledome and hit one of them with Whipclaw, all ten enemies will be damaged.
Since Whipclaw deals AoE damage, this leads to quadratic damage scaling if you scale Ability Range.
Ensnare
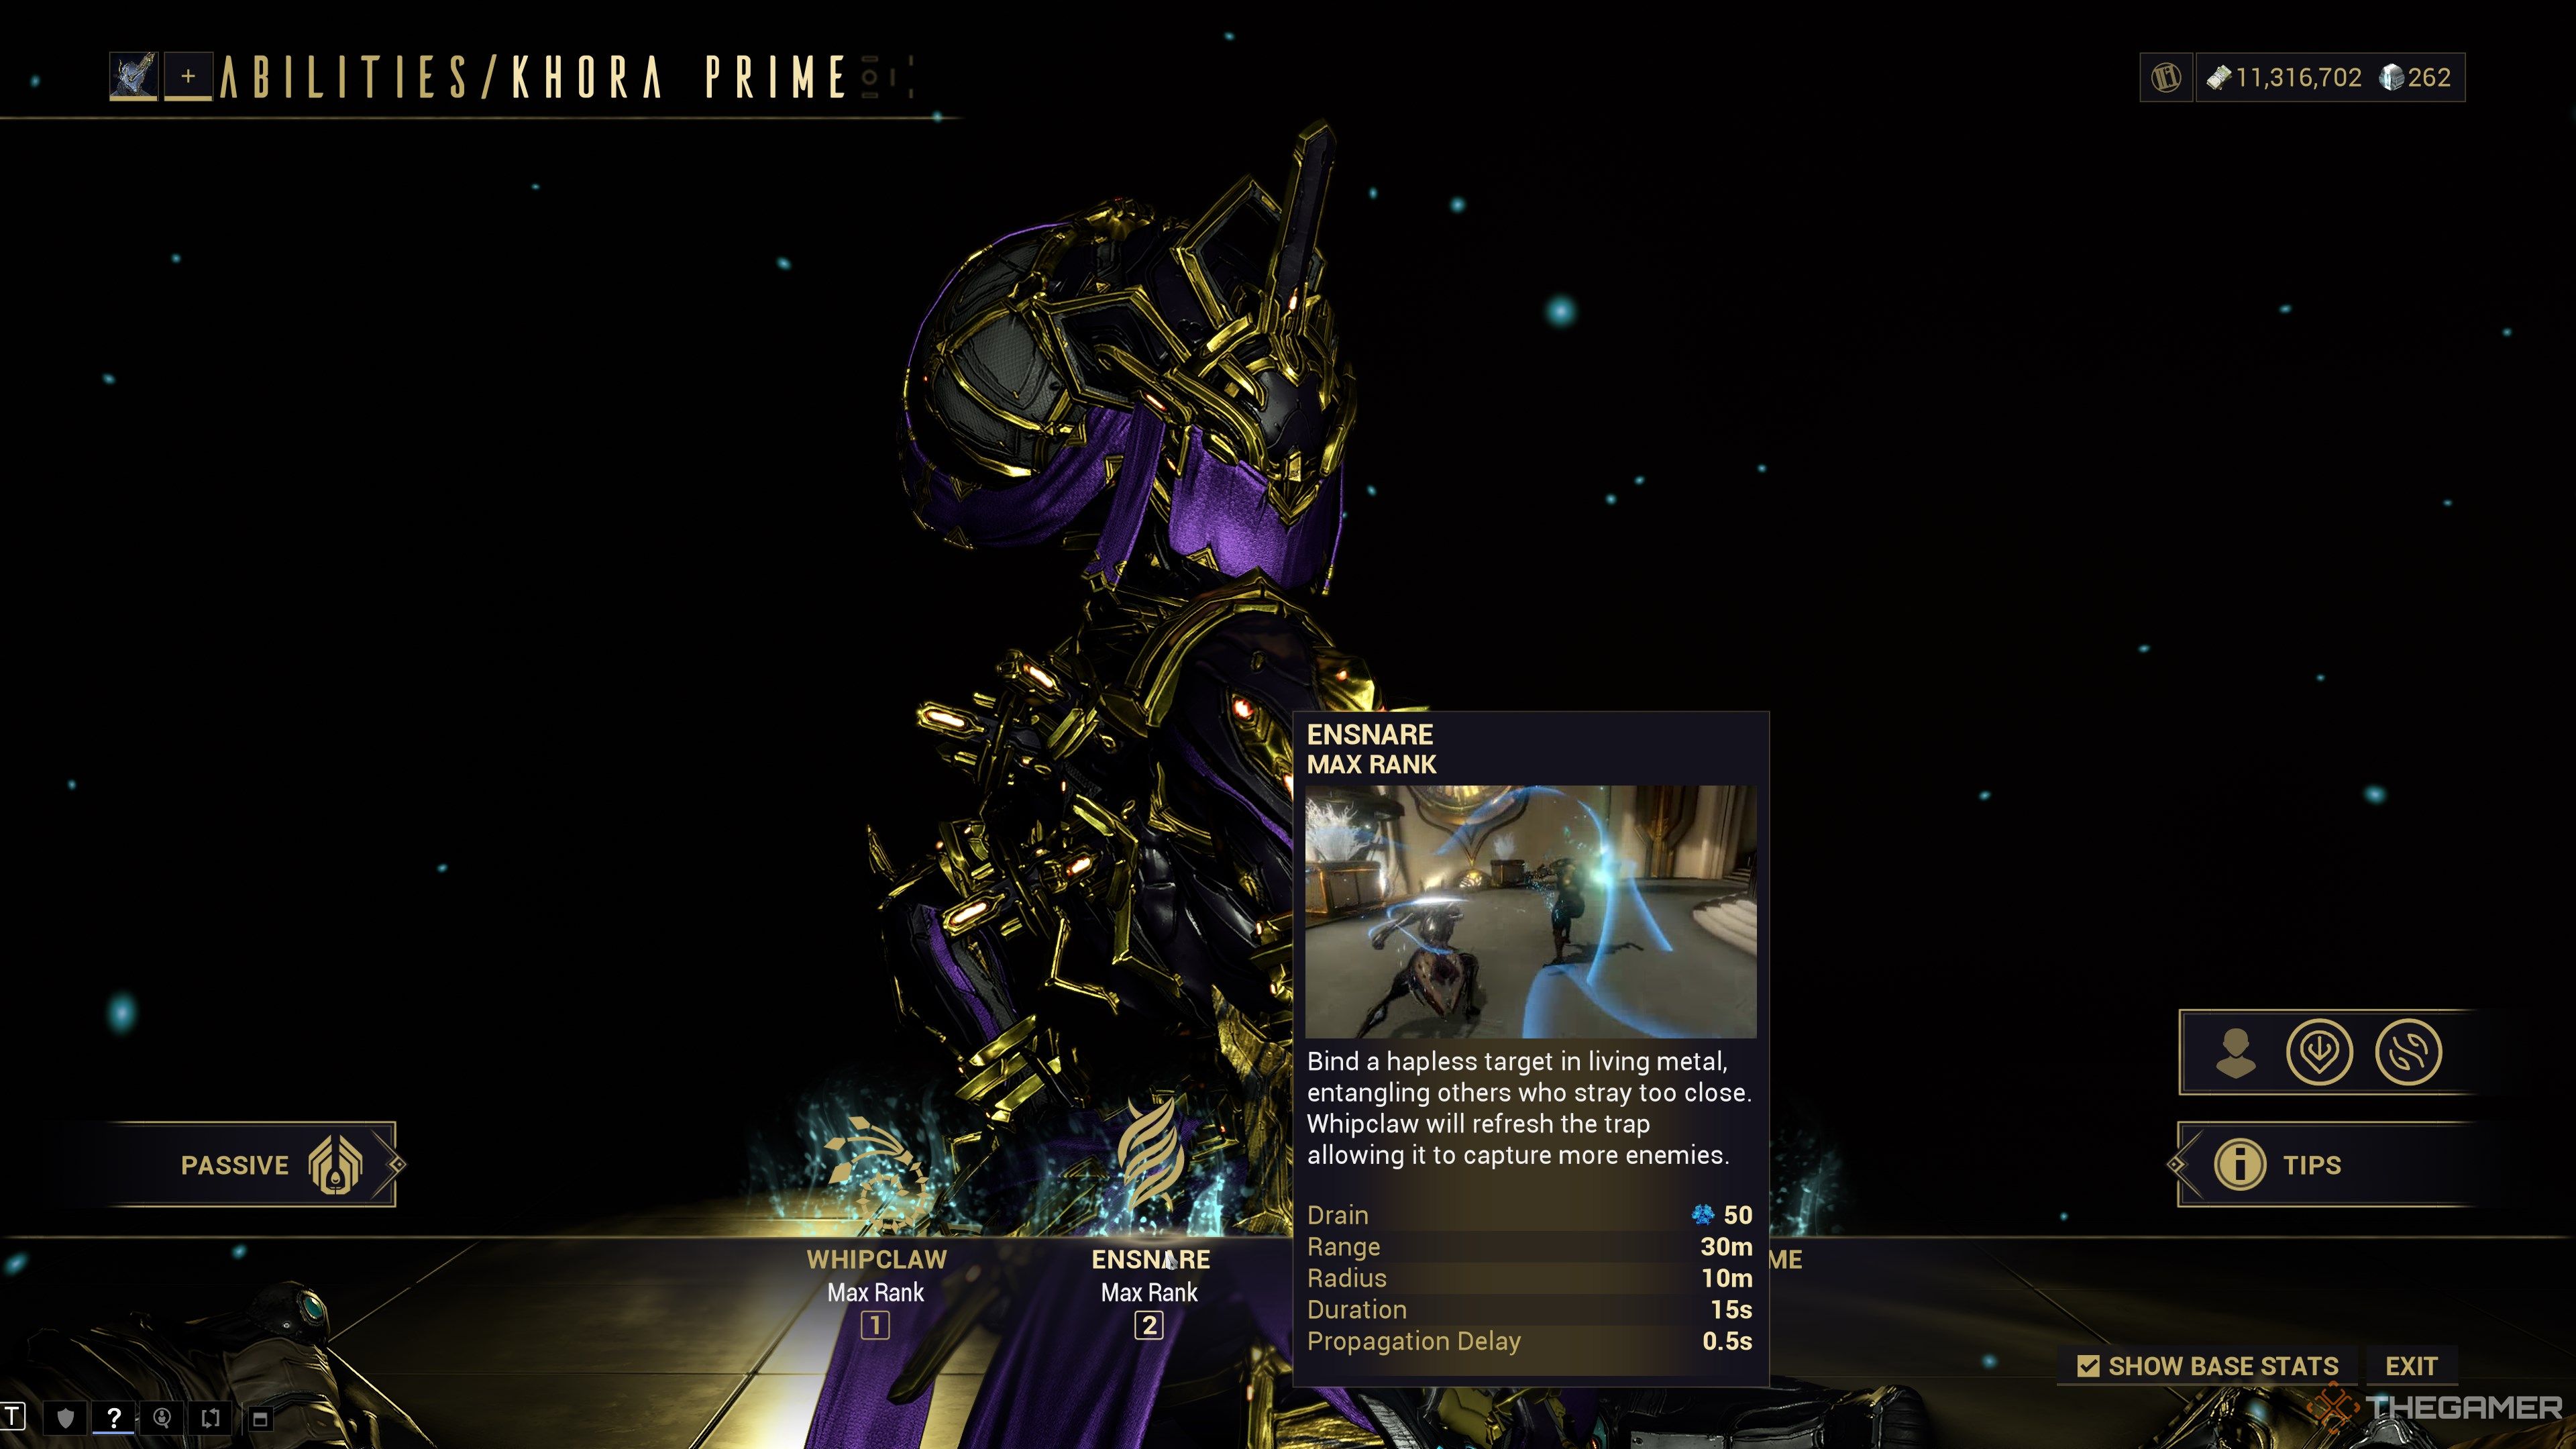
Bind a hapless target in living metal, entangling others who stray too close. Whipclaw will refresh the trap, allowing it to capture more enemies.
|
Ensnare Stats |
|||
|---|---|---|---|
|
Drain |
50 Energy |
||
|
Radius |
10 Meters |
||
|
Targeting Range |
30 Meters |
||
|
Duration |
15 Seconds |
||
|
Applicable Mods |
|||
|
Duration |
Range |
Efficiency |
Strength |
|
Affects how long targets are ensnared. |
Affects targeting and ensnare radii |
Affects cast Energy cost |
N/A |
You can subsume this ability onto other Warframes through the Helminth system.
Target a nearby enemy and strike them with your whipclaw, entangling them with living metal that spreads to nearby targets. Enemies caught in Ensnare are stunned and pulled into a tight cluster, making this a strong method of crowd control. Enemies debuffed by Ensnare also take 200% more damage from whipclaw and 150% more damage from your Venari companion.
As with Whipclaw, you can scale Ensnare’s targeting radius with Ability Range, which is arguably the most important stat for Khora in general. If you want to keep enemies ensnared for a longer duration, spec for Ability Duration.
Venari
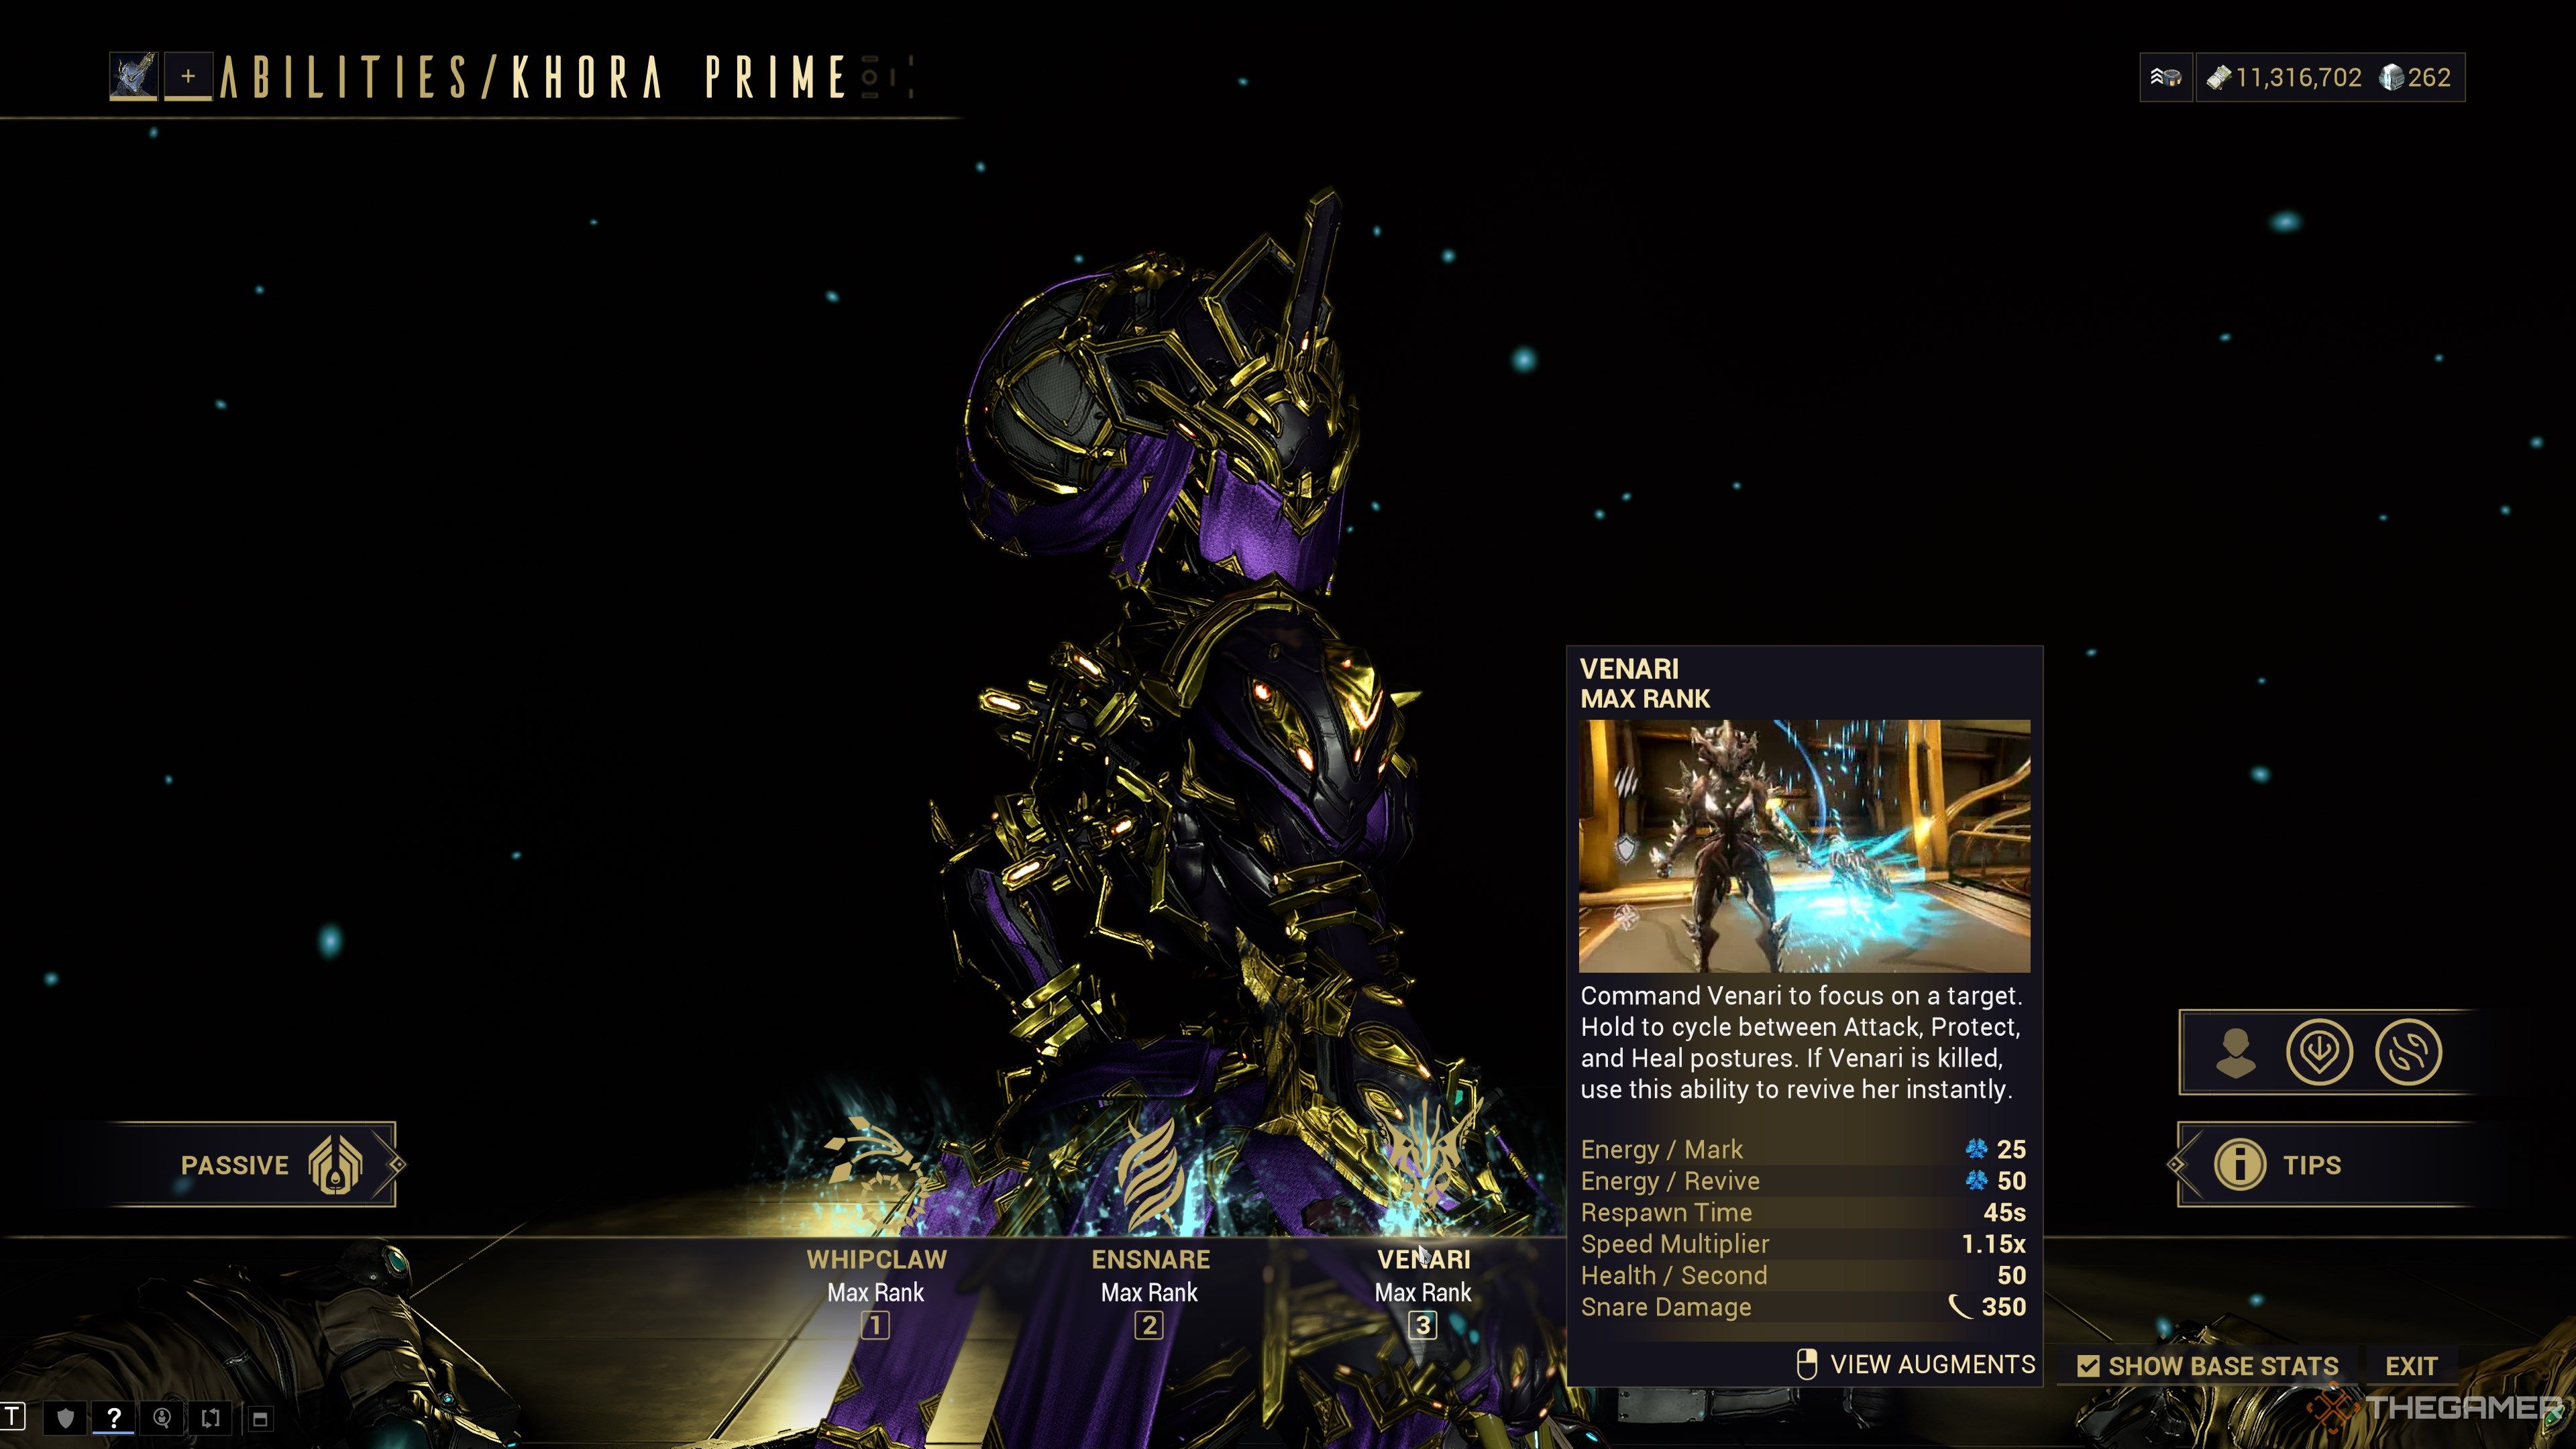
Command Venari to focus on a target. Hold to cycle between Attack, Protect, and Heal postures. If Venari is killed, use this ability to revive her instantly.
|
Venari Stats |
|||
|---|---|---|---|
|
Drain |
Posture: 38.75 Energy |
||
|
Revive: 77.5 Energy |
|||
|
Respawn Time |
45 Seconds |
||
|
Speed Bonus |
1.15x |
||
|
HP Regeneration |
50 HP per second |
||
|
Snare Damage |
350 Slash damage |
||
|
Applicable Mods |
|||
|
Duration |
Range |
Efficiency |
Strength |
|
N/A |
N/A |
Affects cast Energy cost |
Affects Venari’s posture buffs and damage |
Venari is Khora’s signature companion, a metallic Kavat who guards Khora at all times. This ability allows you to change Venari’s AI behavior to better suit your needs. They have three precepts:
-
Attack: Venari attacks any enemy in sight.
- A weaker version of Ensnare may be cast by Venari.
-
Defense: Venari sticks by Khora’s side, attacking the closest enemy in sight.
- Venari can knock down enemies with their tail swipe attack.
- Heal: Venari will follow the player with the lowest HP, passively healing them over time.
You may only have Venari in one active stance at a time. Should Venari go down in combat, you can hold this ability to revive them.
Since Venari is technically Khora’s passive, you can subsume over this ability and retain access to Venari; you just won’t have access to Venari’s stances.
Strangledome
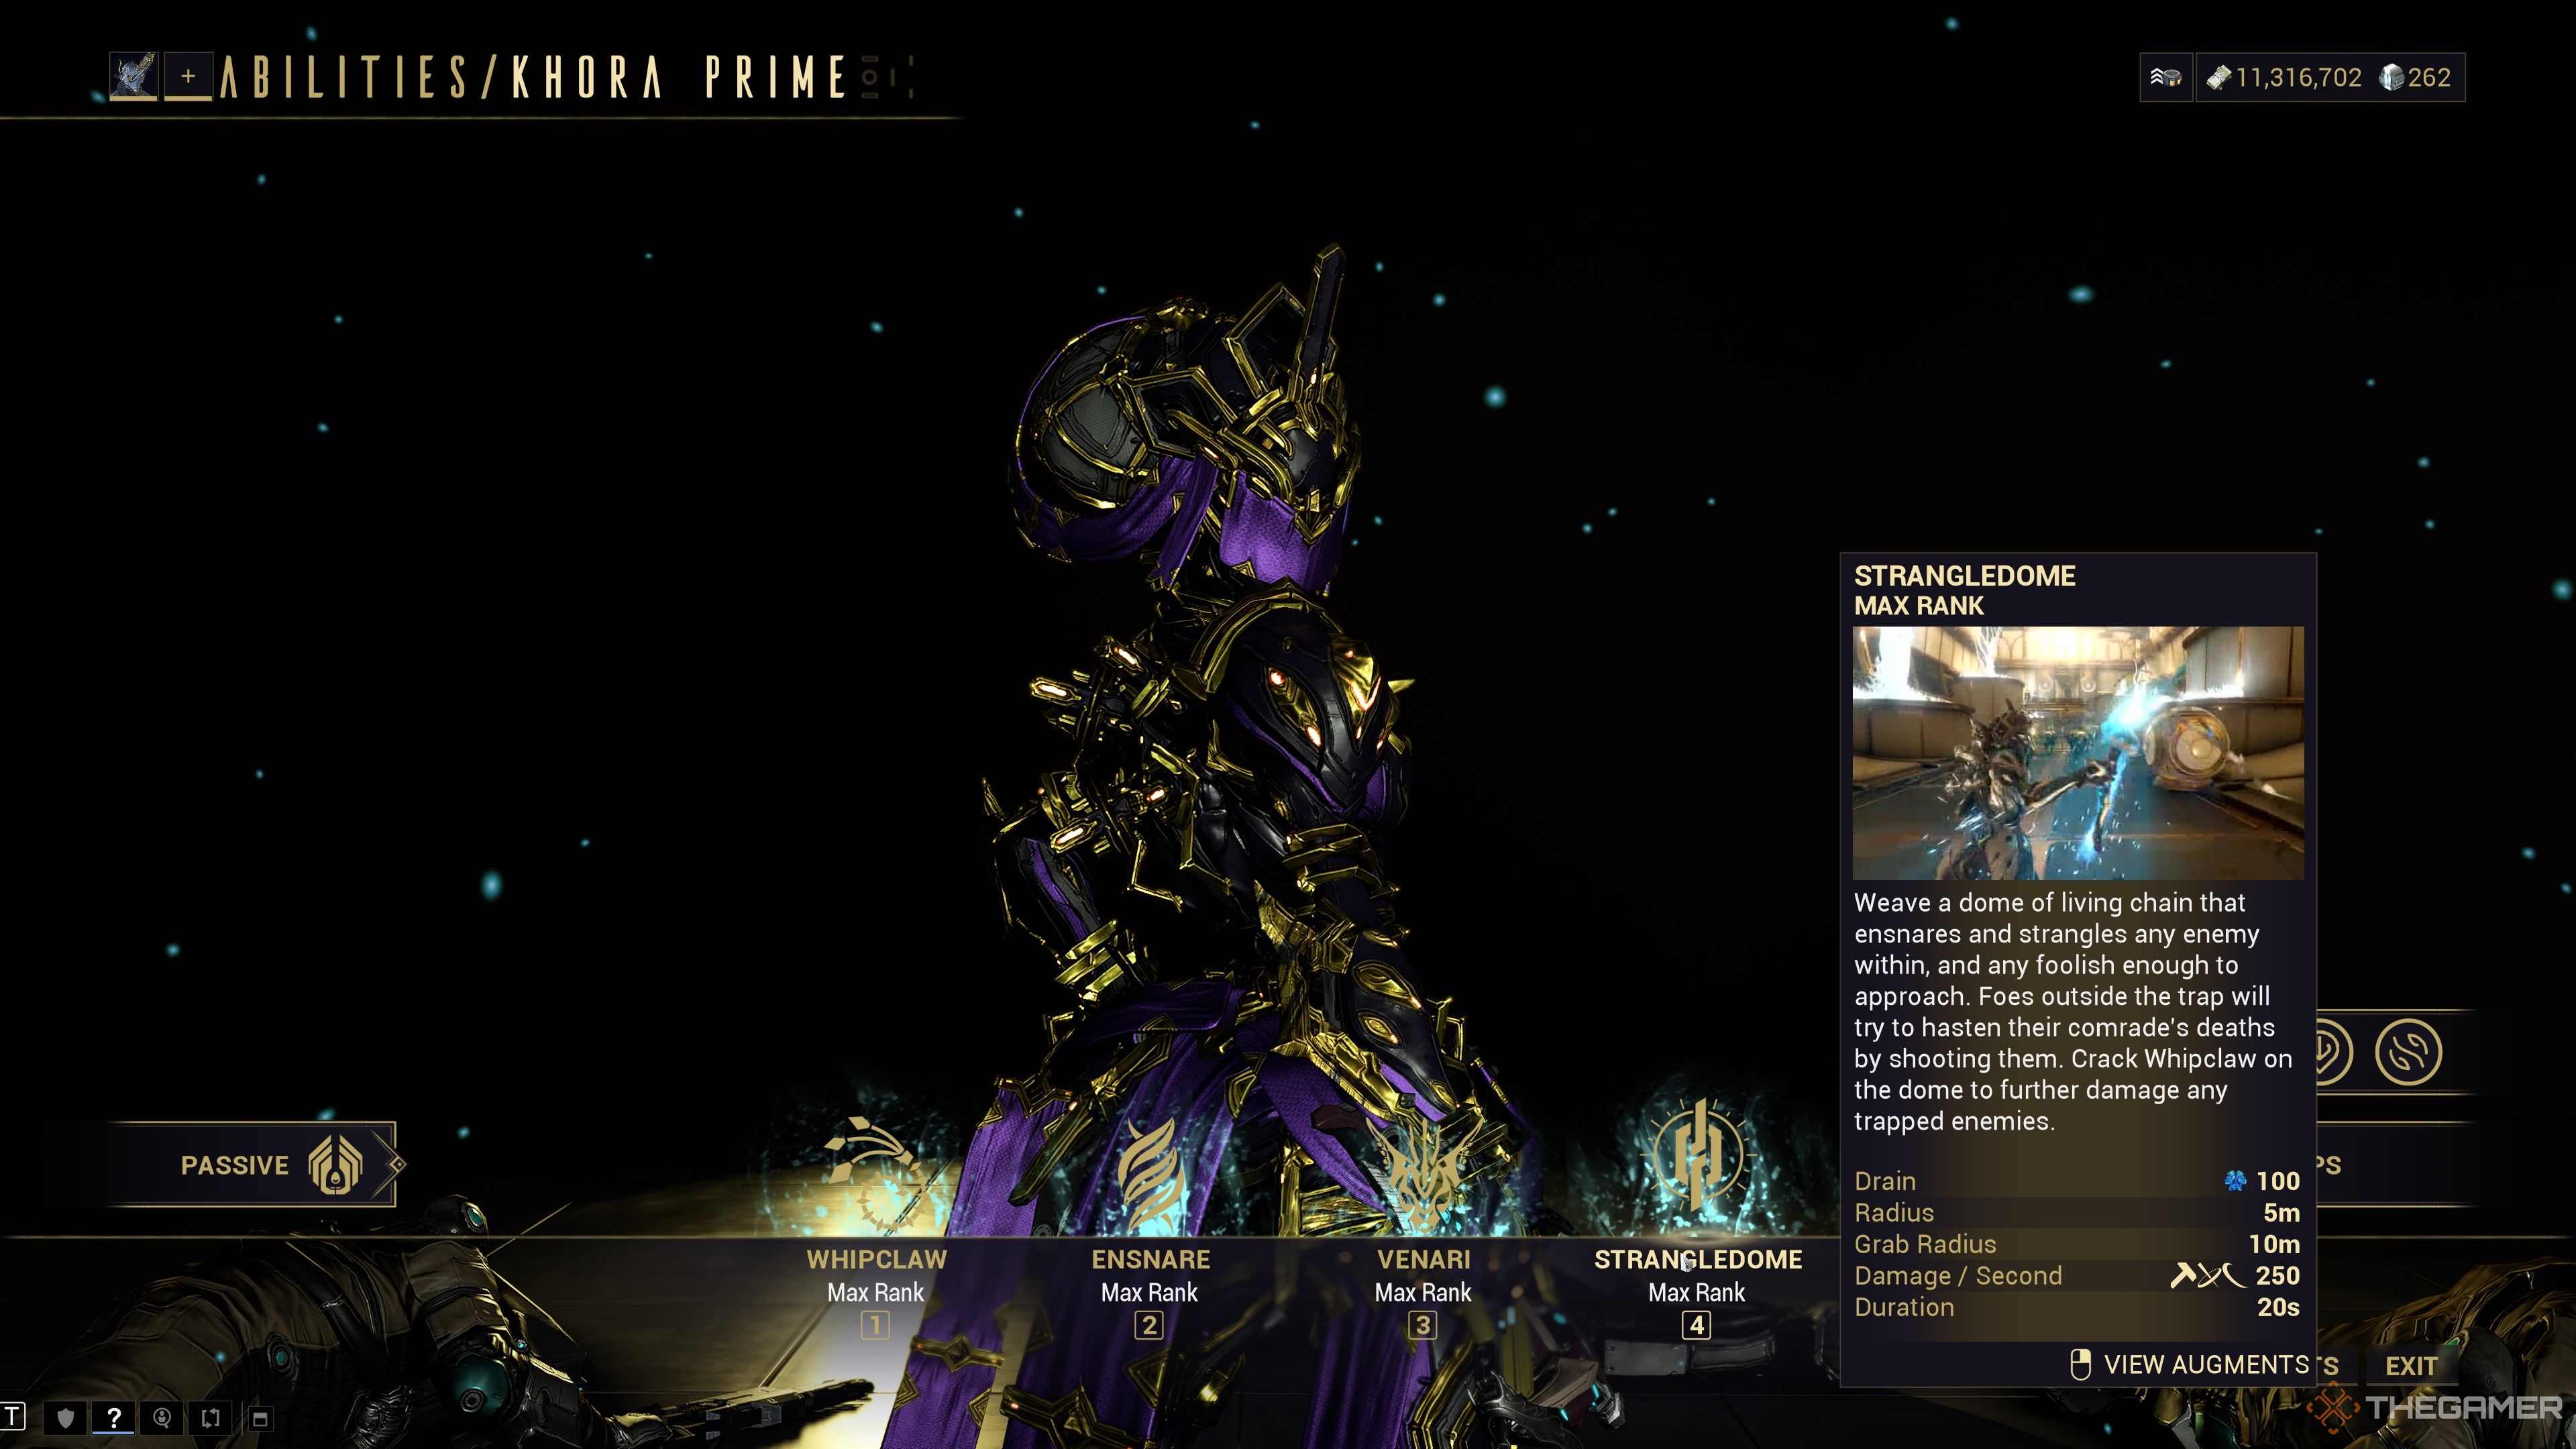
Weave a dome of living chain that ensnares and strangles any enemy within, and any foolish enough to approach. Foes outside the trap will try to hasten their comrade’s deaths by shooting them. Crack Whipclaw on the dome to further damage any trapped enemies.
|
Strangledome Stats |
|||
|---|---|---|---|
|
Drain |
100 Energy |
||
|
Radius |
Dome: 5 Meters |
||
|
Grab: 10 Meters |
|||
|
Duration |
20 Seconds |
||
|
Damage |
250 IPS per second |
||
|
Applicable Mods |
|||
|
Duration |
Range |
Efficiency |
Strength |
|
Affects how long the dome lasts |
Affects dome size and grab radius |
Affects cast Energy cost |
Affects Strangledome’s passive damage |
Khora creates a semisphere of living metal, latching onto targets before hanging them in the air. Enemies caught in the Strangledome are unable to move or perform actions, although their body will aggressively ragdoll while chained. You can use this opportunity to shoot them or use Whipclaw, causing the damage to be shared with everyone caught in the Strangledome.
Khora may have up to two Strangledomes active at a time.
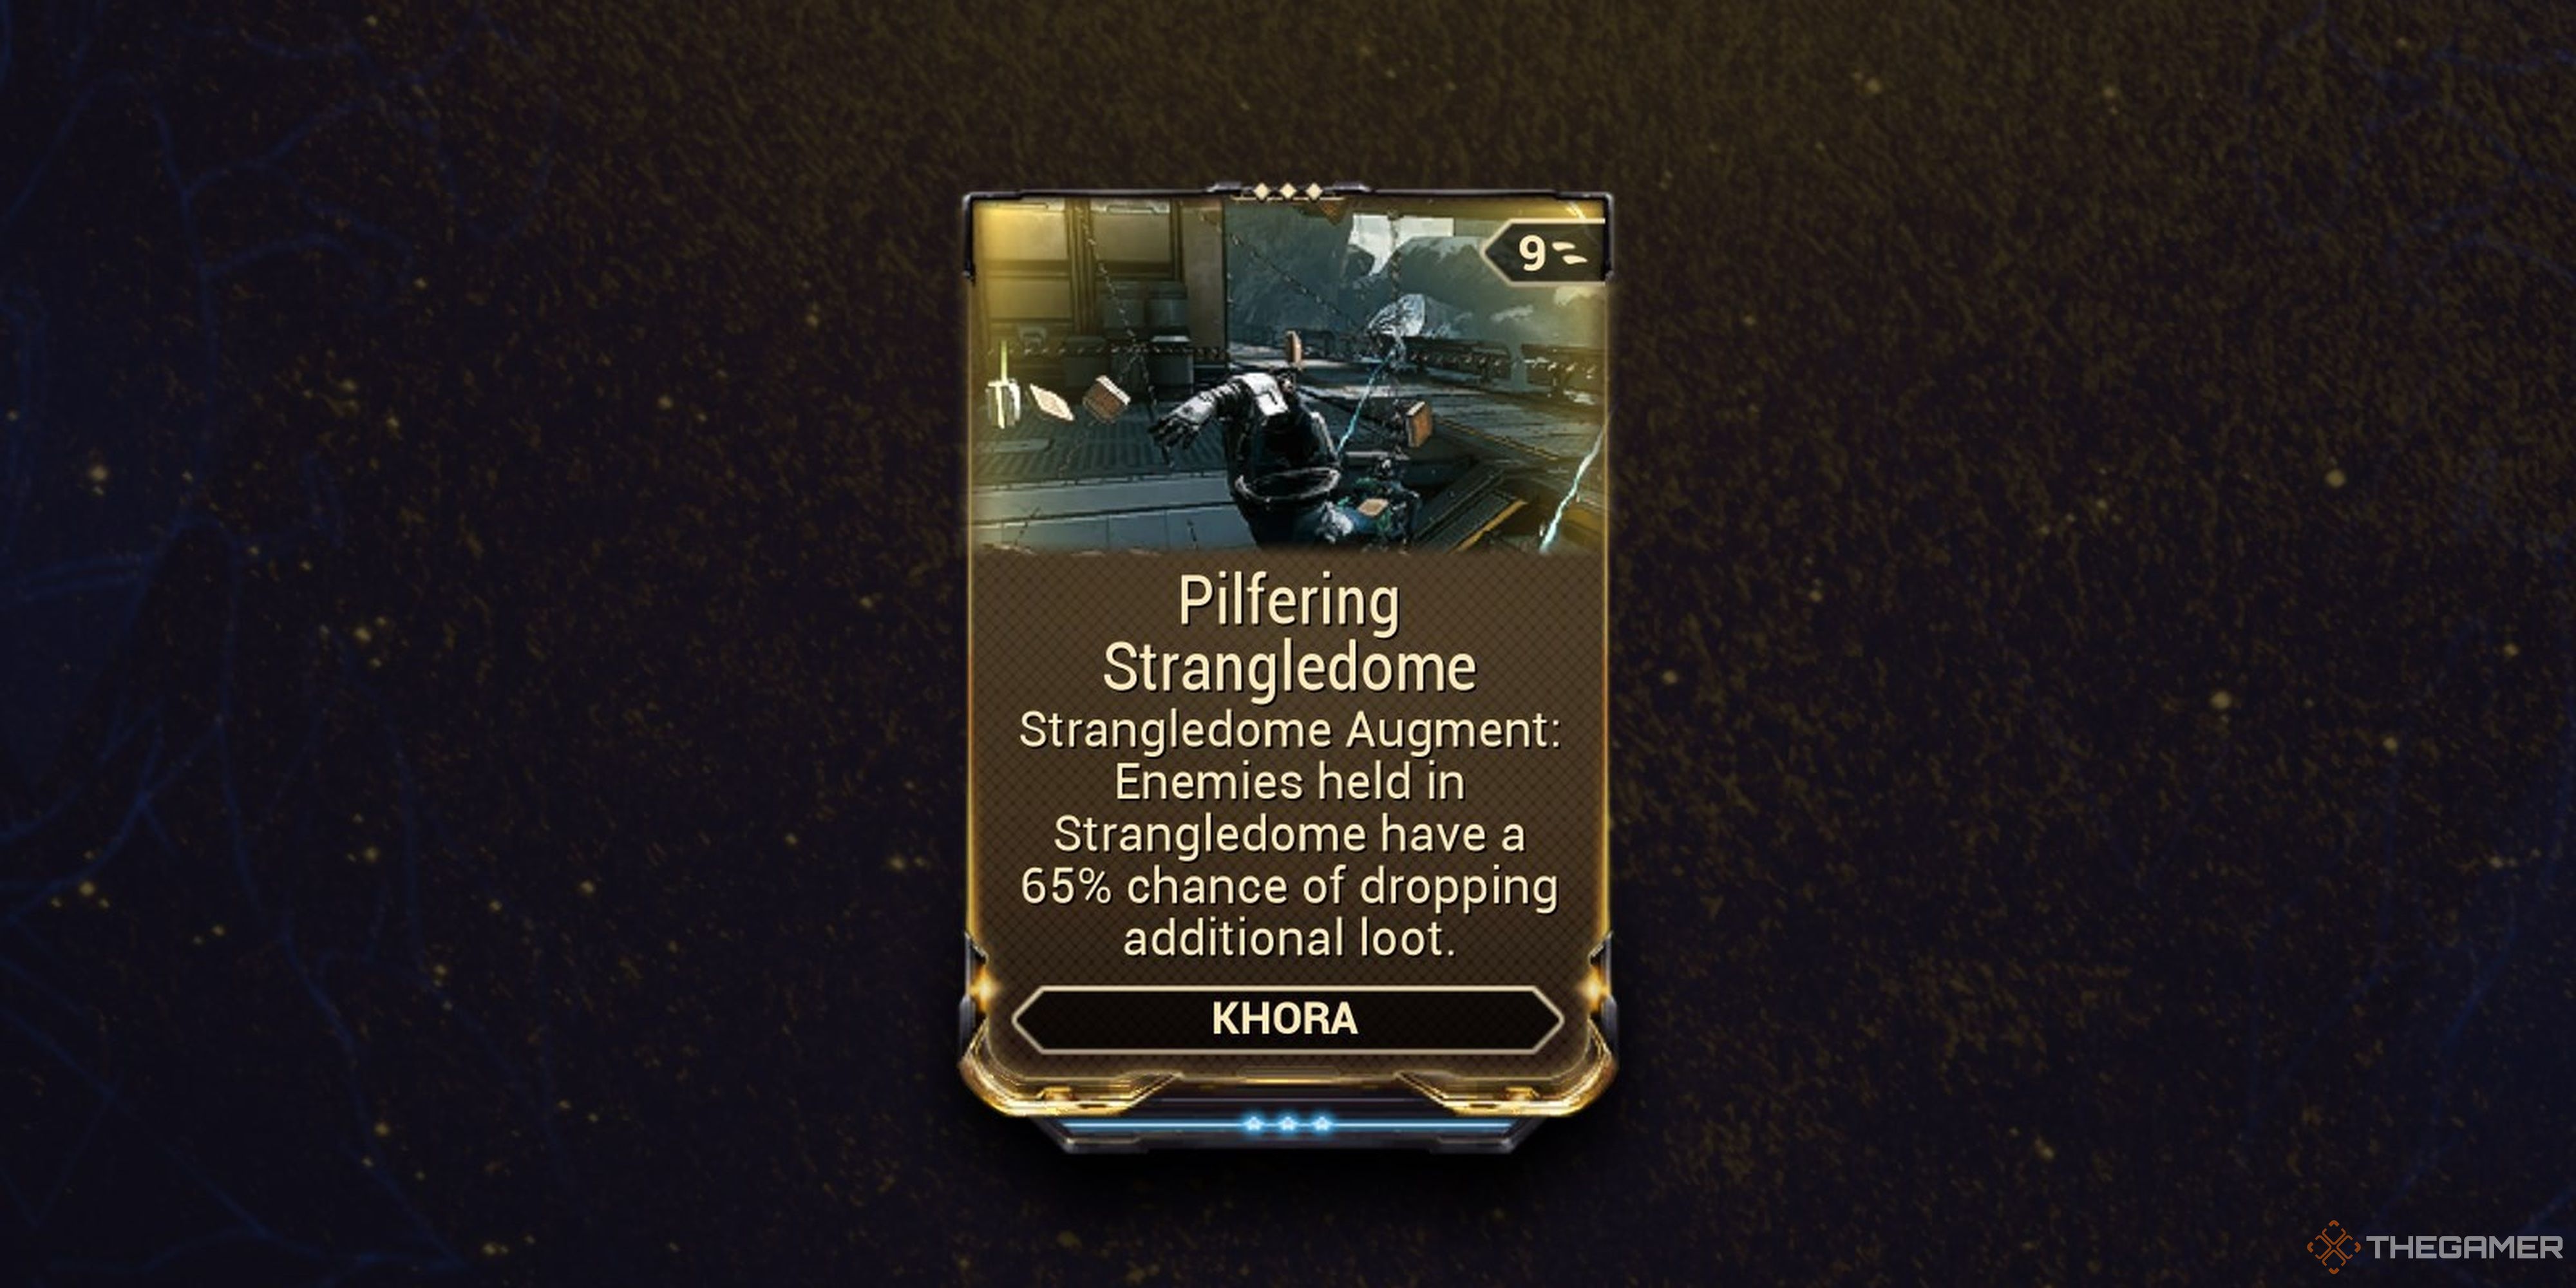
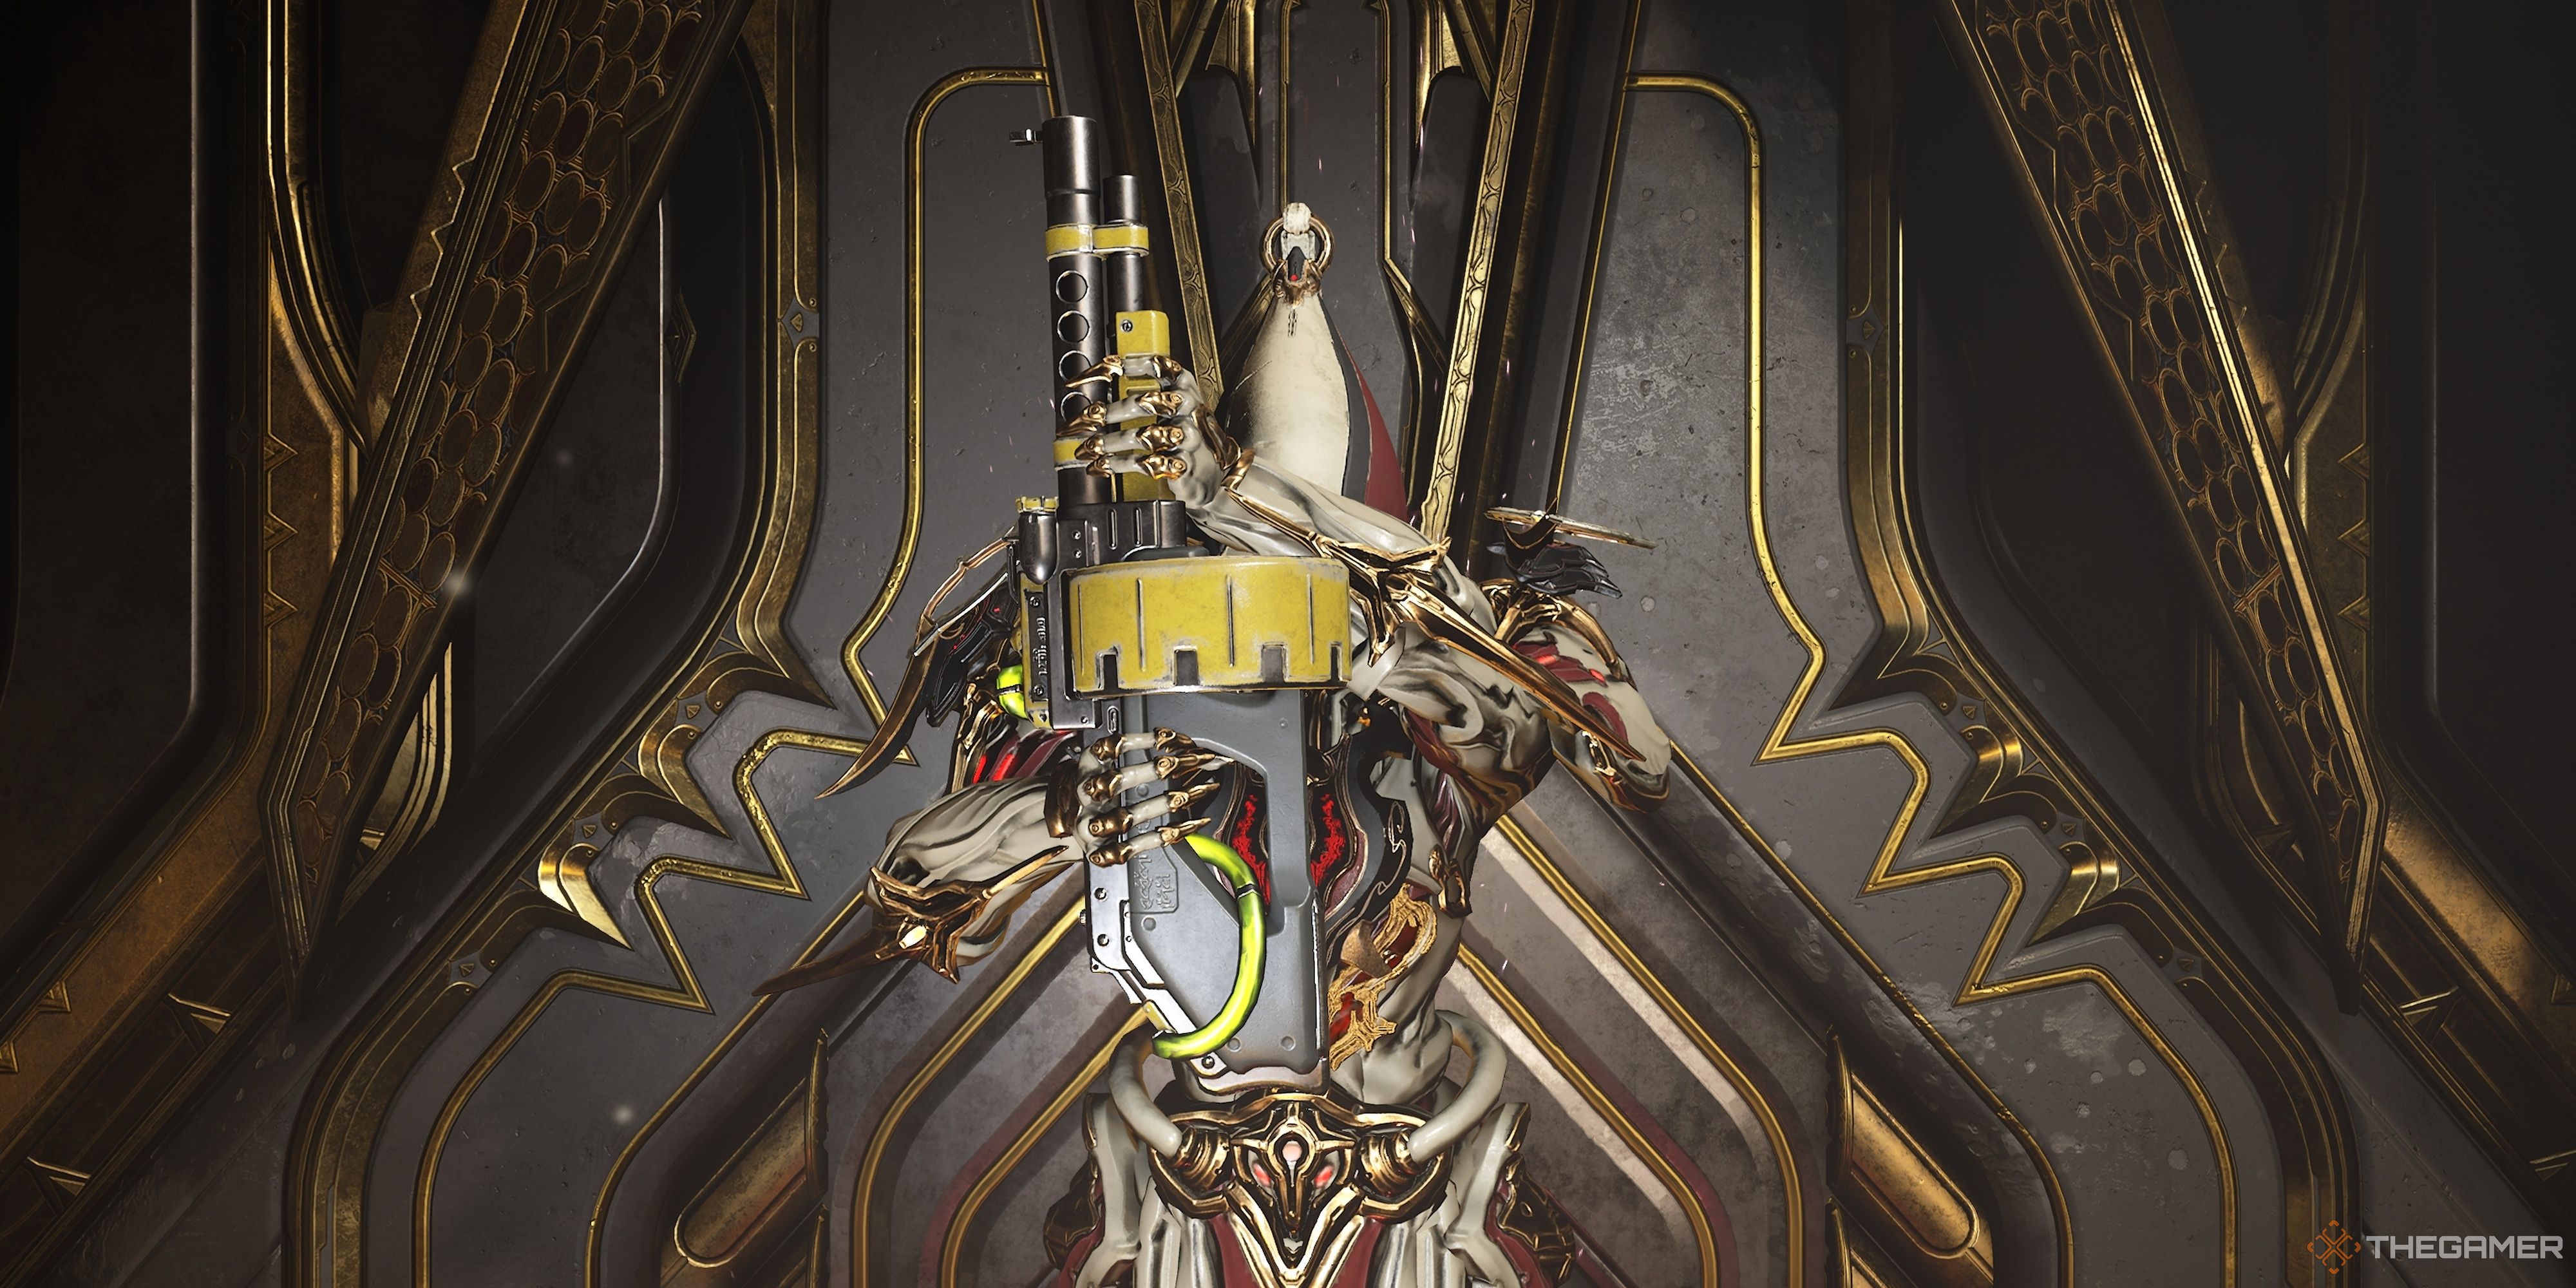
Since Strangledome has a hard enemy cap of 26 enemies each, you ideally want to scale Ability Range to hit that number consistently. This synergizes nicely with Whipclaw’s AoE damage, allowing you to hit multiple enemies in a single Whipclaw cast to gain quadratic damage scaling. You can even throw on the Pilfering Strangledome augment for bonus loot.
Related
Warframe: Best Purgator 1 Builds
Blast your enemies apart with this build for the Purgator 1.
Khora Augments
Khora has access to three augment mods, all of which are obtainable from the Red Veil and Steel Meridian Syndicates. Each augment costs 25,000 Standing and requires max rank with either Syndicate. Alternatively, you may trade for these mods through Warframe’s player trading system.
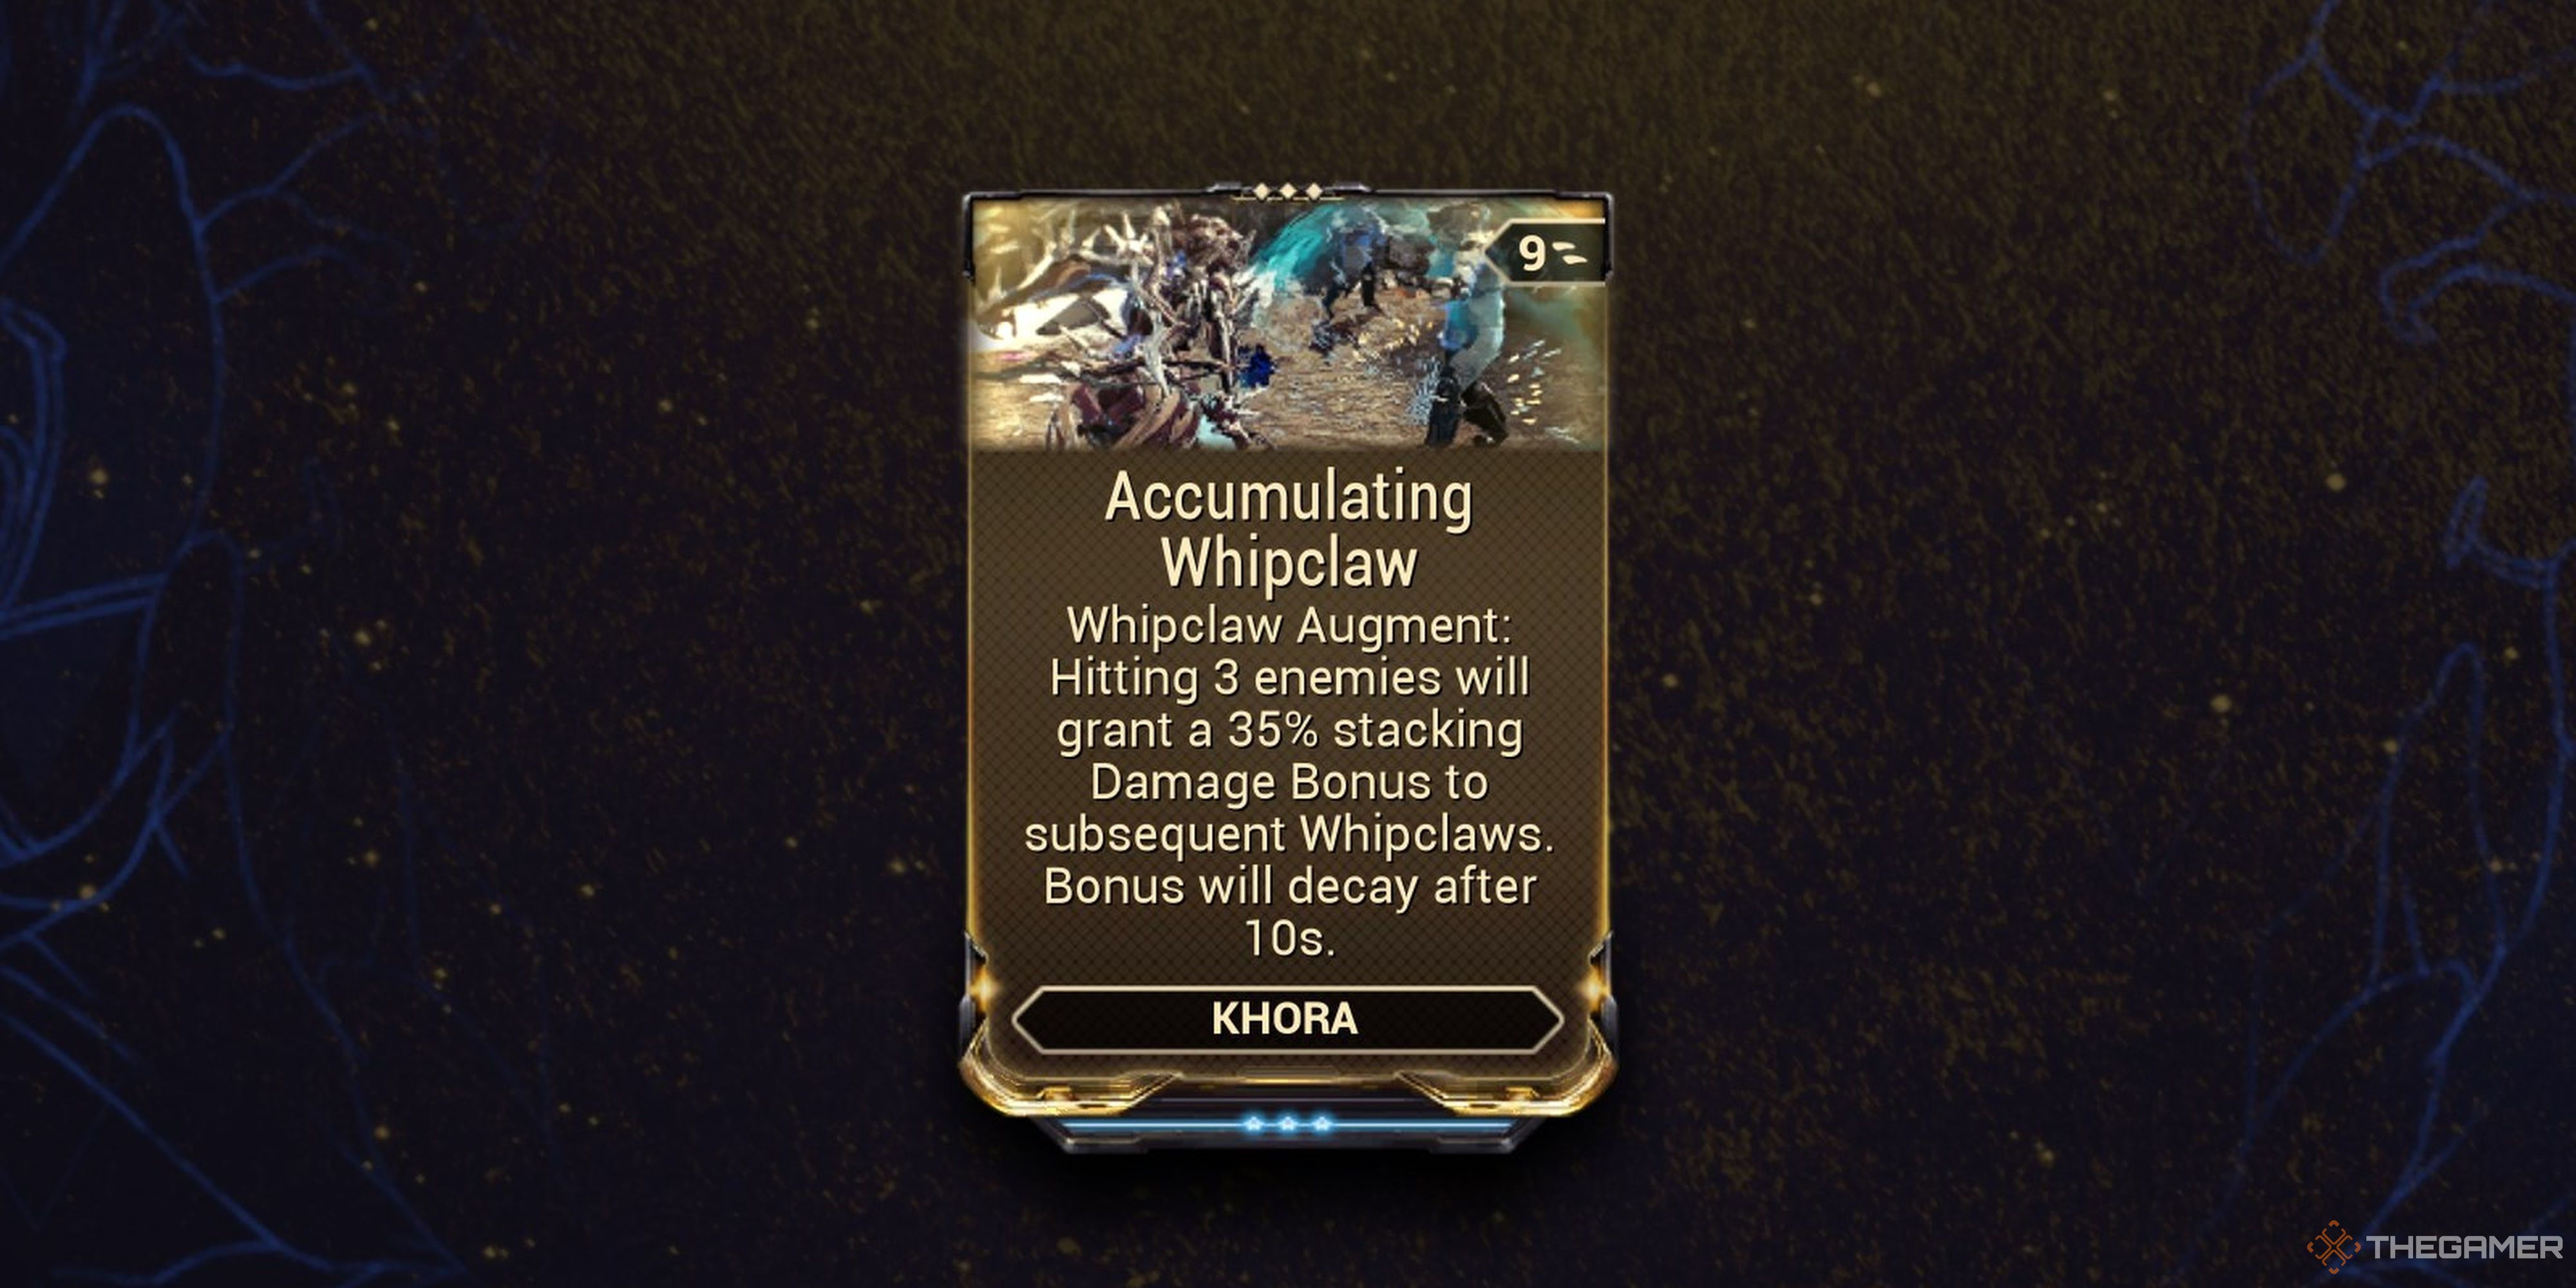
Accumulating Whipclaw
Hitting 3 enemies will grant a 35% stacking damage bonus to subsequent whipclaws. Bonus will decay after 10s.
Whipclaw will gain a 35% additive damage bonus if you hit three enemies in a single ability cast, stacking up to a maximum of 350%. This buff maximum cannot be modified, but the damage bonus you receive per stack can be increased with Ability Strength. Once the decay period ends—affected by Ability Duration mods—you’ll lose roughly three percent of your buff magnitude per second until it fully decays.
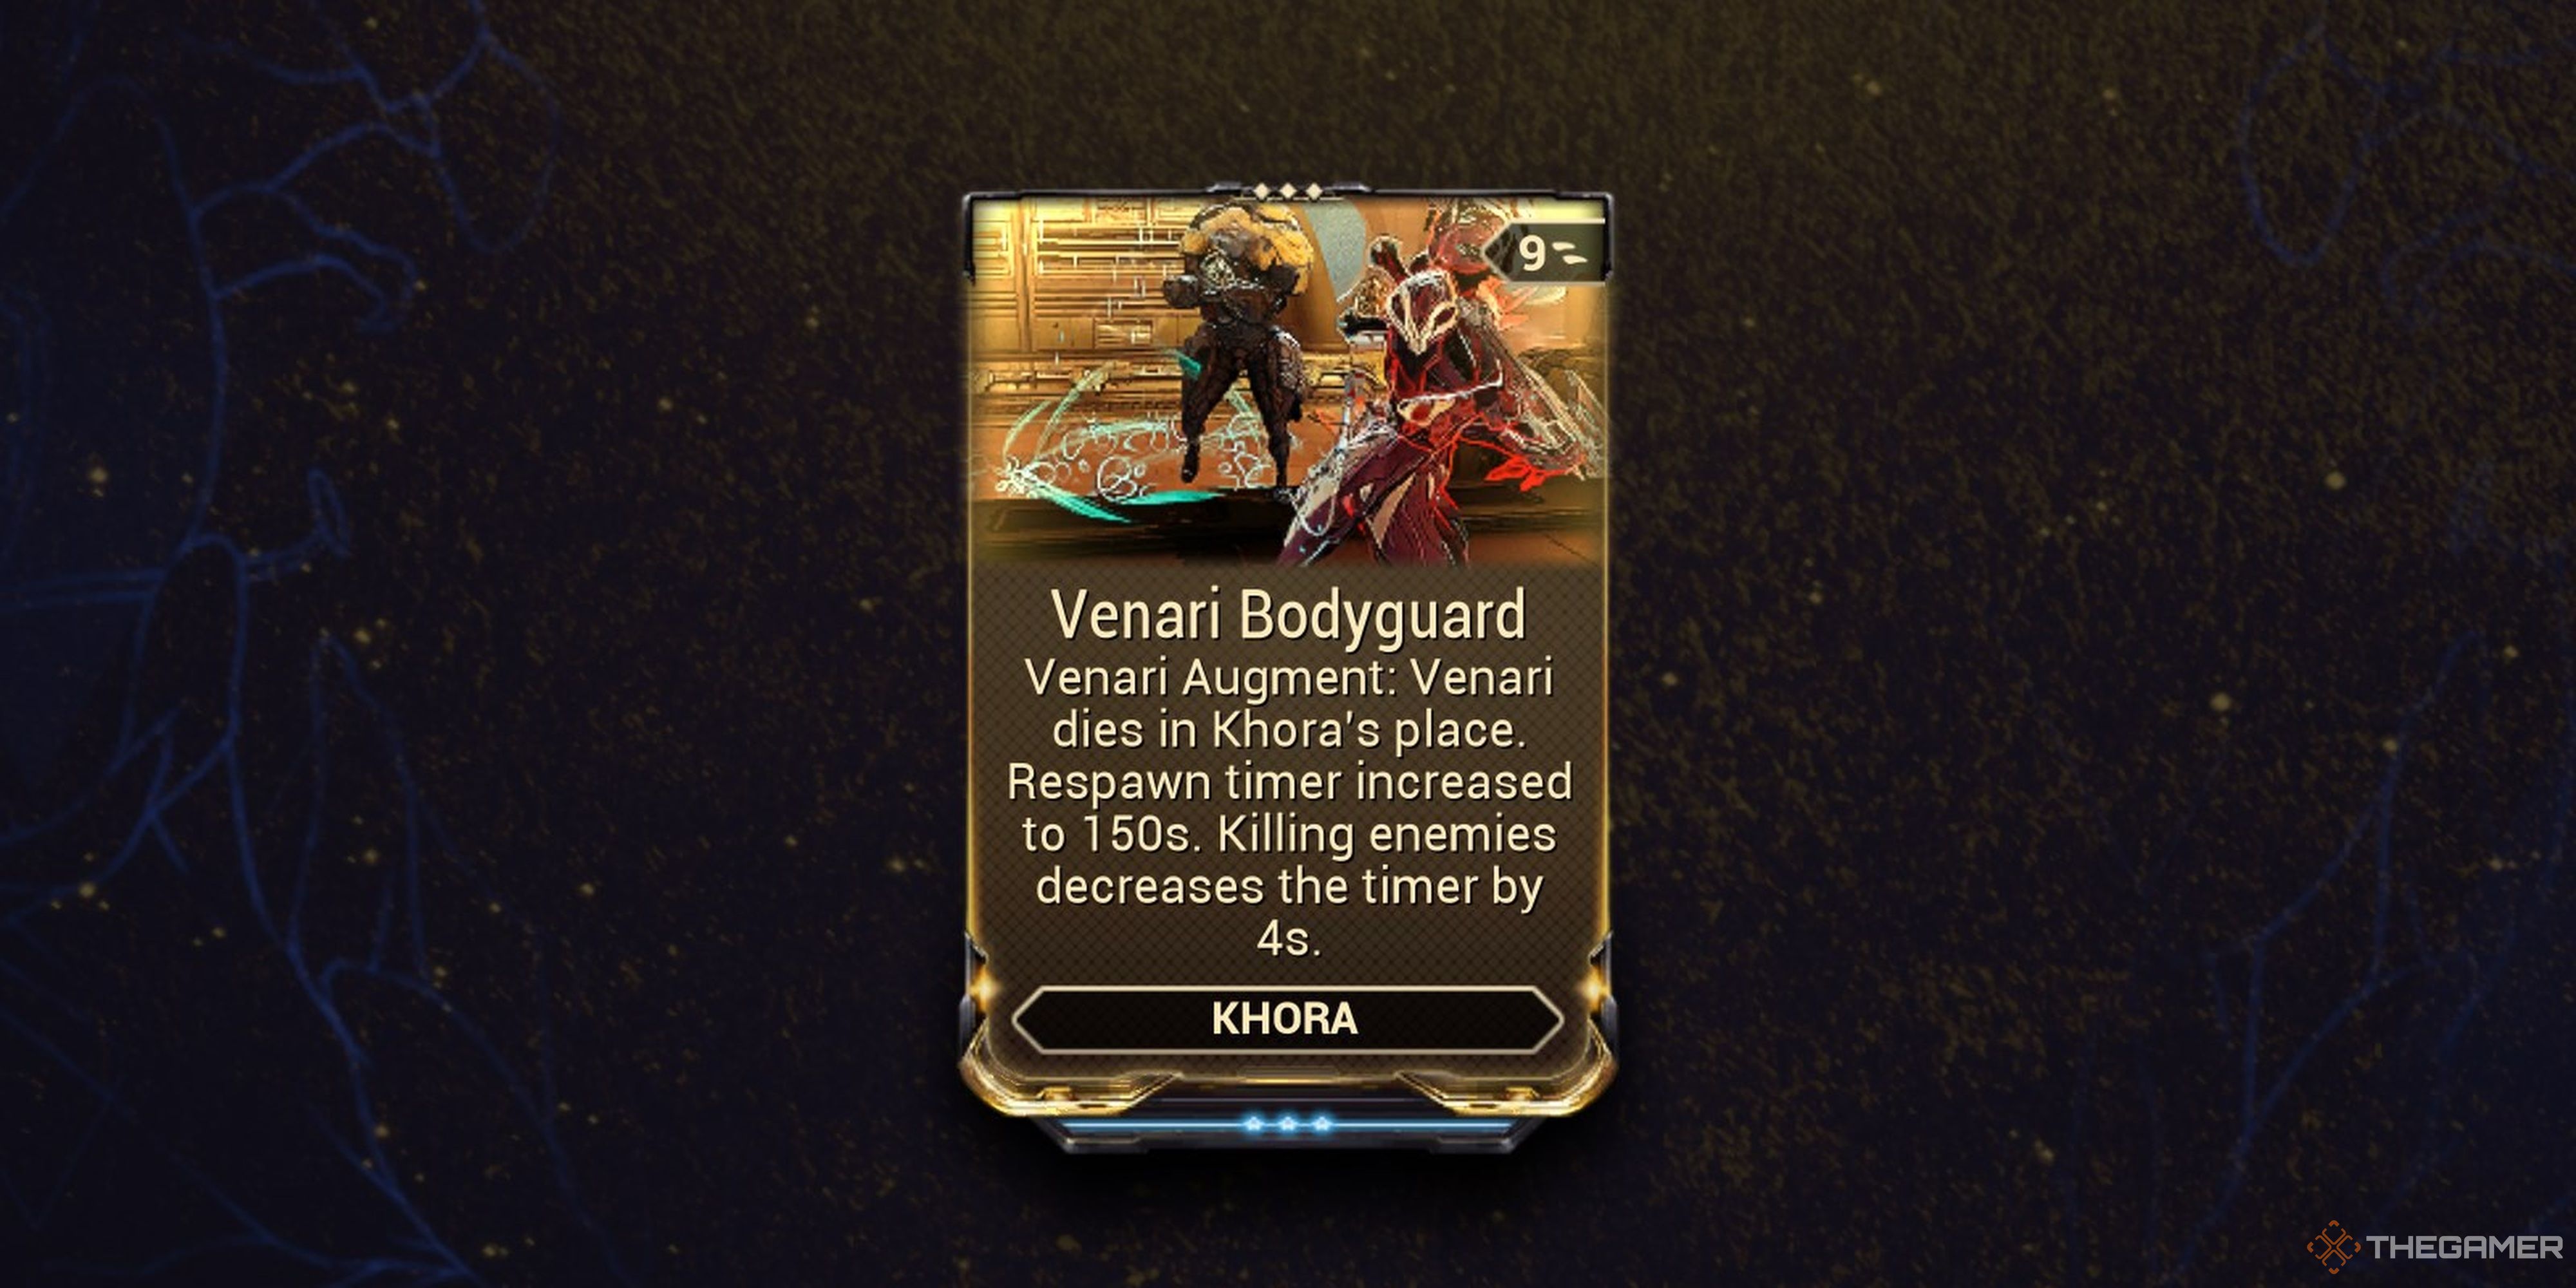
Venari Bodyguard
Venari dies in Khora’s place. Respawn timer increased to 150s. Killing enemies decreases the timer by 4s.
Venari Bodyguard does exactly what the mod card states. Whenever Khora loses all of her HP, Venari will die in her stead, healing Khora for 50% of her HP and three seconds of invulnerability.
Venari’s respawn timer is increased to 150 seconds while this augment is equipped, although kills from any source will reduce this timer by four seconds, unaffected by mods.
Pilfering Strangledome
Enemies held in Strangledome have a 65% chance of dropping additional loot.
Targets stuck inside of Khora’s Strangledome have a flat 65% chance of dropping an additional item. This can include Health Orbs, Energy Orbs, ammo, or mods. This does not stack with Hydroid’s Pilfering Swarm augment, although it does work alongside
Nekros’ Desecrate ability
and all premium boosters. Use this augment if you need to farm for resources, Endo, or rare drops from certain enemy types.
Khora Builds
We’ll be looking at two Khora builds today. One is focused on farming loot as efficiently as possible, while the second one is better suited for endgame Steel Path activities like The Circuit. Khora is a fairly easy Warframe to scale thanks to her separately-modded exalted melee and companion, so using her in Star Chart content and Arbitrations should prove trivial.
For survivability, shield gating works best on Khora since you’ll spend most of your time spamming Whipclaw. HP tanking is also an option if you don’t mind scaling her armor through Archon Shards or Arcanes. For your
Focus school
, use Zenurik for a constant stream of Energy or Naramon if you’re scaling combo count on Whipclaw.
Khora’s whipclaw counts as a melee weapon, so any Archon Shards that scale melee damage are exceptionally powerful here. Stacking melee critical damage (Violet Shard) is a fantastic option.
If you are not planning on scaling Ability Strength, then you’ll want to stack Ability Strength (Crimson Shards) instead to scale your Whipclaw’s base damage.
Pilfering Strangledome Farming
|
Forma |
|
|---|---|
|
Subsume |
Preference |
|
Archon Shards |
None |
This zero Forma build is all about buffing Khora’s Whipclaw and Strangledome abilities. Pilfering Strangledome is amazing for buffing loot drops for your squad. The best way to kill enemies inside your Strangledome is with Whipclaw, so we’ll be using Accumulating Whipclaw to aggressively scale its damage.
Range is vital for catching enemies in your Strangledomes, so we’ll be using Overextended, Stretch, and Augur Reach to hit 265% range. This should feel comfortable in most tilesets, but feel free to adjust the range as needed. We finish the build with Primed Continuity for more duration, Primed Flow for a larger energy battery, and Vitality for a slight boost to our survivability. Your Arcanes and chosen aura are down to preference.
Consider modding your Whipclaw for Magnetic damage and the Melee Vortex Arcane. This will pull enemies loot into your Strangledome for easy looting.
Steel Path Build
|
Forma |
Khora: 3 (Aura, –, D) Whipclaw: 2 (2V) |
|---|---|
|
Subsume |
Dispensary (Protea) |
|
Archon Shards |
None |
This build is focused on scaling Khora’s damage in the endgame as much as possible. We still use Pilfering Strangledome since it’s such a good augment for farming, but you can replace it with any Strength or quality-of-life mod you prefer. As always, Accumulating Whipclaw is used to aggressively scale your first ability’s DPS.
We’ll be dropping Overextended this time and use Primed Reach on Whipclaw to make up the range loss. This gives you significantly more base damage on Whipclaw to then scale with modifiers like Melee Influence. Energy economy can pose an issue if drops are infrequent, so we’ll be using Protea’s Dispensary alongside Equilibrium to generate energy and HP on demand.
For survivability we’re going all-in on shield gating. Brief Respite and Augur Reach will make Dispensary fully restore Khora’s shields, provided you’re using Catalyzing Shields as well. Finish the build with Primed Sure Footed to ignore incoming knockdown effects.
As for your melee weapon, we’ve opted to use a generic Melee Influence build here. Status damage scaling is ideal here, using Galvanized Influence and critical damage scalars to obliterate the screen whenever you proc Melee Influence. Use Weeping Wounds to scale your status chance, Voltaic Strike to proc Electricity, and you’ll kill hordes of enemies in a single Whipclaw cast.
It’s worth noting that bane mods offer nearly three times as much damage but require you to reconfigure your loadout between matches. Consider using one over Primed Reach if you’re pushing level cap or attempting a Duviri Circuit run.
Next
Warframe: Excalibur Complete Guide – Drops, Abilities, And Builds
Become a master of gun and blade with Excalibur, one of three starter Warframes.

