Like most games with skills and a combat system, Stardew Valley features buffs that can improve your stats. Some of them make peaceful activities like farming and fishing easier, while others improve your combat performance by boosting your damage or your defense. Enemies can also make your life harder by inflicting debuffs.
Every temporary buff and debuff appears as an icon at the top of the screen, and you can always check out exactly what they do and how long they last by hovering over the icon with your cursor. However, you don’t always have time to read this information, and not every buff is clear about how it works. That’s why this Stardew Valley guide will explain where buffs come from, how they stack, and exactly what each one does.
Updated May 5th, 2025, by Artur Novichenko: Buffs in Stardew Valley can make your playthrough a lot easier, whether it’s exploring mines or growing crops. And while you will find plenty of sources for buffs, with each update, there are more and more. So we’ve added all the items that can give you special boosts, including the Statue of the Dwarf King and the Statue of Blessings.

Related
3 Holidays Stardew Valley Needs to Add Events for After New Years in Update 1.6
With the addition of New Year’s to Stardew Valley, one wonders what other kinds of holidays have the chance to get events in future updates.
Food and Drink
Most food and drink items in the game provide health, energy, and a temporary buff or two. So while most food items make good gift ideas, a few of them are even better as ways to improve your gameplay.
However, there’s one big problem with crafting and eating a small buffet at once: food buffs don’t stack. For instance, if you eat a Lucky Lunch to get +3 Luck for 11 minutes, you can’t eat a second Lucky Lunch to get +6 Luck or +3 Luck for 22 minutes. Instead, the second Lucky Lunch will reset the timer back to 11 minutes when you eat it. It’s worth noting that inventory tooltips also show you the duration of food buffs.
Food buffs also don’t stack if they cover different attributes. If you eat a Lucky Lunch and then Fried Mushrooms, the +3 Luck buff will disappear and the +2 Attack buff from the Fried Mushrooms will replace it.
The one exception to this rule is drink items: the buffs of one food item and one drink item can overlap. For instance, if you eat Spicy Eel and drink a Triple-Shot Espresso, you’ll get a total of +2 Speed. However, just like with food, drinking something new will override an old drink buff.
Another way to boost food buffs is with Qi Seasoning. If this item is in your inventory when you create a food or drink item in your kitchen, you’ll create a gold-quality food or drink instead. This food will restore almost double the health and energy, increase every buff except Speed by +1 (or its equivalent), and boost the buff duration by half again.
Certain foods and consumables provide unique buffs like Monster Musk, Oil of Garlic, and Squid Ink Ravioli. You can stack as many of these unique buffs as you like while still eating food, but you can’t extend the duration by consuming two items at once.
Related
Best Weapons In Stardew Valley, Ranked
Weapons are a huge aspect of Stardew Valley, even for a farming sim, and these are the best options.
Rings and shoes provide permanent buffs that stack with temporary buffs from food and with each other. For instance, you can wear two  Jade Rings
to boost your critical damage by 20 percent, and if you wear a  Crabshell Ring
and  Cinderclown Shoes
your Defense will go up by +11. Unlike temporary buffs, permanent buffs from rings and shoes don’t appear along the top of the screen.
Certain rings can also provide temporary buffs when you meet certain conditions. One example is the Ring of Yoba, which sometimes provides Yoba’s Blessing after you take damage. These temporary buffs will appear along the top of the screen when they trigger.

Related
The Case for Haunted Chocolatier to Have Fewer Romances Than Stardew Valley
Haunted Chocolatier is confirmed to have romance options, but a smaller pool of characters than Stardew Valley could better serve the game.
The Buffs
Attack
Attack buffs increase the amount of damage you deal with each weapon swing. These buffs increase the damage by a percentage, so they’re always worth picking up no matter how good your weapon is. Something to keep in mind is that “Duration” refers to real-time minutes, not in-game minutes, and the timer stops when you enter a menu or pause the game.
Defense
Defense decreases the amount of damage you take from enemy attacks. Each point of defense reduces damage by 1 point, although every hit deals a minimum of 1 damage.
Luck
Luck is a hidden stat that impacts a variety of events. Luck helps determine how fast you find ladders and geodes when mining, how many special nodes spawn on any given dungeon floor, and whether you get regular duck eggs or special duck feathers each morning. Luck buffs are especially important when you’re trying to reach floor 100 of the Skull Cavern and when you’re farming for radioactive ore.
Magnetic Radius
The “magnetic radius” refers to how close your character needs to be to gather a loose item. It comes in handy when mining, fighting monsters, and chopping trees.
Related
Stardew Valley Player Builds JojaMart-Themed Farm
A player of the popular life simulator Stardew Valley creates an impressive JojaMart-themed farm and shares it on the internet.
Max Energy
The more energy you start with, the more you can do during the day without having to stop to eat something or head home to rest. You can eat Stardrops to increase your max energy permanently, but you can also get some temporary boosts from the following consumables. Keep in mind that your current energy goes up by the same amount as your max energy, and each item also restores some energy on top of this buff.
Speed
Speed is useful no matter what you’re doing. The horse counts as a speed buff, and it stacks with any Speed boosts you get from food and drinks. The only downside is that you can fly past enemies if you aren’t used to going fast. For context, your base speed while running is 5.
Tipsy
“Tipsy” is a self-inflicted debuff that you get when you drink alcohol. It always reduces Speed by -1, lasts for 30 seconds, and comes from drinking the following items:
Farming
Your Farming skill level determines two things: how much energy it costs you to use the watering can and hoe, and the odds of getting higher-quality crops when harvesting. Fertilizer is a big help, but getting a Farming buff just before you head out to harvest can tip the odds towards getting more gold and iridium-quality crops.
3:08

Related
Stardew Valley: Coolest Clothing Items & How To Make Them
There are tons of wearable items players can craft in Stardew Valley, but some of them stand out more than others.
Fishing
Your fishing skill has a few effects: the energy used by casting your line, the distance you can cast your line, the time it takes for fish to bite, the quality of the fish you catch, and the size of the bobber bar in the fishing minigame. All these numbers keep going up if you can get your Fishing skill above 10.
Foraging
Your Foraging skill decides how much energy your axe uses and the quality of foraged items like blackberries, crocuses, and leeks. Characters with the Botanist profession won’t need Foraging buffs, but everyone else can benefit from them.
Mining
Luck plays a big role in deciding how many special nodes appear in a dungeon area, but your Mining skill can also boost the odds. Like the other skills, Mining also determines how much energy you spend when you swing your pickaxe.
Adrenaline Rush
This is a unique buff you get from wearing a Savage Ring. The buff is +2 Speed, you get it by killing a monster, and it lasts for 3 seconds. Unlike other Speed buffs, you can extend Adrenaline Rush by killing more monsters, and it stacks with normal Speed buff food and drinks. With everything active, you can almost double your normal running speed.
The Savage Ring is a reward for completing the Void Spirit Monster Eradication Goal. If you lose your original reward, you can buy a new one from Marion for 25,000g.
Related
New Stardew Valley Player Learns About Shipping Bin the Hard Way
A brand-new Stardew Valley player learns the hard way exactly how the farm’s shipping bin works in the game.
Monster Musk
The Monster Musk buff comes from the Monster Musk item, which you get for completing the “Prismatic Jelly” special request. It lasts for 10 minutes after consuming the item, and while it’s active, all dungeon floors will spawn double the normal number of monsters. This stacks with other monster-boosting modifiers, like taking the quest “Danger in the Deep” while the Shrine of Challenge is on.
Oil of Garlic
This is another consumable-based buff. You get the recipe for Oil of Garlic for reaching Combat 6, and like Monster Musk it lasts for 10 minutes. While it’s active, monsters don’t spawn on most Mines floors, swarm attacks won’t happen, and the “Infested” floor modifier won’t appear in the Mines or the Skull Cavern. This buff has no effect on the Dangerous Mines, the Dangerous Skull Cavern, or the Volcano Dungeon.
Squid Ink Ravioli
Along with a Mining buff, Squid Ink Ravioli has a unique buff that lasts for only 2 minutes and 59 seconds. While this buff is active, enemies can’t hit you with debuffs. Effectively, you get an Immunity score of 10.
Basilisk Paw
While Squid Ink Ravioli can protect you from debuffs temporarily, Basilisk Paw does it permanently. You just need to equip it in the trinket slot to no longer be afraid of debuffs from enemies.
Warrior Energy
This is another ring buff. While you have the Warrior Ring equipped (unlocked at Combat 4), you have a chance to gain Warrior Energy, which grants +10 Attack for 5 seconds.

Related
Stardew Valley: Where to Find the Mermaid Show (and How to Solve the Puzzle)
The Mermaid Show is a fun moment in Stardew Valley, and it comes with a special item if you know what to do.
Yoba’s Blessing
This buff comes from the Ring of Yoba. You get the recipe for it for reaching Combat 7. If you get hit by a monster attack, the ring has a chance to activate Yoba’s Blessing, which makes you immune to monster damage for 5 seconds. The odds of this happening go up as your health goes down, although your current Luck score also plays a role.
Burnt
You have a chance of getting the Burnt debuff when you get hit by a Magma Sparker. This is the more dangerous variant of the Magma Sprite that only appears on floors 6 through 9 of the Volcano Dungeon. Burnt lowers Attack by 3, Defense by 3, and Speed by 2, and it lasts for 6 seconds. Getting hit by Burnt a second time can extend the duration.
Darkness
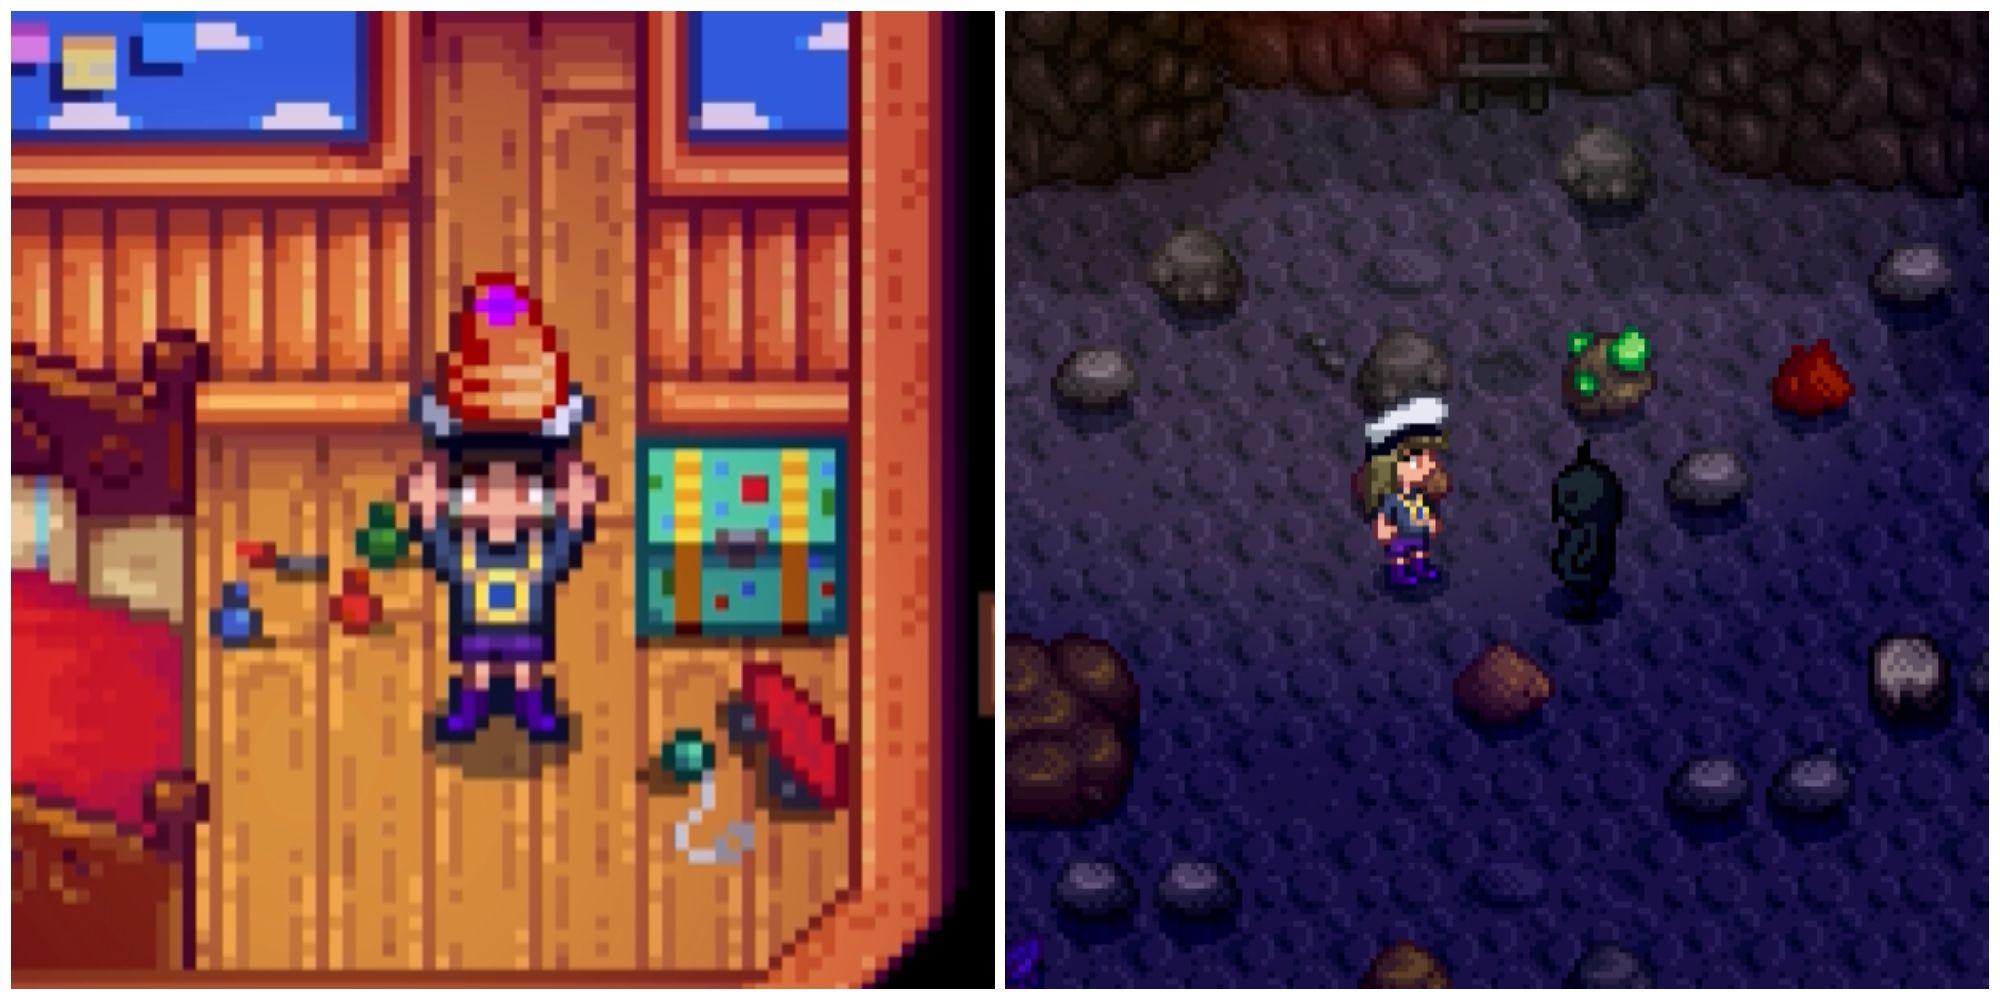
Darkness reduces the screen colors to almost nothing for 5 seconds, making it hard to see more than a few monster shapes and vague outlines. The monster that inflicts this debuff is the Shadow Sniper, a special Void Spirit that appears on floor 80 and below in the Dangerous Mines. Luckily, Shadow Snipers have bright white crossbows and bolts, making them easy to spot even when Darkness is active.
Frozen
The Skeleton Mage has two types of spells: one that deals damage, and one that inflicts the Frozen debuff for 2 seconds. Frozen reduces your Speed by 8, which is enough to stop almost any player in their tracks. Luckily, the spell is slow enough to dodge, and Skeleton Mages only appear on floors 71 through 79 of the Dangerous Mines.
Related
Stardew Valley: How to Get Strange Buns
The Strange Bun is a rare dish in Stardew Valley. If you’re wondering how you can get it for yourself, this guide will help you out.
Jinxed
Jinxed is an 8-second debuff that reduces your Defense by 8. This effectively means you take 8 more damage from any attack while it’s active. Jinxed is the result of the Shadow Shaman’s green fireball: it doesn’t deal damage, but it does make you more likely to take damage from other monsters. Like the Shadow Snipers, Shadow Shamans appear after floor 80 in the Dangerous Mines.
Nauseated
This debuff is especially dangerous, especially if your health is already low. On floors 51 through 69, you can encounter Putrid Ghosts in the Dangerous Mines. If a Putrid Ghost gets close and vomits on you, you have a chance to gain the Nauseated debuff, which prevents you from using any healing consumables for the next 2 minutes. This includes crops, fish, food items, and even health elixirs. The only way to end Nauseated early is to eat Ginger or Ginger Ale, neither of which you’ll find anywhere in the Dangerous Mines. However, you can still regain health by using a Vampiric weapon or the Vampire Ring.
Slimed
Any slime in any dungeon has a chance of inflicting the Slimed debuff when it hits you. It lowers your Speed by 4, but it only lasts for 3 seconds.
Weakness
On floors 11 through 29 of the Dangerous Mines, you’ll often spot a floating Blue Squid. Most of the time, it tries to swim straight for you, but occasionally, they stop, shiver, and fire a blue orb at you. If this orb hits and gets past your Immunity, you’ll suffer the Weakness debuff for 10 seconds. This reduces your Attack by 20, which means you deal 20 percent less damage with each hit.
Statue Of The Dwarf King
In addition to food and items, you can get buffs from certain statues, such as the Statue Of The Dwarf King in Stardew Valley. Each day, it offers players 2 of 5 possible buffs, but you can only choose one. Luckily, the buff lasts for the entire in-game day.
|
Power |
Description |
|---|---|
|
Bombs cannot damage you |
You gain full immunity to explosive damage, such as Cherry Bombs, Mega Bombs, and even Hot Heads. |
|
Greater chance to find coal |
When breaking rocks in mines, you will find Coal with a 40% higher chance. If you have the Prospector profession, the buff decreases to 20%. |
|
+1 ore when mining nodes |
When destroyed, ore nodes can drop additional ore. |
|
Greater chance to find ladders and shafts |
The buff increases the chance of ladders and shafts dropping from rocks by 25%, and from monsters by 22%. |
|
Greater chance to find geodes |
The chance of geodes dropping increases by 25%. |
Statue Of Blessings
Like the Statue Of The Dwarf King, the Statue of Blessings offers you buffs in the form of blessings. However, you cannot choose and will have to settle for random. There are 7 blessings in total, and almost all of them are active during the game day, except a couple of one-time ones.
|
Blessing |
Description |
|---|---|
|
Blessing Of Friendship |
While the blessing is active, you gain 60 friendship points instead of 20 when talking to characters. |
|
Blessing Of Luck |
You gain +1 Luck. |
|
Blessing Of The Butterfly |
A Prismatic Butterfly spawns somewhere in the valley, which you must find to earn good money. During rainy weather and festivals, the Butterfly cannot spawn, as well as after 5 pm. |
|
Blessing Of Waters |
The difficulty of catching the first three fish that day is significantly reduced. |
|
Blessing Of Energy |
During the day, any of your actions do not consume your Energy. |
|
Blessing Of Speed |
You gain +0.5 Speed. Stacks with other Speed buffs. |
|
Blessing Of Fangs |
You get a 10% bonus to Critical Chance. |


