Biomods are one of the many ways you will be able to modify your Pioneer Subnautica 2 to help you better adapt to the environment and not just survive, but thrive. To apply them, you must either visit the Bio Lab Station at the Welcome Center location or build one yourself at your own base.
There are two types of biomods: active and passive. Active Biomods will require actions to trigger them, while Passive Biomods will be active without a manual trigger. When you start the game, you automatically have access to two of each and can choose one per type; the rest of the Biomods will require you to scan various creatures to unlock them.
All BioMods and how to unlock them

In addition to the two active and two passive bio mods you start with, you have to scan different marine life in Subnautica 2 to unlock new mods. Unfortunately this cannot be done with your traditional scanner either, so you have to wait until you can build a modification station at your base and upgrade your scanner to the bioscanner.
Only one of each type of Biomod can be selected at a timebut you can change them at any time by going back to a Bio Lab Station. However, this may change in the future, as the game is still in Early Access.
Of course, to do this, you'll also need to find and scan a Modification Station and a Bioscanner with your traditional Scanner to unlock the recipes for both. In addition, once you have the bioscanner you need to rescan any marine life you may have already scanned with the traditional scanner.
You can find a set of scans for both the Modification Station and the Bioscanner at one of the Cicada Wreck locations in the Alien Ruinswhen you have the repair tool to fix the door. You will do it naturally lead here when it's time to look for Isos Blackboxbecause this is where it is, but you can come here anytime you have the repair tool.
Most of the creatures listed, but not all, can be found in multiple locations around the map. The coordinates given are only a confirmed location where you can get the scanbut since you have a picture reference, you can keep an eye out for these creatures everywhere.
Active BioMods

|
Name and description |
Bioscanner scan required |
|---|---|
|
Rush Dash in any direction to avoid predators or dangers. |
Scan required: None (automatically available) |
|
Path finder Release a trail of pheremones that you can follow to find the right one. |
Scan required: None (automatically available) |
|
Sonic Echo Send a sonar pulse to mark nearby resources. |
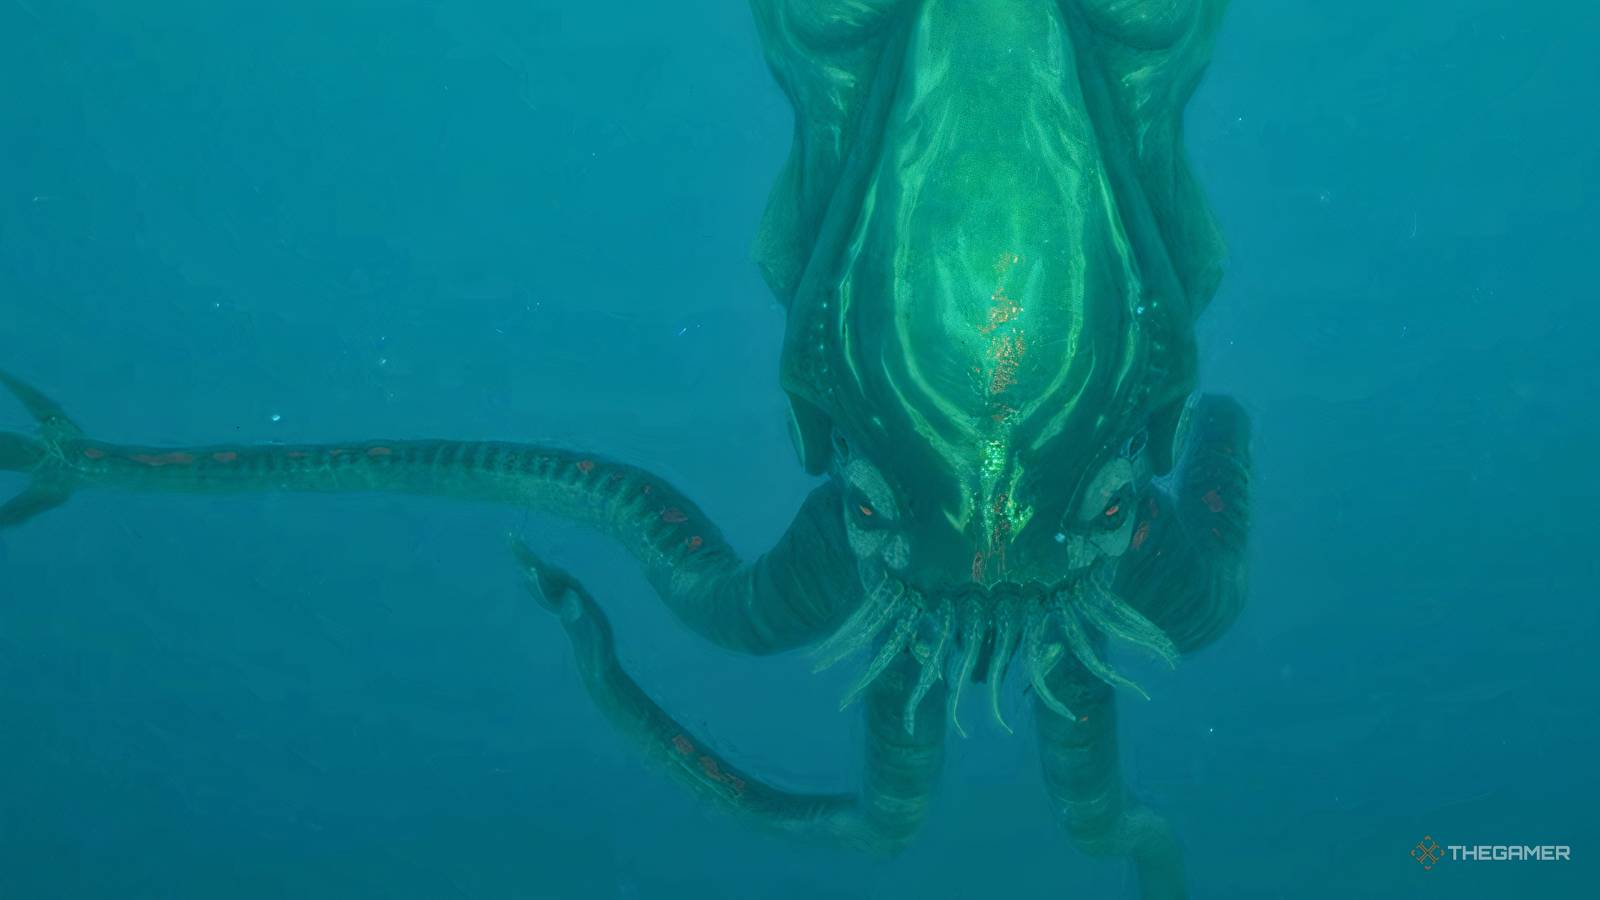
Scan required: Collector Leviathan Location: Found 790 meters directly east of the life tube and at a depth of approximately 90 meters. As you pass through the heated area, you will cross a large gap of open water to reach the Alien Ruins. The Collector Leviathan guards this gap and swims back and forth. It's massive, so it should be easy to spot, but be careful. 
|
|
Electric discharge Delivers an 800-volt electric shock to deter medium and large predators. |
Scan required: Electric Geordie Location: 1,830 meters directly east of the life chair and 345 m depth. They will swim around the edges of the large Heat Pipe in the center of the power plant. You'll know you're in the right place if you're in the middle of what looks like a dome-shaped structure with an angel's crest at the bottom. 
|
|
Chum Cloud Release a cloud of tasty bait to distract predators. |
Scans required: Toxic Sponge, Houndgar Toxic Sponge Location: 30 meters east of the lifepod and 12m deep. You can find these in several of the small caves around the life tube. They're easy to spot because they spray a green toxin that you've probably accidentally swum through several times by now. 

Houndgar Location: 670 meters directly east of the lifepod and 150m deep. This is actually the location of the tadpole pens, where you'll find lots of Houndgar annoyingly hanging around the entrance. 
|
You may have to accept that you will instantly die after scanning some of theseso in that case i would recommends emptying your inventory of consumables before scanning. That way, if you are pushed again, you won't lose much. Scans will remain in your data log as long as you end the scan before your death.
Passive BioMods

|
Name and description |
Bioscanner scan required |
|---|---|
|
Sea Skimmer Swim faster when you are near underwater surfaces or the sea floor. |
Scan required: None (automatically available) |
|
Oxygen control Slows oxygen consumption when not moving. |
Scan required: None (automatically available) |
|
Bioluminescence Glow in the dark. |
Scans required: Sandspear, Electric Geordie Sandspear Location: 105 meters east-northeast (65 degrees) from the lifepod and 30m deep. There will be a stream here leading down into a cave with a nearby research table. In the sand near this table you should see something sticking out of the sand that looks like a small plant. This is the Sandspear, and it will appear and attack if you get close. 

Electric Geordie Location: 1,830 meters directly east of the lifepod and 345m depth. They will swim around the edges of the large Heat Pipe in the center of the power plant. You'll know you're in the right place if you're in the middle of what looks like a dome-shaped structure with an angel's crest at the bottom.
|
|
Camouflage Become invisible to predators while not moving. |
Scan required: Bullethead Location: 1,340 meters east-northeast (85 degrees) of the life tube and at a depth of 210 m. They'll look like red spiky plants sticking out of the sides of cave walls, and they'll scare you if you get too close. 
|
|
Water retention Get more water from all sources with enlarged, orca-like kidneys. |
Scan required: Coral Crab Location: 223 meters east-southeast (125 degrees) of the life tube and 30 meters deep. You might not see it at first because it will look like a normal coral shell, but the hammerhead can hit it and wake it up if you lure over it, or it can pop up on its own if you get close. 
|
|
Homing Sense Discover nearby bases with power. |
Scans required: Surge Jelly, Hammerhead Hammerhead Location: 160 meters north-northeast (25 degrees) from the life tube and 15 m deep. There are two, sometimes fighting each other, that will circle the angel comb here. 
Surge Jelly Location: 331 meters south-southwest (220 degrees) from the lifepod and at a depth of 52m. You'll find several Surge Jellies swimming near the tall stone pillars here, and they're easy to spot because they're luminescent and oozing with electricity. 
|
|
Hot Sense Detect nearby threats with specialized hair cells. |
Scan required: Hoverthorn Location: Found 1,120 meters east-northeast (85 degrees) of the life tube and at a depth of 120 m. They will swim around this area as they are also a good food source. The hardest part, honestly, is being fast enough to scan them, because they are also fast. 
|
|
Dermal garden Slowly grow nutritious algae on your skin. |
Scan required: Needler Mango Location: 1,365 meters directly east of the life tube and at a depth of approx. 200m. You'll find a large stone structure here with needles everywhere. This is the nest of a Needler Mango, and you should see it swimming around above the cliff. You can also grab the Creature Enamel while you're here! 
|
|
Slow metabolism Your microbiome becomes more efficient, which slows food loss. |
Scan required: Nibbler Mango Location: 237 meters directly north of the lifepod and 16m deep. There will be some of them swimming in this area where a BFJ and some Chimoyah Rotsacs can be found. 
|
|
Water secretion Slowly fills a water pack by filtering fresh water from the sea. |
Scan required: Water Slug Location: 0 meters from the lifepod and at a depth of approx. 15m. Found almost everywhere, just look in the orange seaweed. 
|
Subnautica 2: Complete Stats Guide
If you hope to survive long enough to see what secrets Subnautica 2 has in store, you'll need to learn all about your Pioneer's stats.
