Shattered Descent, the third biome in the Saroshas a rather aggressive beast as its boss. Rhabdom may remind you of Aphex you can find in the first biome, who likes to jump around the arena. However, this boss has more tools up his sleeve.
The good part is that Rhabdom only has one health bar, so this might be a bit easier, or at least faster, than the rest of the boss fights so far. On the other hand, this creature loves violence. In this guide, we'll go over everything you need to know about Rhabdom and tips for defeating the boss in Saros.
How to Defeat Rhabdom

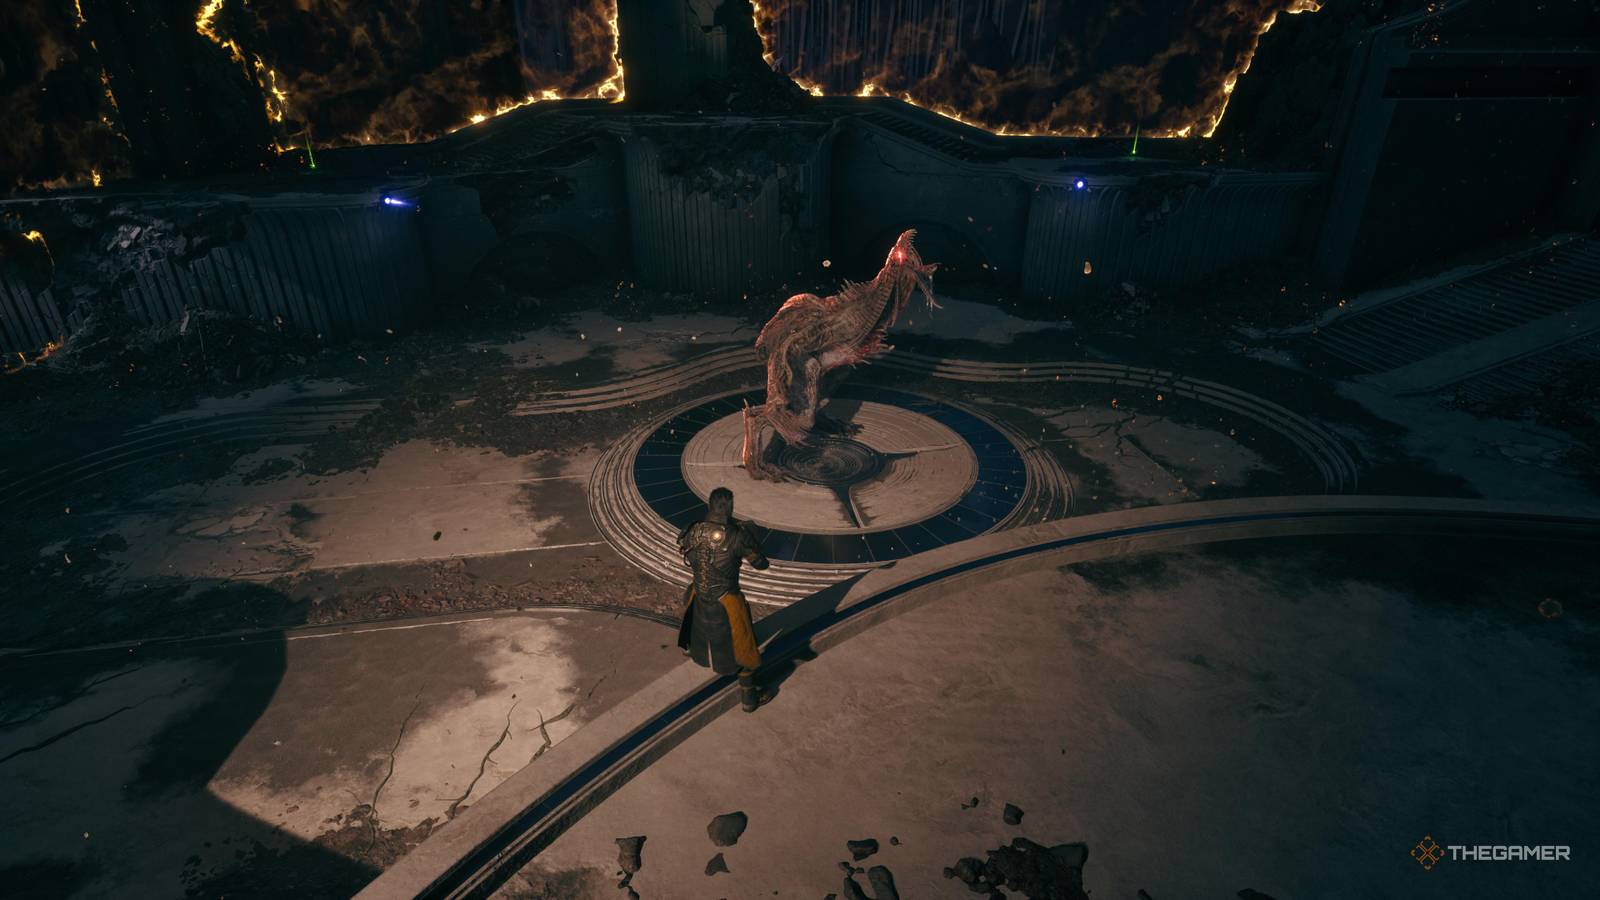
As soon as you enter the arena, you see Rhabdom making his own entrance. You have a few seconds before the boss actually starts moving, so first of all you should use your Grapple to reach the higher platforms on the right and left sides to pick up the ether there.
There will be four Aethers to pick up if you need them. If you're already at full health, you can leave them until you take damage.

One of the first attacks of Rhabdom may be the creation of dozens of yellow projectiles and rings on the ground. You should shoot the boss from one of the higher platforms when this happens, and remember that the projectiles will later go up. Fortunately, these aren't homing, so you'll be fine as long as you stay on the platforms.
After this move, the creature can spit a group of (now yes) blue homing projectiles. You should take advantage of this and absorb every single projectile with your shield. That way, you'll have your power weapon ready to take some damage.
When you take out more than half of Rhabdom's health bar, the blue homing projectiles will turn yellow. You can still absorb them if you have a certain Armor Matrix upgrade, but if not, just go through them.

One move that Rhabdom will repeat most of the time is a series of jumps to your location, exploding with Nova Projectiles (the red ones) every time the boss touches the ground. You can't block or dash through Nova Projectiles, so be as far away as you can from Rhabdom when it starts jumping.

The boss jumps three times in a row, so it can get close to you pretty quickly. However, there is a little strategy you can play here: be close to the grip points. When you use them, you are invulnerable for a few secondsand you also get away from danger faster.
I would shoot Rhabdom as much as I could during the other moves, and when the jumps started, I would start moving between the grappling points, one by one. Don't forget that a triangle icon must be under the point to use it.
Your newly unlocked Overdrive will give you a big hand in this fight, so use it as soon as you can. It will be slower, so don't worry about missing your shot.

The final move from Rhabdom's repertoire is a series of yellow projectiles in straight lines moving forward. The boss will shoot a lot in a quick burst, and you can either rush to the sides or past them. Since they are wide, I would go past each row just to be sure.

And that's pretty much it. When Rhabdom's health bar is below half, it can start adding more projectiles to its movesbut there are no significant variations except the one we mentioned with homing projectiles.

Unlock Second Chances in your Armor Matrix skill tree, allowing you to die once during battle and get back up.

Saros: How long does it take to hit?
If you were hoping Saros would outlast Returnal, you're in luck. That's it! But be prepared for twice as many deaths as well.
