The LGM-1 is the Wonder Weapon that graces the interstellar map of Astra Malorum i Black Ops 7 Zombies. Like all map-centric Wonder Weapons, there's a free mission to complete that lets you grab this alien device. If you want to get your hands on the LGM-1, or just want to see if it's any good, we've got you covered!
Below is a step-by-step guide to easily obtain LGM-1 in Astra Malorum, ensuring you can have an army of little green men and their flying saucers by your side to take on OSCAR and help you reach even higher rounds!

All Perk-a-Cola locations in Astra Malorum (Black Ops 7 Zombies)
Find out what perks are in Astra Malorum here, and where to find all the perk machines, including Der Wunderfizz!
How to get LGM-1 Wonder Weapon in Astra Malorum (Black Ops 7 Zombies) To begin, you must first turn on the power and activate Pack-a-Punch. You will now be tasked with picking up 4 Contraption Parts. These parts can be purchased in any order:
Contraption Part #1 – Damaged Drone
If you turn on the power, OSCAR will appear on the map, which is the elite enemy you need for LGM-1. With OSCAR on the map, locate him via the Tac Map and then destroy one of his drones. His drones are weak to Brain Rot, but any weapon should effectively kill them in a low round. Doing so will drop the damaged drone part. With this part acquired, escape from OSCAR as we find more parts.
Contraption Part #2 – Absolute Zero Fragments
After acquiring 500 Salvage, go to The Arsenal and buy the Cryo Freeze Ammo Mod. With this Ammo Mod equipped, shoot the Dark Aether Crystals that can be found around the map. Every time you shoot one of these crystals with a gun that has Cryo Freeze, it will drop the Absolute Zero Fragment. You must collect 3 of these to proceed.
Contraption Part #3 – Car Battery
Once you have 5,000 Essence, Pack-a-Punch your weapon and then return to the Crash Site, which is the play area for Astra Malorum. Find Ol' Tessie and look inside where you can find the switch with a Mister Peeks head. Slide the switch and the car battery will spit out of the hood of the car for you to retrieve.
Contraption Part #4 – Aberrant Wiring
The last part needed is the Aberrant Wiring. To start, head to the Stargazer's Courtyard, where you'll find a bunch of lampposts. One of these lampposts will have its light flickering, and you'll need to shoot it to make Aberrant Wiring fall for you to pick up.
Now that you have acquired all 4 Contraption parts, you must find OSCAR and kill him with three distinct traps located on the map, which can be activated with the parts you just collected. Below we will list each trap and how to kill OSCAR with it.
Trap #1 – Electro-volt projector
The first trap you'll want to activate is in The Luminarium, where you can grab the Jugger-Nog. Inside this area you'll find a large trap, and you'll want to interact with the switch that says “ready” to place the damaged drone inside. Now take OSCAR into the room and interact with the switch again. This starts a timed objective where you have to stay in the room and wait for OSCAR's battery to supercharge. Don't worry about shooting his drone, just stay alive in the room and let the trap do its thing until OSCAR dies.
Trap #2 – Thurston's Rocket Ignition
When OSCAR resurrects, enter the Museum Infinitum room, where the Speed Cola is located. In the western area of this room you will find a rocket. With OSCAR in the room, interact with the rocket while facing the south side, which will start a 5 second countdown for the rocket to launch. You'll want to position OSCAR directly behind the rocket launcher so the ignition blast kills him. If you fail this step, you must reuse your weapon with Cryo Blast to acquire 3 more Absolute Zero Fragments.
Trap #3 – Observatory Laser
The third and final trap is in the Observatory Dome, where you can activate the Pack-a-Punch. From inside this room there will be a hissing pipe vent that spews steam. This can be anywhere in the room, whether by looking up, down, or at the walls. Only one of these valves will get steam from the pipes, and the goal here is to shoot that specific valve and then find the next one. Repeat this 5 times, and the observatory wheel will point down.
Take OSCAR into the Observatory Dome and once he's inside, interact with the church organ across from the Pack-a-Punch. This gives you access to a telescope and you have to aim the lens at the sun. For most games, this is achieved by going up and slightly to the left. Once you aim it at the sun a laser will shoot at the ground and you want to have OSCAR drive through the laser.
Once OSCAR is killed by the third trap, he will drop the LGM-1 Wonder Weapon, for you to pick up and use. You can now use it as usual and upgrade it via Pack-a-Punch.
How does LGM-1 work in Black Ops 7 Zombies?
Is LGM-1 good?
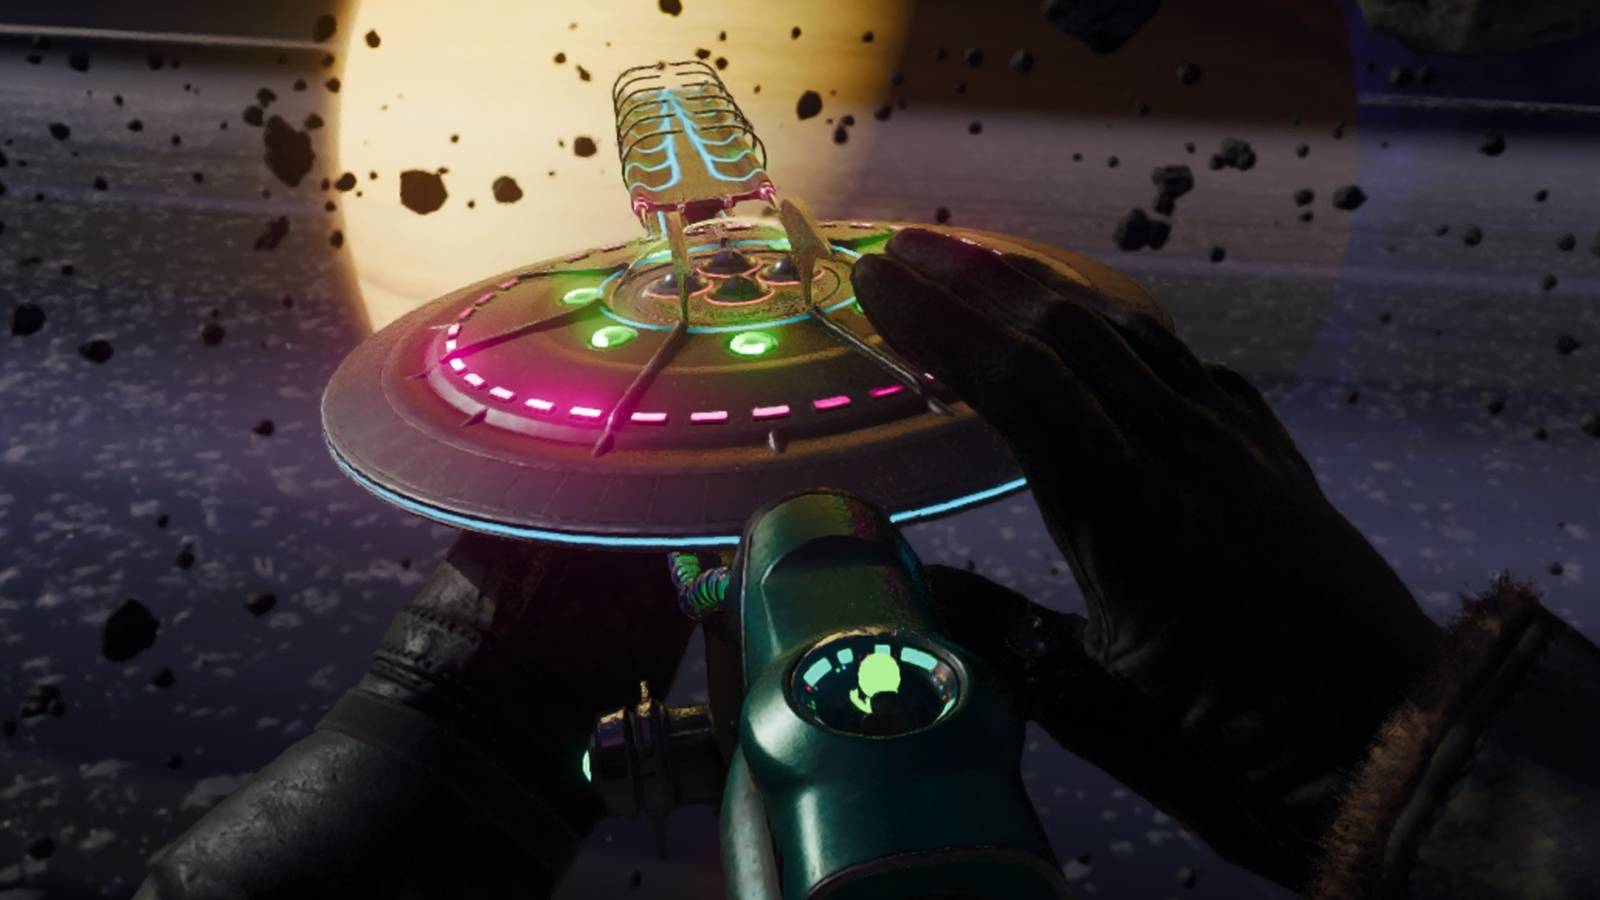
The LGM-1 fires UFO projectiles that come in at a single enemy and fire at them, then return as your ammo once that enemy has been killed. The LGM-1 has 3 charges, and these charges will always be refilled, meaning you don't have to worry about running out of ammo. It is fast to fire, has infinite ammo, but is also slow to kill.
The LGM-1 can also be upgraded to the Martian Man O'War, which makes the scattering of fired UFOs appear more like a shotgun. The damage is better, and there are now 8 charges, but it's not good at killing mass hordes of zombies at once. The LGM-1 is most effective when fired as a secondary weapon. You can fire all loads while on the move to let the gun do the work for you while you stay nimble.
Another handy gimmick of the LGM-1 is how it deals with OSCAR While this Elite Enemy is still extremely hard to kill, the LGM-1 is great for distracting him and doing half-decent damage. It seems like the Wonder Weapon was designed for OSCAR, but honestly the weapon's damage is pretty underwhelming compared to the Necrofluid Gauntlet, or even the Ray Gun and Ray Gun Mark 2.

- Released
-
November 14, 2025
- ESRB
-
Mature 17+ / Blood and Gore, Intense Violence, Strong Language, Suggestive Themes, Use of Drugs
