The world of Hytale is massive and full of all sorts of fantastical locations to explore, creatures to discover, and deadly enemies waiting in the night. It can be a lot at first, especially when you’re just starting and aren’t sure where to go, what to do, or what loot is important to look out for.

Hytale: How To Install And Play
The fabled game is finally available and back in development.
We’ll go over everything you need to know, from surviving your first nights in Orbis to taking down entire camps of enemies once you’re sufficiently geared. If you need to know what equipment to aim for, what Zones are and where to find new biomes, or just need help figuring out what to do, we’ve got you covered.
Hytale is currently in Early Access, so several ores and gameplay mechanics have yet to be implemented, and the information below may be subject to change at a later date.
Information will be added as we discover it, and the game receives further updates.
First Steps And Exploring Zone One

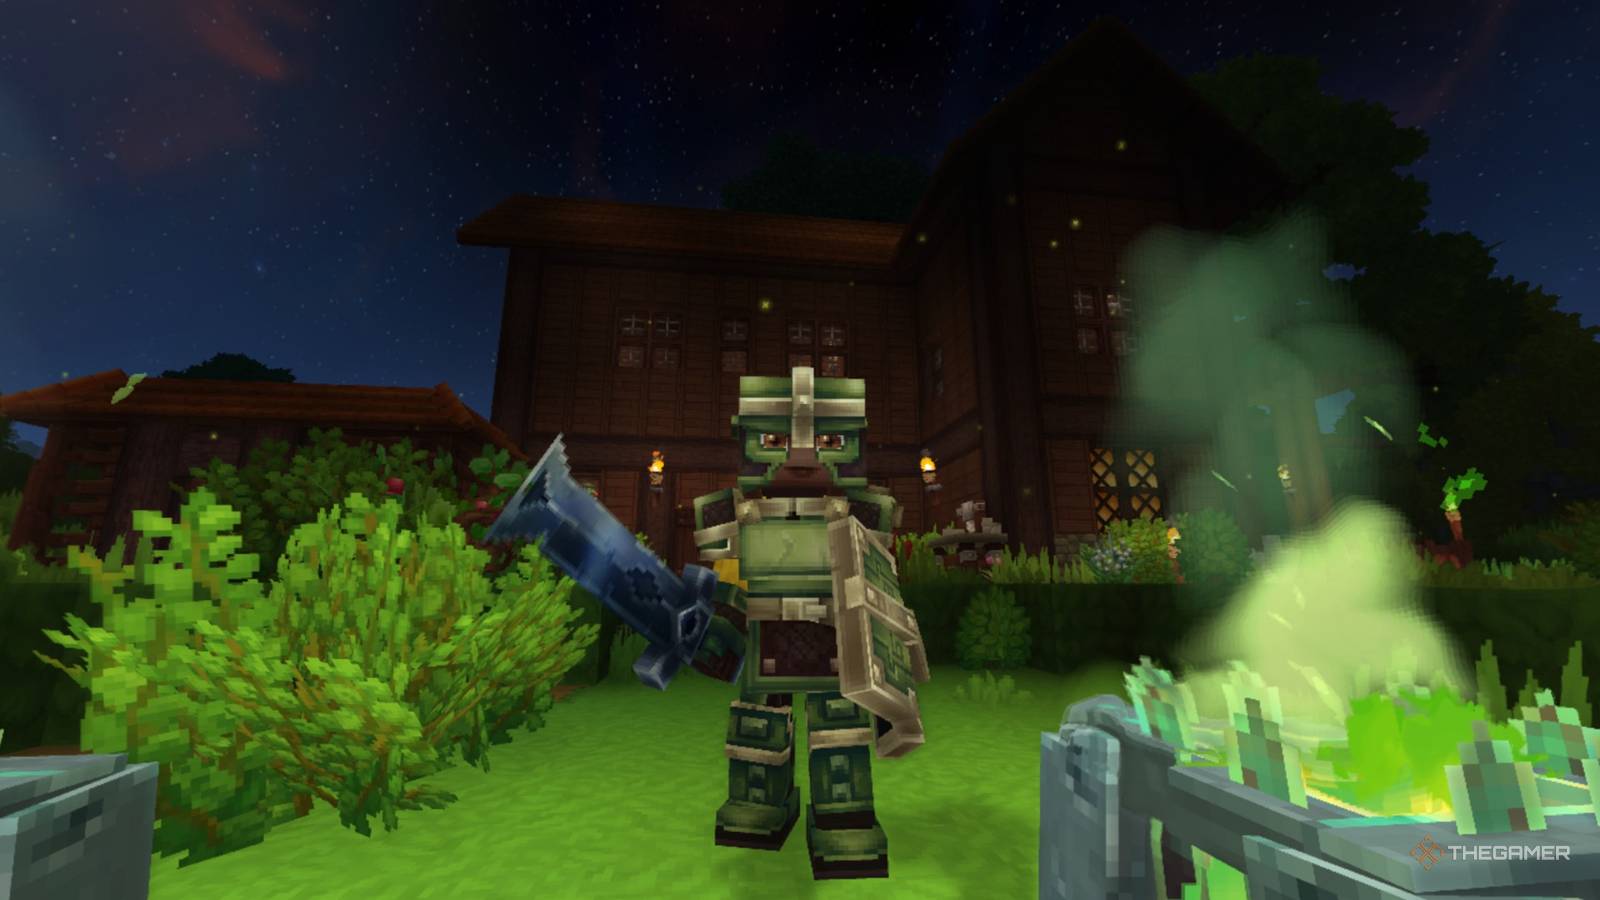
As soon as you spawn into the world in Exploration Mode, you’ll start off in a special spawn room that’s completely safe. Grab some of the Stone Rubble from around the room, then exit out into the world.
You’ll always start in one of the three Zone One biomes, the Drifting Plains, and it’s a fairly safe location. A lot of passive mobs spawn here, like Chickens and Cows, and the main enemies that spawn during the night will be Skeleton Fighters.
The world is categorized into different Zones, each of which has a few biomes found within it, and different enemies, animals, and resources within those biomes.
- Zone One, The Emerald Wilds, consists of the Drifting Plains, Seedling Forest, The Fens, Autumn Forest, and Azure Forest.
- Zone Two, The Howling Sands, consists of the Golden Steppes, Badlands, and the Desolate Basin.
- Zone Three, the Whisperfrost Frontiers, consists of the Boreal Reach, Frostmarch Tundra, and The Everfrost.
- Zone Four, the Devastated Lands, consists of the Charred Woodlands and Cinder Wastes.
Start off by grabbing Sticks and more Rubble from the ground nearby, breaking some of the different bushes to get Plant Fiber, and make sure you grab all the Wild Berries you can as well, as they’ll be the first healing item you have access to.
Use the Sticks and Rubble to make your first tools in the crafting section of your inventory: a Crude Sword, Crude Axe, and Crude Pickaxe. Make a Campfire as well, as it’ll let you cook any Raw Wildmeat you’ve gotten from animals and turn it into a slightly better food source, Cooked Wildmeat.

The spawn room can have workbenches and items placed inside it, so it makes for a great temporary base while you’re getting set up, especially since it’ll always be marked on your locator bar at the top of the screen.
Now you can more easily cut down some trees and mine some stone from the surrounding area, and get started working on a small base to protect yourself, as things become much more dangerous at night.
You’ll also want to use the Wood and Stone you’ve found to make your first crafting station: the Workbench, which lets you craft a wider variety of items and more workbenches.
As soon as you get your first weapon, you’ll be able to block enemy attacks, and this can help you take down even more dangerous enemies like Bears early on, as long as you watch your stamina.
Setting Up Your First Base

While you don’t have to use it forever, you’ll want a small base to start with, so you have enough room for workbenches, some chests, and a Crude Bedroll or bed to respawn or sleep the night away at.
Birch, Beech, Oak, and Ash are the types of Wood most commonly found in the Zone One biomes, with Birch being especially common, and Ash tending to have the largest trees.
All of them work perfectly fine for bases, along with any stone you find for some flair and decoration, and this is where the Builder’s Workbench comes in. Putting most blocks into its inventory allows you to change them into different versions of themselves, like Wood into Planks and Stone into Stone Bricks, as well as basic decorative and structural items like Windows, Doors, and Fences.
A Crude Bedroll can be made at the Workbench, and interacting with it allows you to set your spawn and automatically sets it as a waypoint on your world map, making any base with your bed easily findable.
It doesn’t have to be big or fancy, unless you want that right away. A 5 by 10 structure is enough space for a Crude Bedroll or Bed, some double chests, and the first four major workbenches.
If you don’t want to build a base, you can also use any pre-made structure as a base, such as one of the Abandoned Houses or Camps that spawn in Zone One, and just fill in any missing blocks. You might have to deal with some respawning enemies, but it’ll be a free and easy home.
To make an actual Bed, as well as other furniture, you’ll need the Furniture Workbench, which lets you craft a wide variety of chests, lighting options, and other decorative items.
Gearing Up With Copper

Once you’ve gotten established, it’s time to search for a cave and start getting some Copper, the first major ore in the game and your gateway to better weapons and armor.
Caves are common across the Zone One biomes, so find one, craft some Torches using Sticks, Tree Sap, and Plant Fiber, then head down inside and start looking for gleams in the distance. Every ore type in the game gleams, so you can use it to help you find ores in the dark.
Make sure to pick up any Wheat you see growing while you look for a cave, as this is one of the earliest ways to get Essence of Life, a key resource, and Wheat itself for crafting and food.
While you’re mining Copper, grab the mushrooms you see, as they can be used for food later once you make a Chef’s Stove, and kill any Rats you see, as they drop Raw Wildmeat, a food source, and are a great source of Light Hide, which you’ll need a lot of for making the Light Leather needed to craft a lot of early armor sets and upgrade a few of your workbenches.

If you go deep enough, you’ll likely find some Iron too, which you’ll be able to grab with a Crude Pickaxe. When you return to the surface, use the Stone you’ve found to make a Furnace, and start smelting the Copper using Wood or Sticks as fuel.
Copper Ingots will allow you to craft the Armorer’s Workbench and Blacksmith’s Anvil at the Workbench, as well as the Chef’s Stove, and you can even get started Farming by making the Farmer’s Workbench as well.
Where To Go After Getting Copper Equipment

With Copper Tools and Armor, you’ll want to start digging deeper and getting as much Iron Ore as you can, as it’s the next tier of equipment and needed for your first workbench upgrades.
You can find a good amount of it in the Zone One biomes, but even without Iron equipment, you’ll be able to venture further out into the world and start taking on enemies like Wolves and Skeleton Fighters more easily.
Look for pre-made structures like broken houses and the Abandoned Tower, which is full of loot and Skeleton enemies you can get Linen Scraps from, and the earliest way to get an Alchemist’s Table without digging near the bottom of the world for Gold Ore.
Make sure to look for the Azure Forest as well, which shows up as a blue forested area on the world map and has glowing mushrooms, making it easy to find at night if you’re nearby.

Grab at least 100 Wood from the Azure Trees, as you need it to upgrade your Armorer’s Workbench to Tier Two, and pick up any Azure Kelp or Blood Roses you see.
Azure Kelp is a rare resource that grows in water in the Azure Forest and is needed to make Teleporters once you’ve unlocked the Arcanist’s Workbench, while Blood Roses are used to craft Small Healing Potions. They spawn on the ground throughout it and Zone one, glow red, and are useful both in their full form and if you hit them to break them into Blood Petals.
Getting Into Farming And Cooking

Around the same time as getting geared up with Copper equipment, you’ll get access to the Farmer’s Workbench and the Chef’s Stove. Farming is super important, as not only does it provide lots of food and ingredients, but it also allows you to produce lots of Essence of Life.
At the Farmer’s Workbench, craft a Watering Can and Crude Hoe, and if you haven’t found any via chests, use whatever Essence of Life you have to make some Wheat and Lettuce Seed Bags via the Seeds tab at the Farmer’s Workbench.
Lettuce is the most useful of the two, but both are needed to upgrade the Farmer’s Workbench to Tier Two, so it’s good to grow them both. The Chef’s Stove will allow you to turn ingredients like Lettuce and Raw Wildmeat into food dishes that heal more Health and give better buffs.
Unlocking Memories

Besides finding structures for loot, you’ll also want to visit the Forgotten Temple Gateway, a special structure that appears as a circular silver building with walls and towers around it on your map. One always appears near the spawn, and when you get close, you’ll see a swirling symbol on your locator bar.
Inside the temple, head down to the second floor to encounter an Earthen Golem. This enemy can do a good bit of damage, but you don’t have to fight it to go through the portal, and it’s fairly slow, with attacks that have long wind-ups if you do wish to fight it.
Every Forgotten Temple Gateway has at least two chests on the second floor, and they can contain useful items like Seed Bags, Food, and Wood from other biomes.
Head through the portal, and you’ll reach the Forgotten Temple. Here, you’ll find the Rootling Merchant, who trades different items and recipes for Essence of Life, and the Heart of Orbis, which unlocks the Memory system upon interacting with it for the first time.
The Memory system lets you automatically record memories of every entity you see, and turning them in at the Heart of Orbis unlocks various awards once you hit certain milestones.
Leaving through the portal will always send you back to the Forgotten Temple Gateway, and you’ll be able to use the portal as much as you want, regardless of whether the Earthen Golem is there or not.
Venturing Out To Zone Two

Once you have at least Copper or Iron equipment, you’ll need to explore further out to find the next tier of ore, Thorium, other resources needed for upgrades, and new Wood and Stone types.
Zone Two biomes always appear south of spawn, while Zone Three biomes always appear north of spawn.
The main place to find Thorium Ore is in biomes from Zone Two, the Howling Sands: the Golden Steppes, Badlands, and Desolate Basin. These biomes predominantly appear as gold, pale yellow, and shades of red and brown on your world map, but lack the number of trees similar-looking biomes on the map do.
Make sure to bring some Antidotes, which are crafted at an Alchemist’s Workbench, as well as a Bow and Arrow, as the Zone Two biomes have an annoying flying enemy capable of inflicting poison, the Scarak Seeker.

Zone Two caves will be the largest source of Thorium Ore, which makes the third tier of Weapons and Armor, and is used for several upgrades and new workbenches, and many of the enemies in the biomes drop Venom Sacs, which you’ll still need plenty of.
These enemies will be tougher, but the Sandswept Skeletons aren’t much more dangerous than the regular variant; the Scorpions will have trouble getting through Iron Armor or better, and the Hyenas and Sabertooths have similar patterns to wolves.
These biomes also contain new pre-made structures for you to visit, like the Feran Strongholds and the Klops Residence, an underground home that contains a lot of furniture, several chests with loot, Pinecones, potions such as Lesser Health Potions, and different vegetables like Pumpkins.
The Golden Steppes’ ore generation is currently producing far more Copper Ore than it should, so you’ll want to look through caves in the Desolate Basin and Badlands instead until this is patched.
While you’re in Zone Two, there are several different items you’ll want to start picking up. Dig far down to the volcanic layer of the caves so you start finding Ember Skeleton Warriors and Mages, which drop Crimsonweave Cloth and Fire Essence, two key resources for upgrading your Blacksmith’s Anvil to Tier Three and crafting some cool items at the Arcanist’s Workbench.
You’ll begin finding new vegetables as well, such as Onions and Chili, and in the Desolate Basin, pick up all the Bloodcap Mushrooms you can, as they’re used for higher-tier healing potions.
Cobalt Ore And Zone Three Biomes

When you’ve got enough Thorium for a full set of armor, tools, and your choice of Weapons, as well as some extras for a few workbench upgrades and to make the Arcanist’s Workbench, you’re set to go find the Zone Three biomes.
Zone Three is north of spawn, and made up of the Boreal Reach, The Everfrost, and the Frostmarch Tundra biomes, and introduces new mobs like the Frost faction of Skeletons, Polar Bears, and White Wolves, as well as having the largest amounts of Cobalt Ore.
Fight all the Frost Skeletons you can, as they drop Frost Essence, which is needed to craft the Ice Crystal Staff and upgrade the Blacksmith’s Anvil to Tier Three.
Like with Zone Two, you’ll want to start finding caves and looking for Cobalt Ore first, as it makes the next tier of equipment and is needed for several more workbench upgrades, and looking for any pre-made structures on the map.
These new structures will often be Ruined Castles, which contain Frost Skeleton Fighters, Archers, and Mages, as well as chests containing loot like Tomato Seed Bags, Iron Weapons and Armor, and Shadoweave Scraps, a key resource for Cobalt equipment.

You’ll also find another new faction, the Outlanders, which is hostile. Their camps and towns are another better way to get Shadoweave Scraps, and they have lots of chests with a variety of loot, like Essence of Ice, Cobalt Ingots, Lesser Energy Potions, and Thorium Ore, and the Outlanders themselves give you a chance to get the Outlander set of Armor and Weapons as drops.
Zone Three also gives you more chances to find Blood Leaves, as they’re easily visible against the Snow Blocks and Ice Blocks, but much of the major loot in this region will be found with the Outlanders and Frost Legion.

Hytale: Weapon Tier List
Some weapons are better than others.
