Final Fantasy Tactics: The Ivalice Chronicles is back and better than ever, providing the best way to experience its epic tale and intense battles with fantastic additions. While players who haven’t stopped playing since its initial release won’t bat an eye at the game’s difficulty curve, newcomers will struggle, just as everyone did when they first stepped into this world of betrayal and destruction.
And, the Lionel Castle Battle will surely test your patience and ability to adapt, making sure you have a solid team composition, top-tier gear, a solid supply of items, and strategy. Since you will be fighting in two consecutive battles, you must make your preparations beforehand, or you will have to repeat from the beginning if you need to head back to the World Map!
Lionel Castle: Castle Gate – Overview

Lionel Castle: Castle Gate is the first leg of the Lionel Castle Battle mission in Final Fantasy Tactics: The Ivalice Chronicles, having you square off against Gaffgarion and a handful of other units.
You will not be able to return to the World Map without losing your progress on this mission. We strongly recommend visiting the Shop before starting, as you will need a few crucial items.
First, we strongly recommend equipping everyone with the best armor, accessories, and weapons currently available, as well as purchasing a large number of Hi-Potions. We also recommend buying Protect Rings for the second leg of the battle. While they’re not needed to succeed, they will make your life substantially easier.
With that out of the way, the general strategy of this encounter will be getting Ramza to the lever by the castle gate, as the remainder of your team fights the other units outside. Gaffgarion will be on the side of the wall with Ramza, so you will need to find a way to keep his health topped off, while also continuing to move and open the gate!
Lionel Castle: Castle Gate – Enemy List
|
Enemies |
|---|
|
Gaffgarion (Fell Knight) |
|
x3 Knights |
|
x2 Archers |
|
x1 Summoner |
Three Knights, two Archers, and a lone Summoner will be outside the gate with the rest of your party, making it a bit challenging to deal with. They have range, potent Magick attacks, and powerful physical attacks. It will surely be an uphill battle. Still, with an equally solid team composition, you will be able to steamroll them with ease!
Lionel Castle: Castle Gate – Recommended Formation

To fight back against Gaffgarion and his robust team, you will need to put together a pretty balanced team, one with excellent ranged capabilities, healing, and high damage output, allowing you to fend them off as Ramza makes his way to the lever.
For this, we strongly recommend making Ramza a Knight with the Chemist as your secondary, as you will need to constantly pop Potions to stay alive (having the Throw Items Support Ability will also work). The Knight Job will also give him excellent defense and attack potential, making it virtually impossible for Gaffgarion to KO him!
Lionel Castle: Castle Gate – Recommended Formation
|
Primary Job |
Secondary Job |
|---|---|
|
Ramza (Knight) |
Chemist |
|
Mustadio (Machinist) |
Archer |
|
Agrias (Holy Knight) |
Chemist |
|
Mystic |
White Mage |
|
Time Mage |
Black Mage |
If you have Teleport, Ramza can leave his side of the gate and fight amongst the others, leaving Gaffgarion trapped until you’re ready to take him on. Ignore Elevation can also allow you to open it faster than this route, but both will take a bit of grinding to obtain, and probably won’t be available to most players at this stage of their playthrough!
How To Complete Lionel Castle: Castle Gate

Since Gaffgarion isn’t the ‘Objective’ for this mission, you must eliminate all enemy units to advance to the second leg of the Lionel Castle Battle. Because of this, you must be extremely cautious and keep Ramza and your primary healer alive at all costs. Overall, if you come in with the preparations outlined above, you should be more than fine.

Ramza will always start at the top of the gate wall, so it doesn’t matter where you place his starting point. Group 2, however, matters, so you should be mindful of their placement. For them, we recommend placing your Mystic/White Mage and Mustadio in front of the gate door, with your Time Mage/Black Mage and Argrias directly behind them. This will allow them to attack key targets at the start for an early advantage!
Enemy Opening Moves
Kicking the mission off is Gaffgarion, who will hit Ramza with his Shadowblade attack, dealing a decent amount of damage to him. Get used to this attack, as you’re going to see it a lot over the next few rotations.
Mustadio follows. We know we said this was the enemy opener, but his Speed is too good, so he cuts the line. For him, move him one space ahead of Argrias and to her left, giving you a clear shot at the Archer on the far side of the courtyard. You might be able to get away with an Aim +1 here, but we opted to go for a standard attack for okay-ish damage.
Next, an Archer will come from the bottom left side of Mustadio and will use Aim +1 on him. The Archer you attacked is after them, having them use their Aim +2 on Mustadio for payback, looking to deal pretty severe damage if both attacks hit. However, we have a plan for this, so don’t worry.
After this, a Knight will charge straight up to your Time Mage and deliver a basic attack for substantial damage, nearly halfing their life. Following this, two other Knights will reposition themselves before opting to Wait, ending their turn.
Closing out the round will be a Summoner who will cast Shiva on your Time Mage, having its AoE cover your Argrias and your Mystic. Fortunately, we can deal with her before it goes off!
Your Opening Moves
Now the rest of your team can jump into the action. For Ramza, consume a Potion and move as far to the right of the gate’s wall as you can, toward the grassy hillside. This will essentially be your strategy going forward, consuming Potions and Hi-Potions while inching closer and closer to the lever beside the gate door.
Your Mystic is up next, allowing you to move to the side of the Knight that attacked Agrias to land a standard attack for considerable damage, taking their health down roughly halfway. While you have a 75 percent chance of hitting them, targeting them from the side further increases your odds. Placing her here will also have the Archer’s +1 shot hit her instead, in which she will likely evade it.
It’s now time for your Time Mage, allowing you to cast Fira on the Knight and Archer to his right, which will place them both in critical condition. Lastly, we have Agrias. You should move to the side of the Summoner casting Shiva and use Judgment Blade on them to instantly KO them, dropping them before they can deal mass damage to your team!
Enemy Second Rotation
Gaffgarion starts us off again by hitting Ramza with his Shadowblade attack, dealing the same damage as before, making it Mustadio’s turn once more. With him, move behind the enemy Knight standing in the middle of the courtyard and take aim at the injured Archer directly across and land a standard shot on him for a quick KO.
From here, the other Archer will take aim at your Mystic with a standard attack, dealing okay-ish damage, but nothing too severe to worry about. Afterward, the Knight beside Mustadio will run up to your Time Mage before executing their Aim +1 action for monstrous damage, which is something to worry about.
Next is another Knight, who will exit the water and head toward the courtyard before having to Wait, ending their turn. Lastly, the remaining Knight will also make their way toward your Time Mage and attack them for a swift KO. This is fine, as you can pick them up easily, while also eliminating more of them on your turn!
Your Second Rotation
Your turn yet again, allowing you to move Ramza to the far end of the gate’s wall before downing a Hi-Potion to nearly top his HP off. Following this, your Mystic will be up, allowing you to move her behind the injured Knight beside the gate door to deliver a standard attack for a breezy KO. While you can’t pick up your Time Mage this round, you will be able to get them much sooner now.
To close your turn, it’s Agrias’ turn, allowing you to move her in front of the Knight that came out of the water. Once here, cast her Hallowed Bolt to the right of this Knight, so that the AoE hits both Knights, allowing her to deal substantial damage to both. You will, hopefully, Silence one of them, allowing Mustadio to pick off the one that isn’t next round!
Enemy Third Rotation
You know what time it is, Gaffgarion kicks things off with another Shadowblade on Ramza before tossing things over to Mustadio. From here, target whichever Knight isn’t Silenced. If neither of them is, focus on the one closest to the castle, as they will be the weakest. Land a standard shot on them to KO them, tipping the scales in your favor.
After this, the Archer will unleash their Aim +1 on your Mystic for decent damage, with only a 76 percent chance of it landing, so don’t even sweat it. Following this, the remaining Knight will consume a Potion and move back into the water to end their turn.
While it’s usually your turn now, think again, as Gaffgarion has other plans. Of course, he will cast Shadowblade on Ramza again for decent damage. If you’ve been healing, this won’t do too much, as you can just heal it all back next turn anyway!
Your Third Rotation
Finally, Ramza can begin moving down the mountainside toward the base of the gate wall. Move down as far as you can, then consume a Hi-Potion to get back most of your HP from Gaffgarion’s Shadowblade spamming. After this, you can finally use your Mystic to Raise your Time Mage, with a solid 82 percent chance of it working.
Now it’s Mustadio’s turn; have him line up a shot on the Knight in the water. You can Aim here if you wish, but we opted for a standard shot, which also deals considerable damage. Following this, have Agrias cast her Judgment Blade on the Archer near the castle wall for a decent chunk of damage, setting you up nicely for the next rotation!
Enemy Fourth Rotation
With only three enemies left, the lone Archer will target Mustadio with their Aim +1 for decent damage, putting him in critical condition. From there, the Knight who retreated into the water will down another Potion to replenish some of their HP before repositioning themselves. Then, of course, Gaffgarion will unleash Shadowblade on Ramza, which is what it is at this point!
Activating The Lever
Mustadio leads the charge, allowing him to place his sights on the Archer with a standard attack for massive damage. You can also Aim here if you have it as an option, which could potentially KO them. Next up is Ramza, who will finally be at the base of the castle wall, inches away from the lever. Consume another Hi-Potion and be patient. You’re almost there.
Your Mystic is up next, allowing you to cast Cura with her to replenish Mustadio’s HP, along with your Time Mage’s if they need it. Ensure the AoE can hit all targets while planning ahead for their actions, as they will likely move before it goes off. As such, your Time Mage is up next, allowing you to cast Blizzara on the Knight for massive damage.
Agrias follows. If Mustadio KO’d or can KO the Archer, have her focus on the Knight. If not, have her target the Archer. Regardless, you will have her perform her Hallowed Bolt for a clean KO. Next up is Gaffgarion, who will do his thing with Shadowblade and Ramza. You know the drill by now. If the Archer or Knight is still alive, have Mustadio pick them off, eliminating all outside enemies.
At last, you can finally move Ramza to the lever to the left of the gate door, having him throw it open so his party can join him. After activating it, consume a Hi-Potion to top off his health yet again!
Defeating Gaffgarion
Since Gaffgarion heals after every time he moves and after he executes his Shadowblade, he can be a bit tricky to defeat. But now that everyone is here with Ramza, it shouldn’t be too challenging. If you still need to heal some of your teammates, keep kiting Gaffgarion around the base of the castle with Ramza, using a Hi-Potion after each Shadowblade.
Once everyone’s HP is replenished, it’s game time. Begin funneling everyone through the doorway, while having Ramza draw him toward them. On your next rotation, have Mustadio land a standard shot on him, cast Fira on him with your Time Mage, and utilize Argria’s Hallowed Bolt for massive damage. You can attempt to attack him with Ramza, but he will likely block the attacks, so it’s better just to kite him around while periodically healing.
It may take two to three rotations of this, but he will eventually fall, as his healing capabilities cannot compete with your damage output. As long as he keeps focused on Ramza, and Ramza can continue healing, Gaffgarion is as good as defeated!
Rewards

Completing this leg of the battle will net you 11,800 Gil and a Mythril Helm. From here, you will be able to save your progress before beginning the next leg of it. You will be able to upgrade and adjust your units before you place them and start the next battle, so ensure everything is in order before diving into it!
Lionel Castle: Castle Keep – Overview

As touched on earlier, there are two legs to this battle, and while you can save between them, you cannot go back to the World Map unless you want to redo everything you just did. However, if you purchased Protect Rings before diving into this mission, you can equip them now, as they will be invaluable.
After Cardinal Alphonse Delacroix uses the Auracite, he will transform into Cúchulainn, a monstrous and mighty Lucavi. While it’s a daunting sight to be sure, he’s sort of a glass canon in this form, but can still be extremely difficult to deal with, especially if you don’t have anyone who can deal Holy damage or don’t have access to Protect Rings!
Lionel Castle: Castle Keep – Enemy List
|
Enemy |
|---|
|
Cúchulainn (Lucavi) |
Yup, it’s only Cúchulainn for this battle, serving as a one-man army. His gimmick will be to cast Nightmare from afar, having a significant chance of inflicting Doom or Sleep on many targets, allowing him to run up to them on subsequent turns to one-hit KO them. Having Protect Rings equipped will nullify these ailments, which will trivialize his most irritating gimmick.
Fortunately, you do not need to have Protect Rings to best him, just a solid strategy that allows you to get a few solid hits on him to defeat him. Again, he doesn’t have much health, but it will be challenging to land those hits on him if half your party is dead or sleeping!
Lionel Castle: Castle Keep – Recommended Formation

We’re sticking with the same party lineup from the previous leg of the mission, as they will have the best chance at combating Cúchulainn. Agrias specifically will be crucial here as she deals Holy damage, which Cúchulainn is very weak to, allowing her to dish out tremendous amounts of damage. Other than that, it’s all about attacking when you can and baiting specific actions to capitalize on them after.
Also, we didn’t have the Protect Ring equipped for this encounter, so you will see how you can go about taking him down without it below. If you have the Rings equipped, you can follow our guide, but you will likely be able to attack much more frequently and defeat him even faster!
Lionel Castle: Castle Keep – Recommended Formation
|
Primary Job |
Secondary Job |
|---|---|
|
Ramza (Knight) |
Chemist |
|
Mustadio (Machinist) |
Archer |
|
Agrias (Holy Knight) |
Chemist |
|
Mystic |
White Mage |
|
Time Mage |
Black Mage |
How To Complete Lionel Castle: Castle Keep

Since it’s only your squad against Cúchulainn, your placement is pretty crucial if you want to avoid getting mollywhopped off rip, especially since he will go first pretty much every single time unless your Speed Stat is exceptionally high.

Leave Ramza on the far left, upper tile. Then place Agria two tiles to the right of him. Then, behind her, should be Mustadio, with your Mystic to the right of him. Finally, you can place your Time Mage directly in front of her to complete your formation!
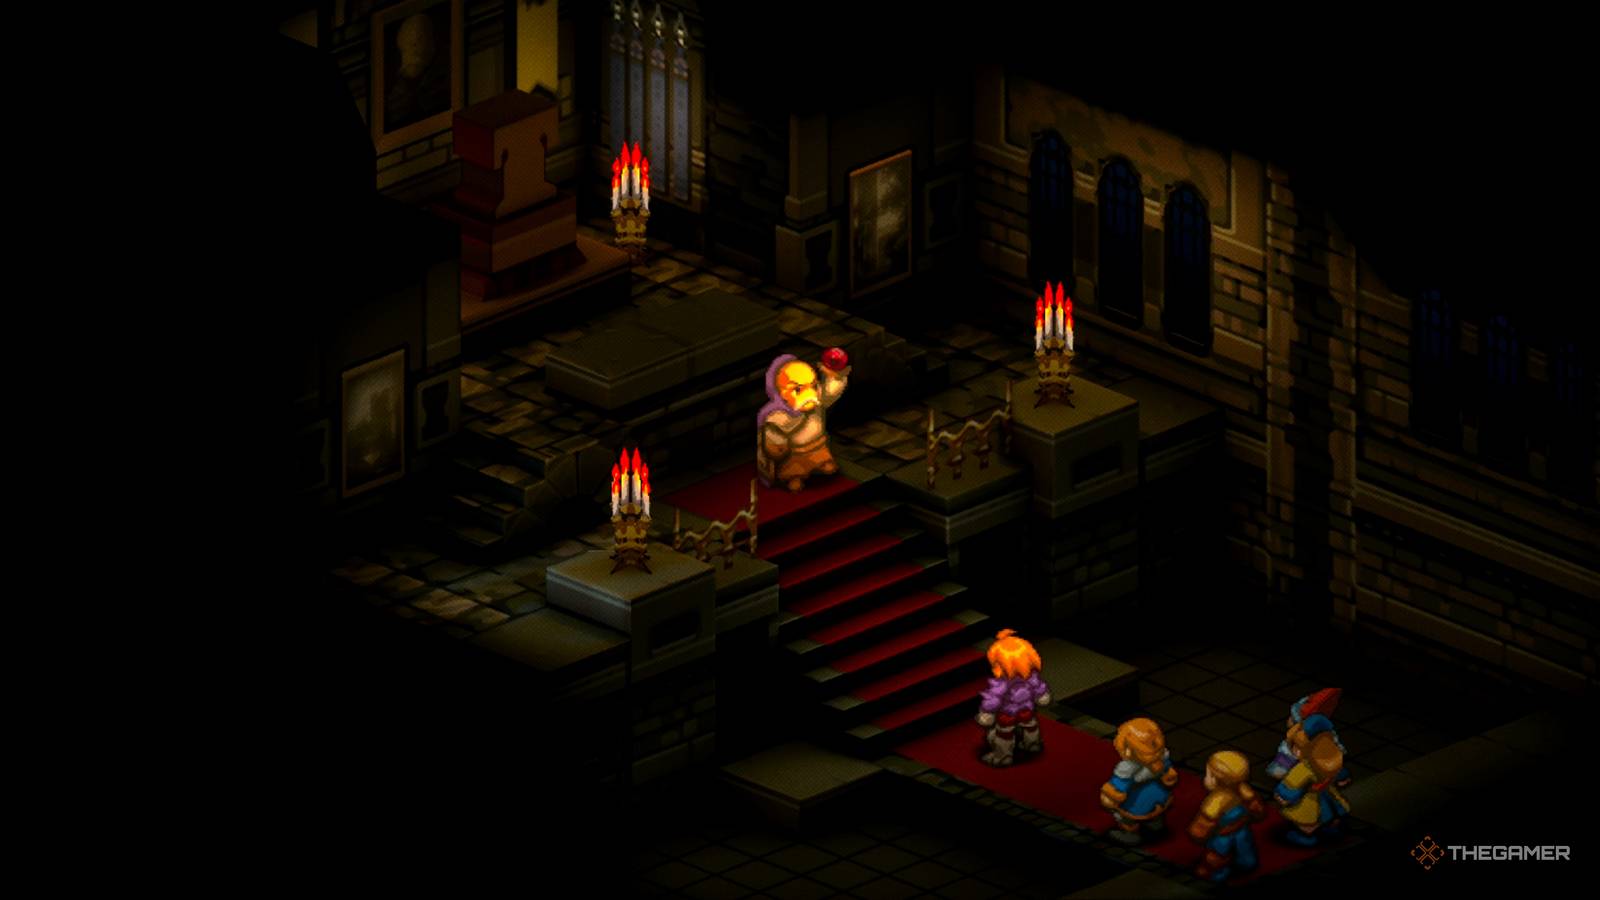
Cúchulainn Nightmare

As soon as the encounter begins, Cúchulainn will walk down the stairs and cast Nightmare on Mustadio, having it come out instantly. This will hit Mustadio, Agria, and your Mystic. Yes, it may sound like you’re cooked, but you’re not. Sleep or Doom will be inflicted on these units. Typically, Mustadio, for whatever reason, will be the one inflicted with Doom, while Agria and your Mystic will have Sleep!
If Agria is inflicted with Doom, you will have to restart from the start of the battle, as it’s crucial she remains alive further into the run. Also, if everyone is put to Sleep, you will also have to restart. We know, it’s not ideal, but that’s what we get without the Protect Ring!
Your Opening Moves
Since it’s only Mustadio, Ramza, and your Time Mage up, it’s time to get to work. Mustadio will kick things off for you. Position him in front of Agria and to the right, and then perform a standard shot on him for a decent amount of damage, passing the baton to Ramza.
With Ramza, run up to the side of Cúchulainn and land a standard attack on his side for about the same amount of damage. Nothing major, but it’s still something until your heavy hitters recover. After this, move your Time Mage to the small platform to the bottom right side of the stairs and cast Fira on the tile in front of where Cúchulainn is staring (near the altar). This will deal about 101 damage to him!
The Strategy
Now it’s Cúchulainn’s turn again, and he will rush down the stairs and attempt to cast Bioga in a wide AoE, marking the tile beneath Mustadio. The reason he will almost always do this is because he can hit your entire party except for Ramza, allowing him to maximize his damage. On the off chance he marks Mustadio, remain in position and use a standard shot on him to deal some damage.
After Mustadio shoots Cúchulainn, his Bioga will go off, hitting Agrias and your Mystic, waking them up. From here, use your Mystic to cast Cura on the tile in front of Agrias. Yes, we’re aware that Cúchulainn will have a turn before it goes off, but that’s part of the strategy. From here, keep Agrias in position and use her Hallowed Blade to hit Cúchulainn with its AoE, dealing MASSIVE damage!
Defeating Cúchulainn
Now, Cúchulainn will typically spam Nightmare again to put everyone back to Sleep or inflict Doom on them. However, for whatever reason, since your Mystic is casting Cura, he must stop it, making him prioritize them over anything else. As such, he will rush over to her and attack her, KO’ing her with ease.
Ramza follows, have him run up behind Cúchulainn and land a standard attack on his back for decent damage. After this, move your Time Mage to his side and cast Fira on the opposite side of him, allowing its AoE to hit him, avoiding your party members, and dealing a large chunk of damage to him.
Finally, with Agrias, cast Hallowed Bolt in the same spot to defeat Cúchulainn. It’s that simple. Again, if you have the Protect Ring, it would be even easier; however, this is a viable strategy for those who don’t have it readily available!
Rewards

Defeating Cúchulainn will reward you with 8,000 Gil. Which is fair, considering you likely raked in tons of EXP and JP from the last battle, while also pocketing a hefty sum of Gil then as well. Nonetheless, you’re now finished with the second chapter of Final Fantasy Tactics: The Ivalice Chronicles!
