Tomodachi Life: Living the Dream is one of the most viral locales for a video game, allowing players to create their own Miis and have them interact with each other in weird and wonderful ways. Unfortunately, for some reason, Nintendo has made it harder than it needs to be to share your screenshots and videos Tomodachi Life: Living the Dream on social media or even with your group chats by disabling the ability to upload them to the Nintendo Switch app. Fortunately, there are a couple of solutions so that your best in-game moments can be shared with others.

No, Tomodachi Life: Living the Dream is not just “Animal Crossing With Miis”
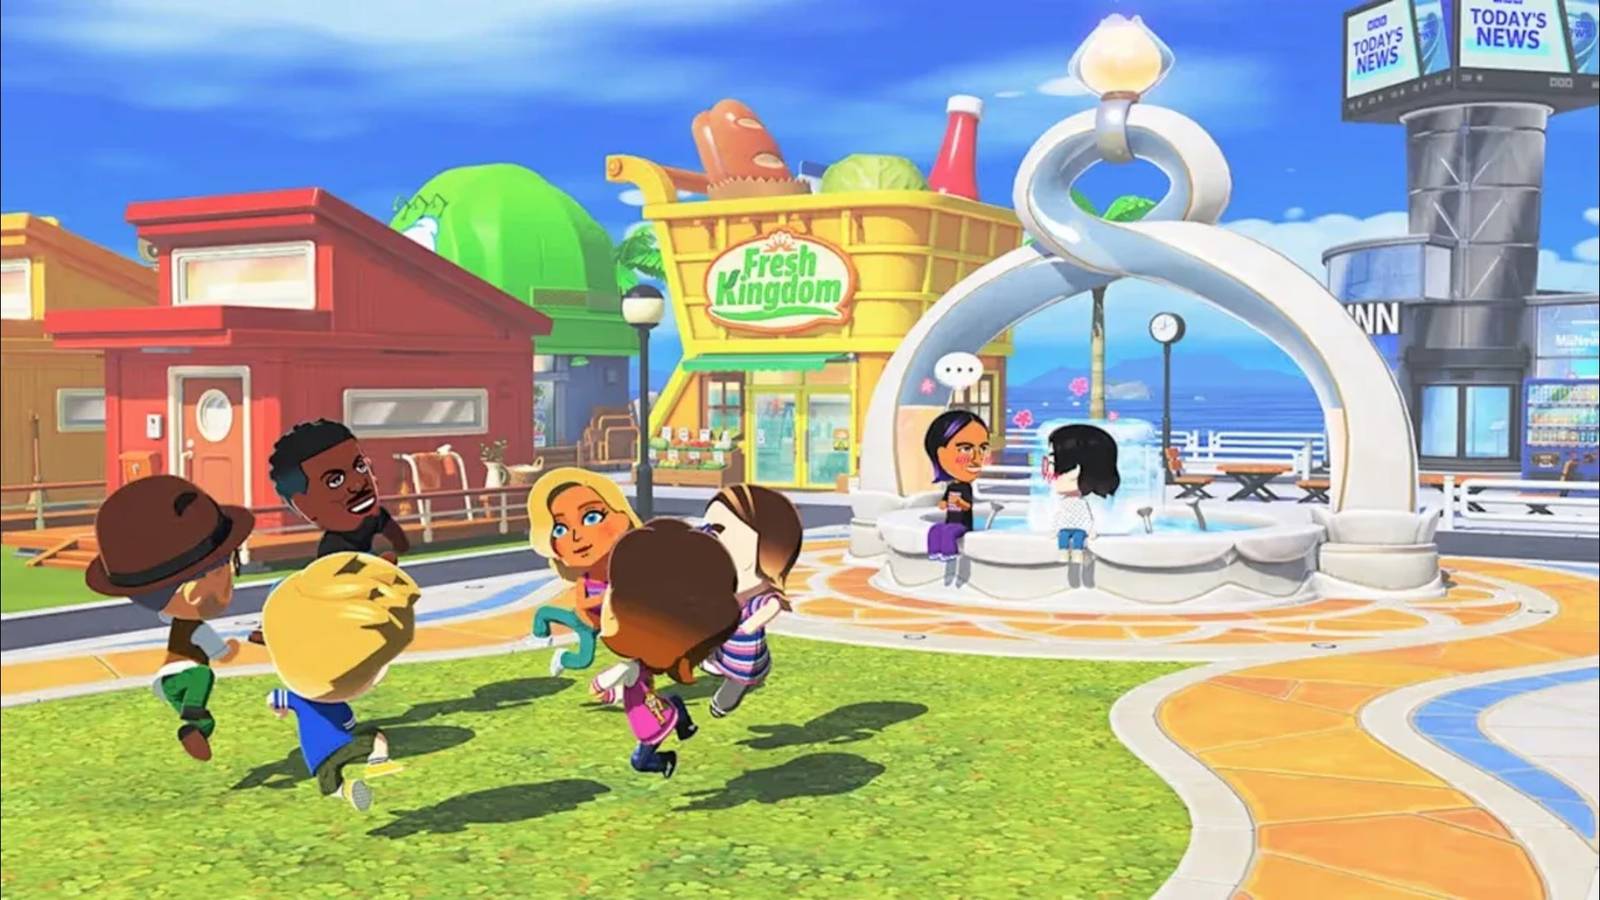
Tomodachi Life: Living the Dream is Nintendo's next big life simulator, but how does it differ from its older brother Animal Crossing?
How to share screenshots and videos in Tomodachi Life Living the Dream
There are two ways to share screenshots and videos from Tomodachi Life: Living the Dream with others: connect your Switch 2 to a PC with a USB-C cable, or transfer the files to a MicroSD Express card and then insert this device you want to access the files on.
Share screenshots and videos via USB-C cable
The easiest way to get your in-game screenshots and videos off your Switch 2 is to use a USB-C cable. Connect one end to the port on the bottom of your Switch 2 console and the other to your PC.
Once this is done, turn on your Switch 2 and go to System Preferences (the gear icon) and select Data Management from the sidebar menu.

Select “Manage screenshots and videos” from the Data management menu, then scroll down to find the “Copy to PC via USB connection” option. After selecting this, under “Devices and Devices” on a Windows PC, you should see your Nintendo Switch 2 appear as an option. Your Switch 2 will now display a message saying it is connected to your PC. When this message appears on the screen, do not press anything on your Switch 2, because closing this message will disconnect the console from your PC.

Now you just need to go into the Switch 2 option on your PC, select the next folder and then the Tomodachi Life: Living the Dream folder. Inside you'll find all your screenshots and videos. Copy and paste them into a folder on your computer and you're good to go.
After transferring the files, select the disconnect option on your Switch 2 and remove the USB-C cable.
Transfer screenshots and videos via MicroSD Express card
The alternative is to transfer any screenshots or videos to your MicroSD Express card (if you have one). Make sure this is inserted into your console and then go to the “Album” option from the home screen.
Select the screenshot or video you want to transfer and press A to open it, then press A again to open the menu. Select “Copy to microSD Express card” and wait for the transfer to complete (with pictures this happens almost immediately).
Now remove the microSD Express card from your Switch 2 (located behind the stand on the right side) and insert it into a microSD card reader. Insert the reader into your computer and you can now access the screenshots and videos.

![]()
- Released
-
April 16, 2026
- ESRB
-
All / Comic Mischief, Mild Fantasy Violence
- Developer
-
Nintendo
- Publisher
-
Nintendo

